Introduction
LCD (Liquid Crystal Display) screen is a display module which displays 16 characters per line and there are 2 such lines. In this LCD each character is displayed in the 5×8 pixel matrix. We know that each character has (5×8=40) 40 Pixels and for 32 Characters we will have (32×40) 1280 Pixels. 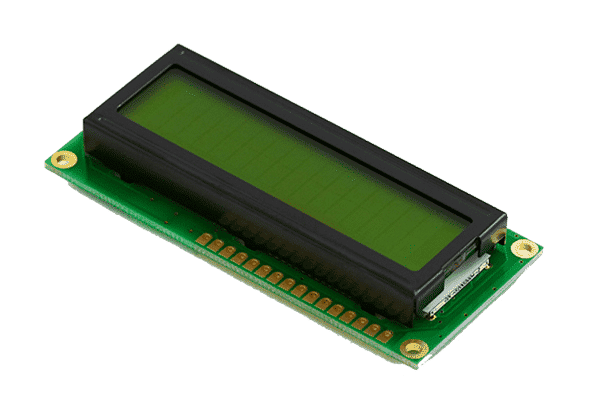
Working of 16 X 2 LCD display
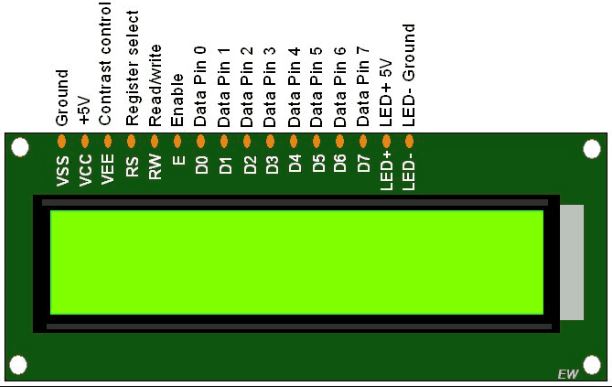
The LCDs have a parallel interface, meaning that the microcontroller has to manipulate several interface pins at once to control the display. The interface consists of the following pins:
- Register select (RS) pin that controls where in the LCD’s memory you’re writing data to. You can select either the data register, which holds what goes on the screen or an instruction register, which is where the LCD’s controller looks for instructions on what to do next.
- Read/Write (R/W) pin that selects reading mode or writing mode.
- Enable pin that enables writing to the registers
- 8 data pins (D0 -D7). The states of these pins (high or low) are the bits that you’re writing to a register when you write, or the values you’re reading when you read.
- Display contrast pin (Vo), power supply pins (+5V and Gnd) and LED Backlight (Bklt+ and BKlt-) pin that you can use to power the LCD, control the display contrast, and turn on and off the LED backlight, respectively.
Interfacing LCD display with evive
The Arduino connections of the 16 X 2 LCD display are explained below:
- Firstly, solder the berg pin to the LCD. Take 16 male to female jumper wires and connect them as shown in the figure.
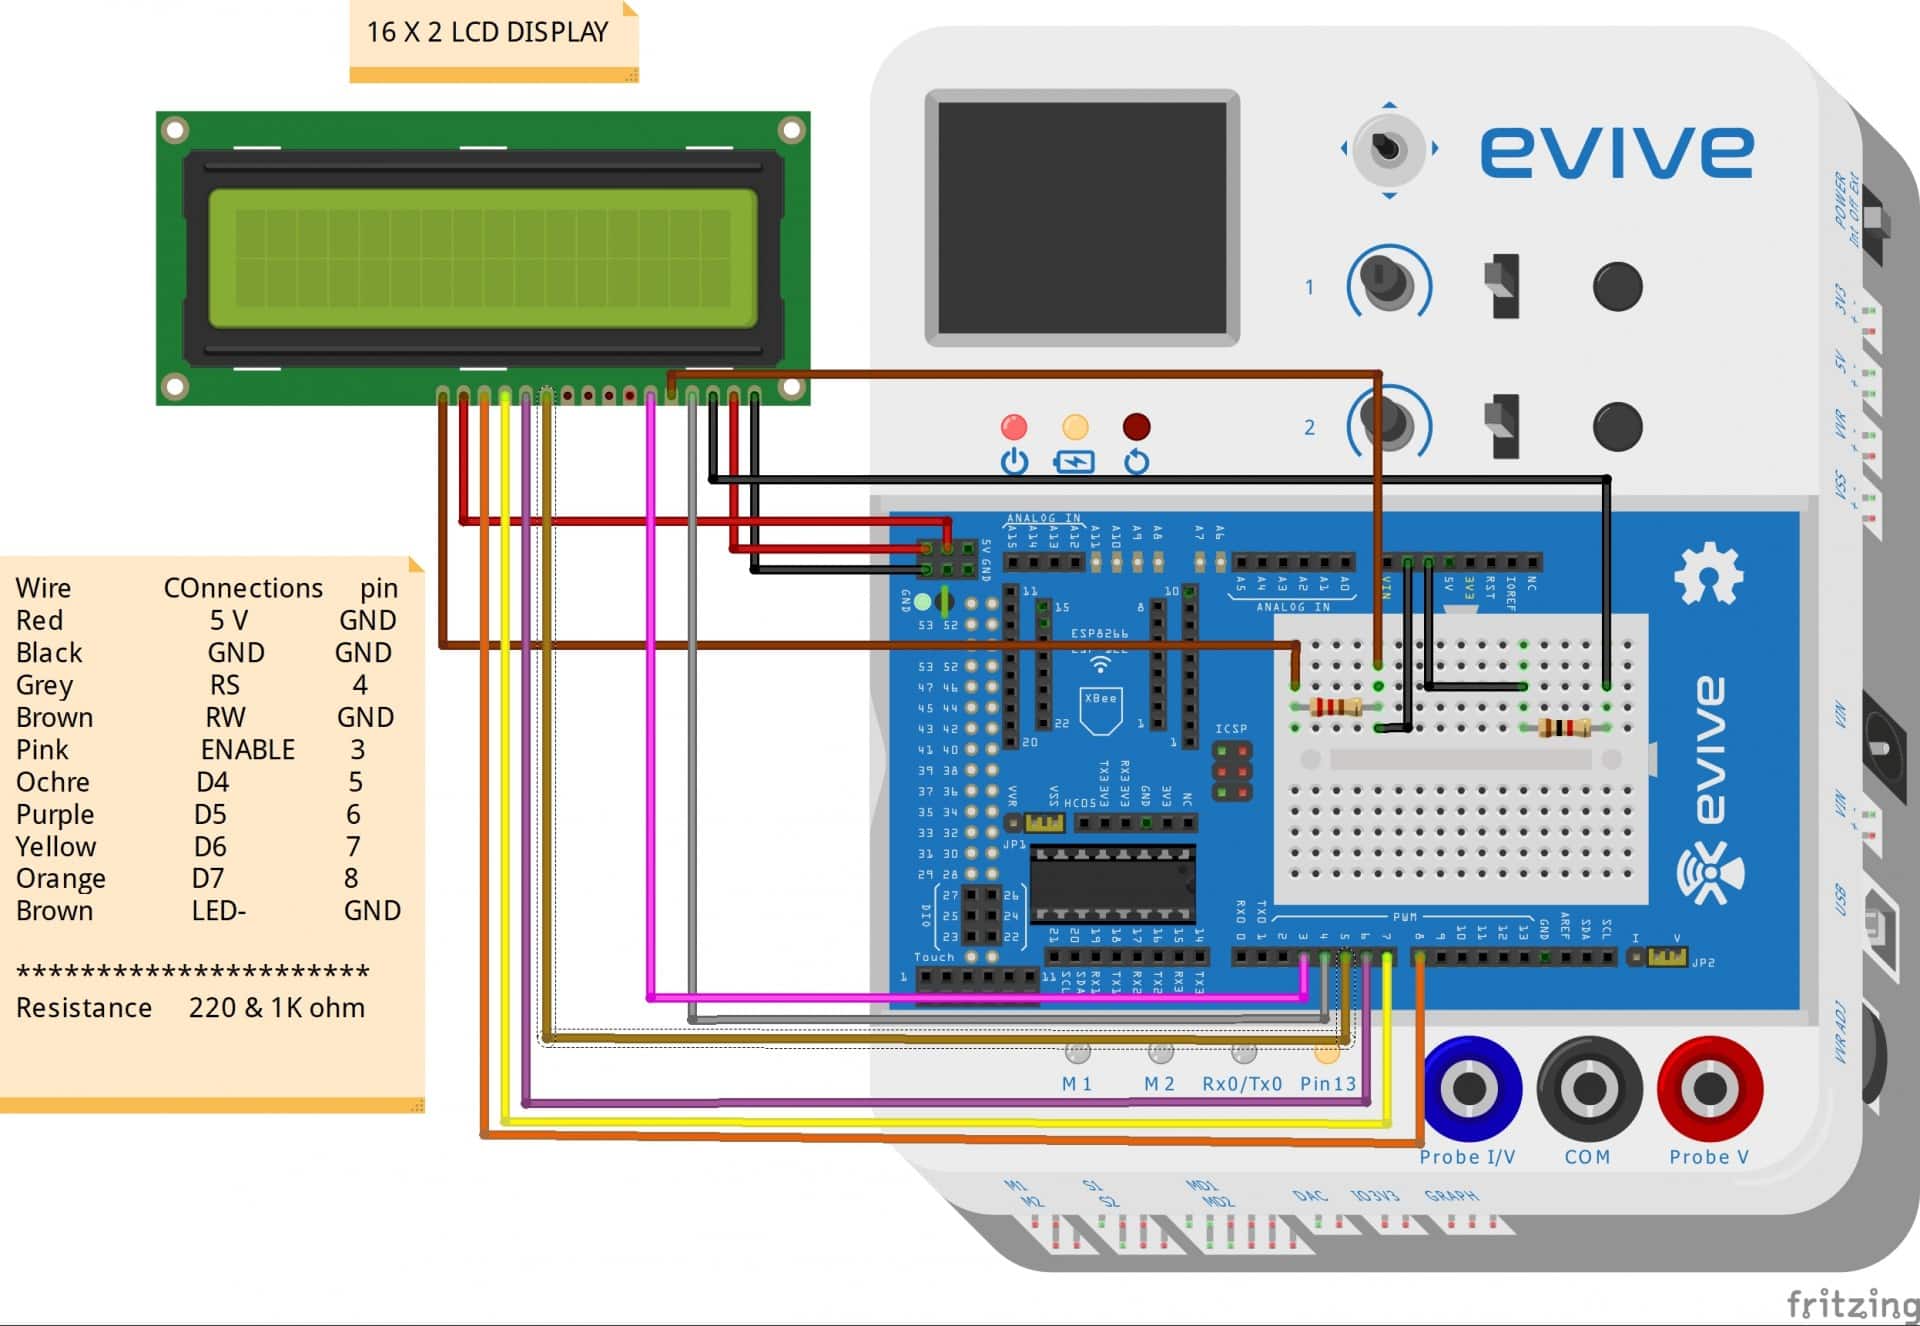
- Make sure the wires are properly connected.

PictoBlox Program
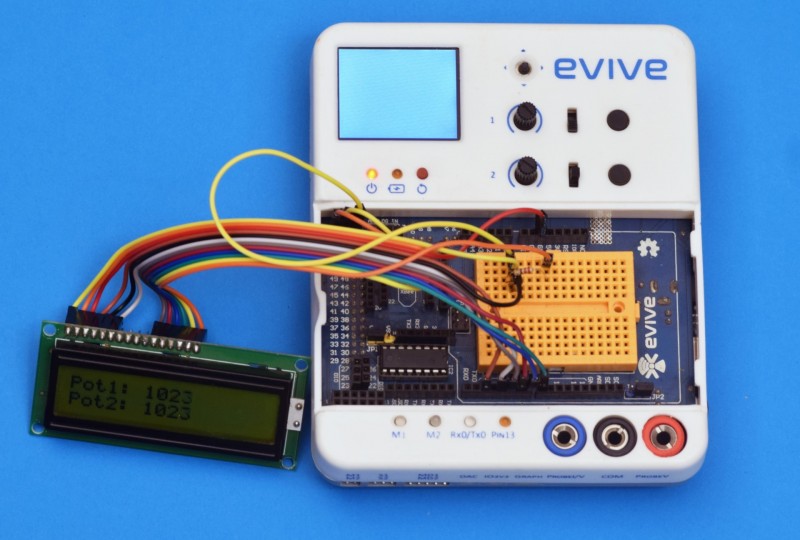
In this example, we will display the potentiometer value on the LCD Display:
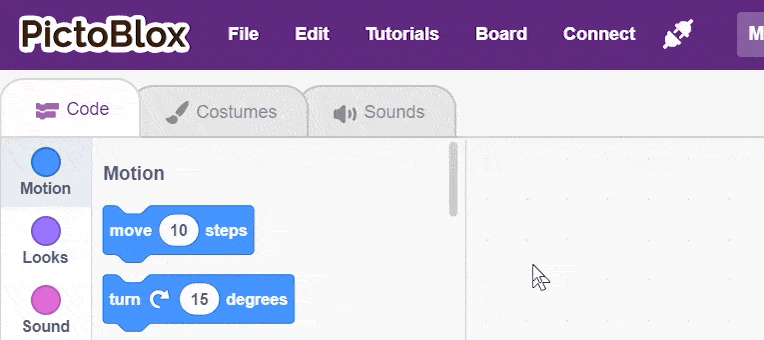
- Open PictoBlox.
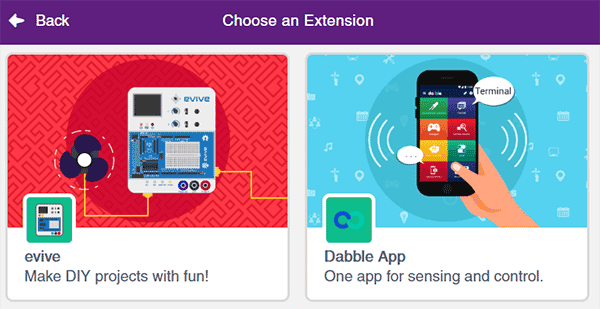
- Select the board as evive:
- Connect the evive.
- Add Other Display Modules extension to access 16×2 LCD Display blocks.
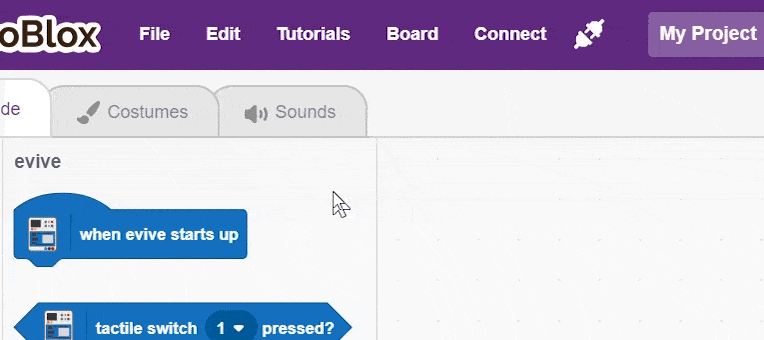
- Create the following script using when evive starts up block:

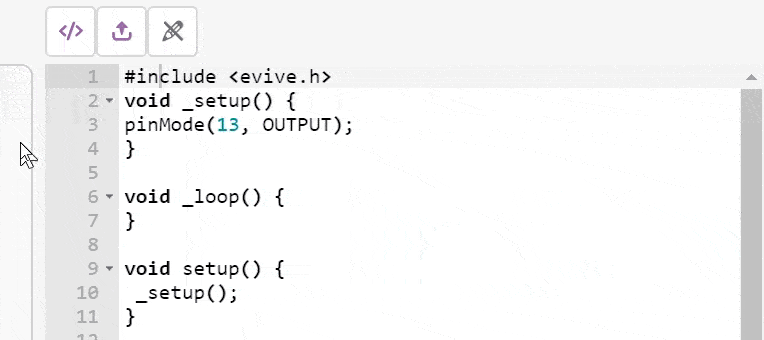
- Upload the code onto evive:
Conclusion
In this lesson, we have learned how to interface a 16×2 LCD display with evive. We have used PictoBlox to program evive and display the potentiometer value on the LCD display. Thus, we have successfully interfaced the 16×2 LCD display with evive.


