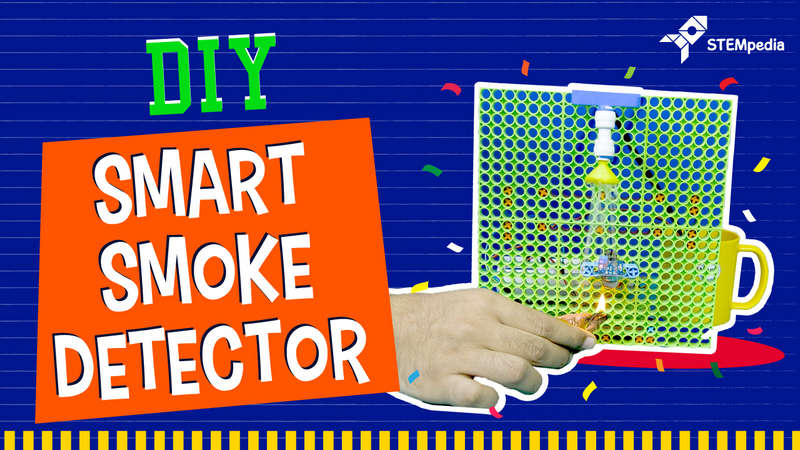

Introduction
You know what they say about small fires? It’s always better to put them out!
How many times have you fallen into the trap of thinking that the smell of smoke means there’s a fire? Well, no more getting scared! Learn how to detect smoke and put out fires easily and effectively with the help of this DIY Smart Smoke Detector.
Making
The project shows the application of the smoke detector. Thus, to picture it in a better way let’s make a room where we can place our system.
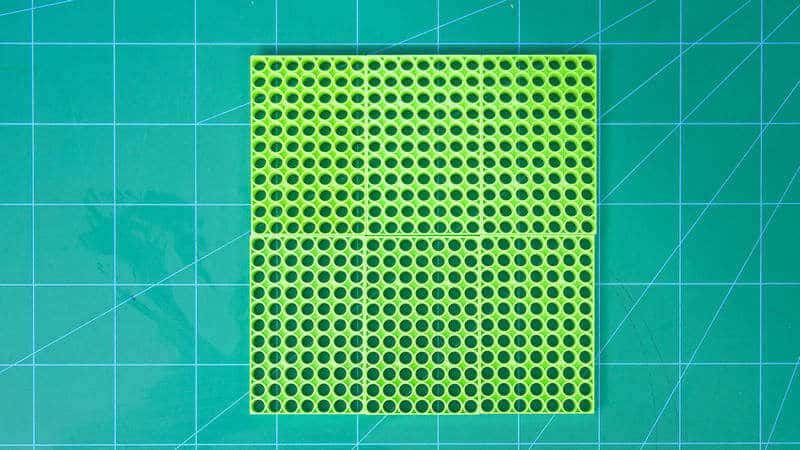
Let’s start with the assembly of the room.
- For that, we are going to use the Blix pieces.
- The first thing that we are going to make is the back wall. For that, we will be taking we be taking some bigger pieces.
- We will be using connectors to connect them.
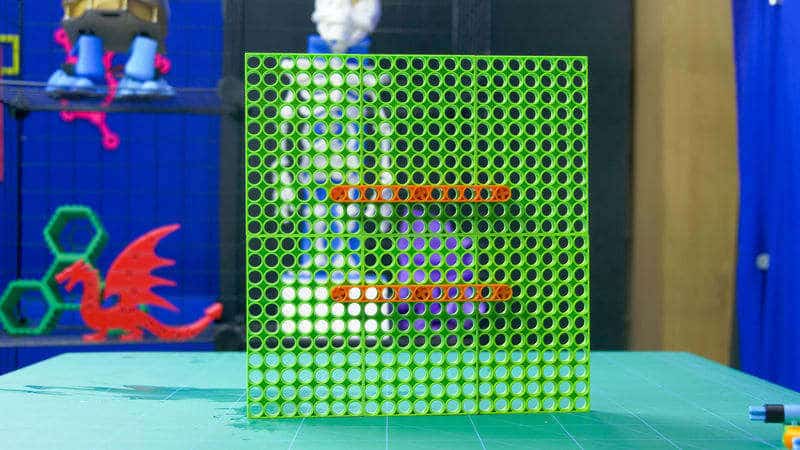
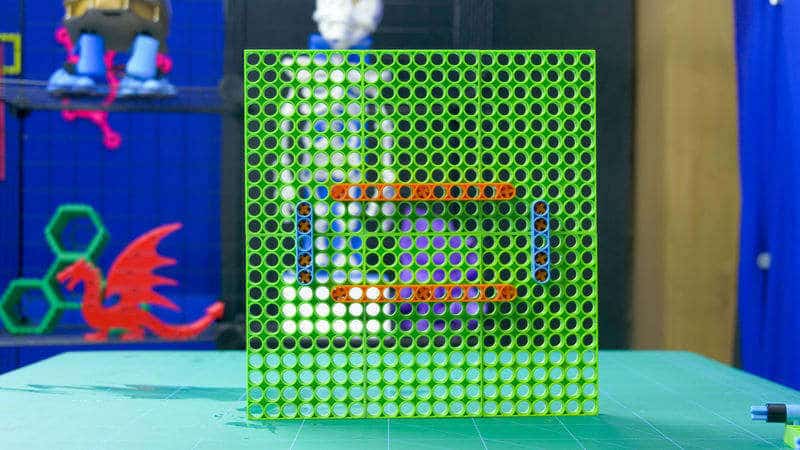
Thus, our back wall is ready.
To make the wall stand upright we need a small base. Let’s add another piece at the base of the wall.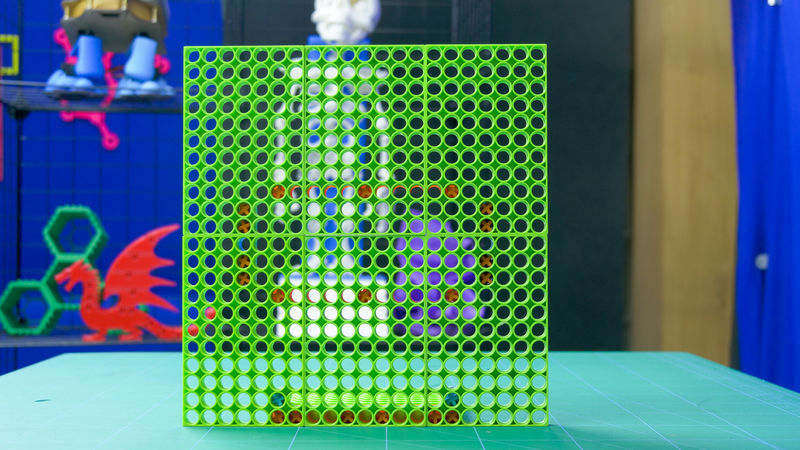

On this wall, we will be installing our system.
Now, even if our Smoke Detector has detected the smoke (fire), but our task doesn’t end here. We need to blow the FIRE OFF.
Thus, next is the assembly of the water shower or sprayer.
- Fix a small shower at the top of the wall. We have 3D printed the shower, whose .STL can be downloaded from the code section at the end.
- We need a holder where we can fix our shower. Thus, we will make one.
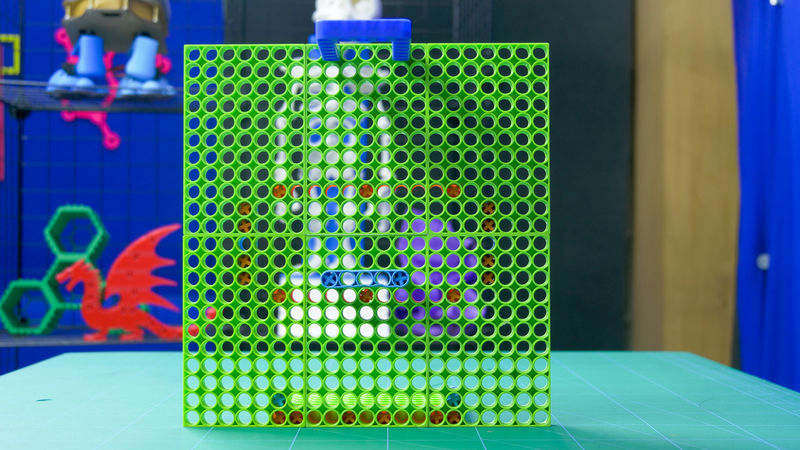
- We will add our shower to this holder.
- To this shower, we have connected the pipe.
- The other end of the pipe is connected to the pump, which is inserted into the water tank.
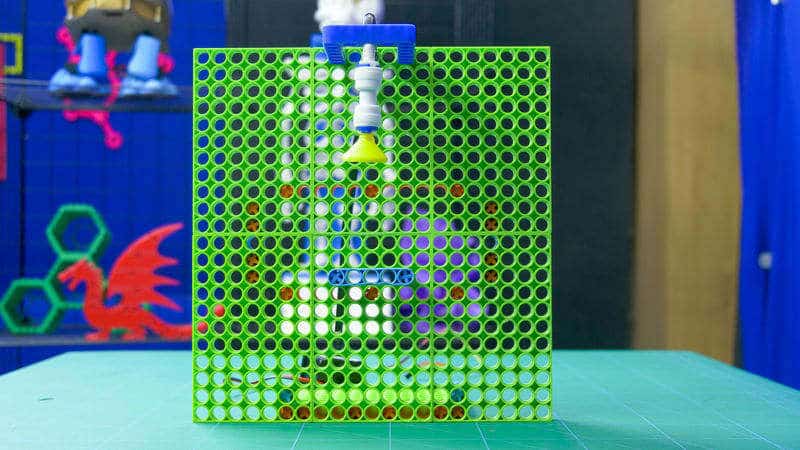
It’s time to include the heart of the system i.e. our Smoke Detector.
Among one of the spaces in the back wall, we will be inserting our smoke detector.
To this smoke detector, we will be connecting the jumper cables whose connection is given in the circuitry section.
Brief about Smoke Detector
The Smoke Detector is a smoke sensing device or a fire indicator. The Smoke Sensor are basically of two types: the photoelectric detector and the ionization detector.
The one we are using is MQ4.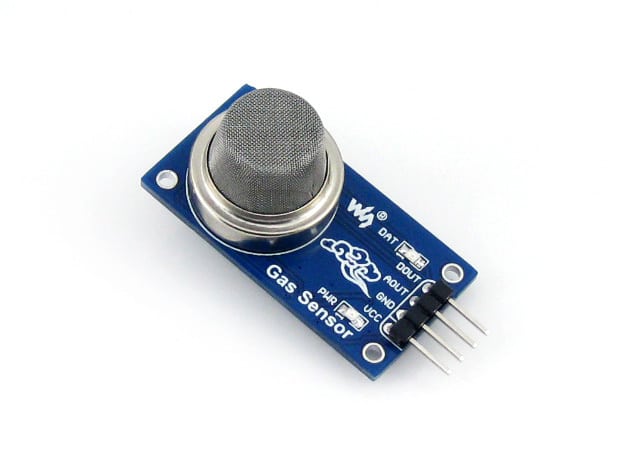
It is a smoke and a gas detector. The MQ series sensors are used to detect a variety of gases. They sense CH4, natural gas, alcohol, smoke, etc. They can be calibrated and thus we have calibrated it such that it will detect smoke.
Logic
We have lit a small candle below the sensor as to check the working. As soon as the smoke arises from it, the sensor will sense this. Thus, the sensor will send the signal to evive. The evive signals the pump. Thus, the pump will push the water through the pipe to the shower. Resulting in the shower of water all over the fire.
Circuitry
We connect the Smoke Sensor as:
- GND to GND of evive
- VCC to +5V of evive
- ANALOG OUT to A0 of evive
Water Pump is connected to M1 Motor Channel.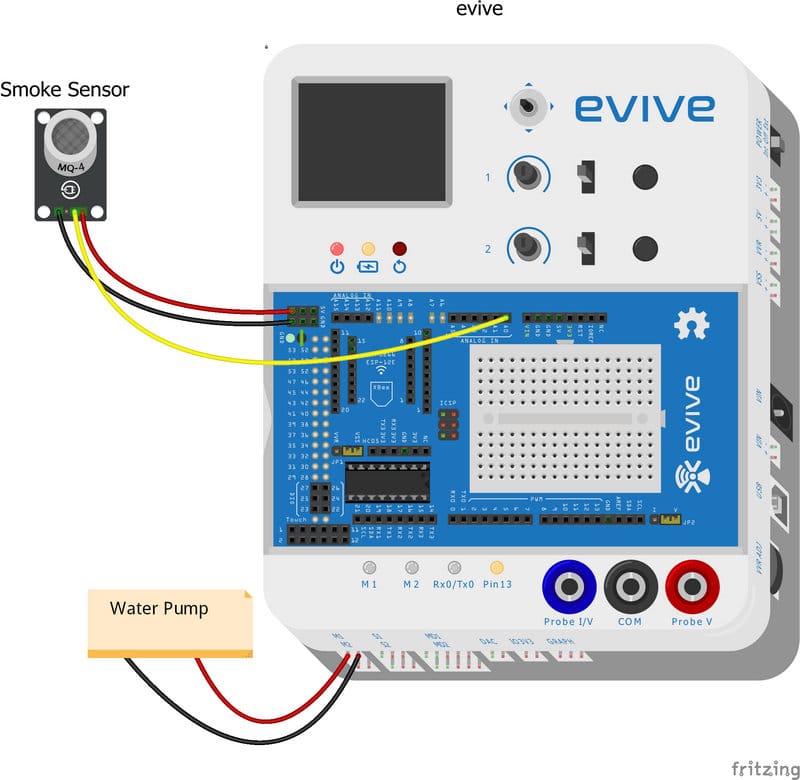
Code
The following Arduino Code should be uploaded to evive.
Conclusion
There! Now you can easily put out fires without being anxious. Comment below to let us know how this DIY project worked out for you. Don’t forget to subscribe to our Newsletter for regular updates!


 1-18 screenshot")


