Introduction
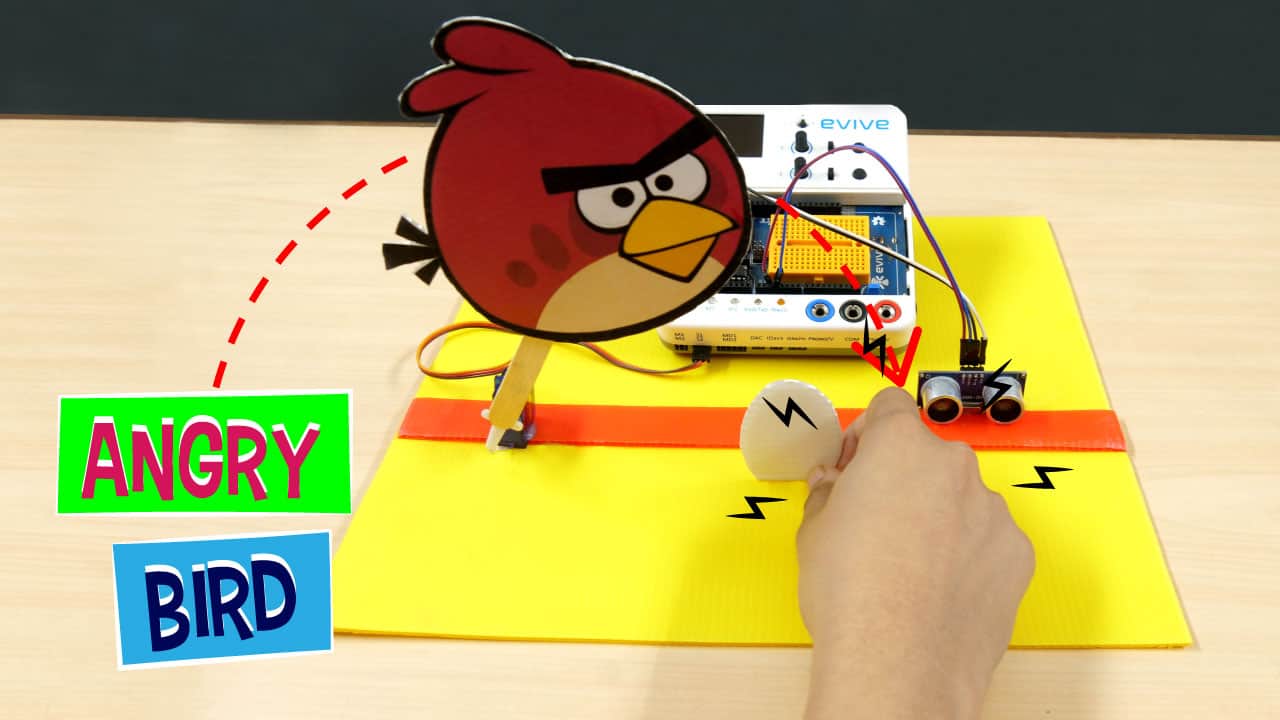
When the Angry Birds game was first launched it created a major hype. We’ve come a long way since the first game which is one of the most loved games. Could a popular game like this one be used for STEM learning? Turns out it can! Presenting to you the Scratch based Angry Birds project! An interesting servo motor project, it shows you how you can control a servo using an ultrasonic sensor by making an Angry Bird-like project. All you need for making this project is the evive Starter Kit and some other DIY material. And since this is a Scratch project, we’re going to code it in PictoBlox – a Scratch based graphical programming software with advanced interaction capabilities.
Ready. Set. Save the egg!
Taking the Cutouts
Before we start making our Angry Birds theme project, let’s first collect all the necessary cutouts that we need in our project.
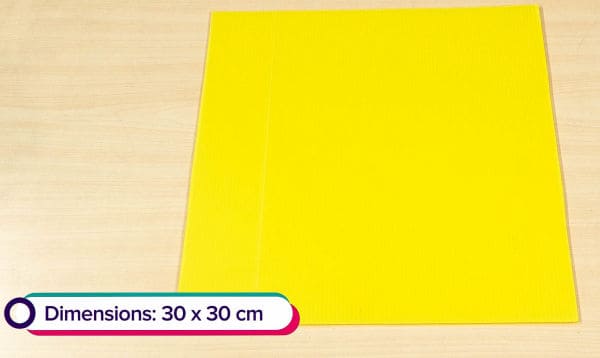
- Take one cardboard and cut it in the dimension of 30 cm x 30 cm. This will act as our base upon which we will place our entire assembly of servo and ultrasonic sensor.
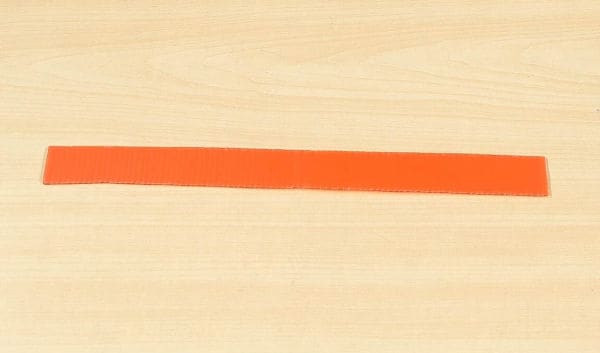
- A small strip of the dimension 2.5 cm x 30 cm to place the servo and the ultrasonic.
- And a small square of 15 cm x 15 cm to stick our angry bird to it.
Assembling the Base
The main aim of this project is to show how can we trigger or control a servo motor using an Ultrasonic Sensor. The Angry Birds theme is to add an extra pinch of edutainment to your STEM learning.
Take the base sheet of the size 30 cm x 30 cm and place the strip at a distance of 10 cm away from the front edge. Glue the strip to the base using a Hot Glue Gun.
Attaching the Ultrasonic Sensor and the Servo
Now as the main aim of the project is to control the servo using an ultrasonic sensor, thus we need to add them into the project.
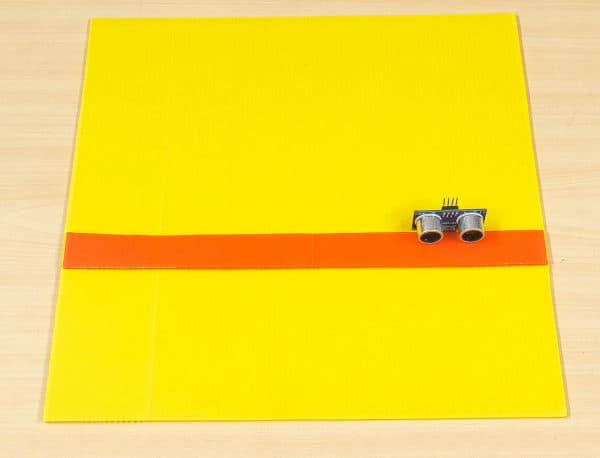
- Take the ultrasonic sensor and attach it on the red strip on one side of the base using Hot Glue.
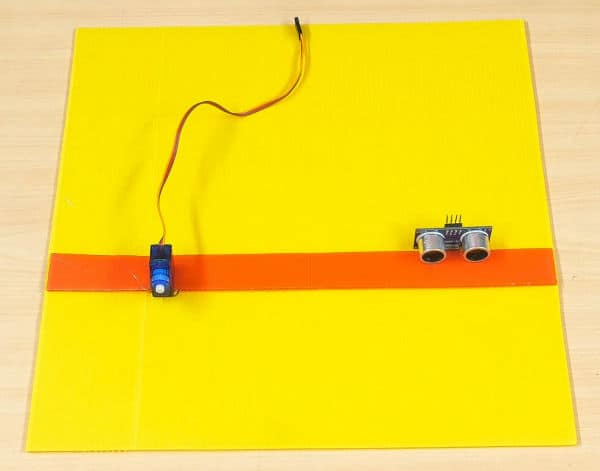
- On the other side of the red strip, attach the servo motor using Hot glue.
Setting the Servo Angle
Now, to set the initial servo angle, we are going to use evive. Setting the servo angle has never been this easy.
Just connect the servo to the Servo channel 1, switch ON evive, choose Controls, select Servo and then select Servo 1 from the option.
You can now change the servo angle using potentiometer 1 to 180 degrees. You can see the servo angle on evive’s TFT display.
Making the Angry Bird and it’s Egg
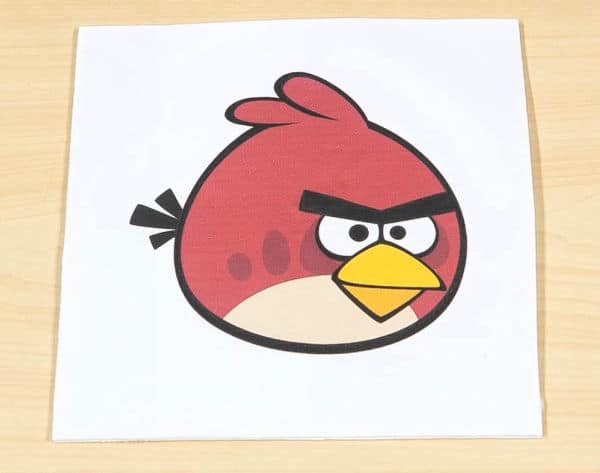
- Now take a square cutout of 15cm x 15cm and glue the angry bird cutout on it. Cut the square cardboard in the shape of the angry bird.
- Now, as we need our angry bird to hit the person as soon as he/she tries to take the egg away. We will attach an ice cream to the bird.
- At the other end of the ice-cream stick attach the servo horn as we need to attach it to the servo head.

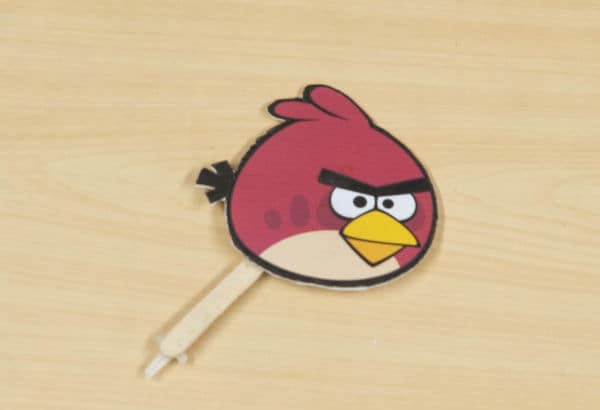
- Now fix this entire assembly onto the servo head.
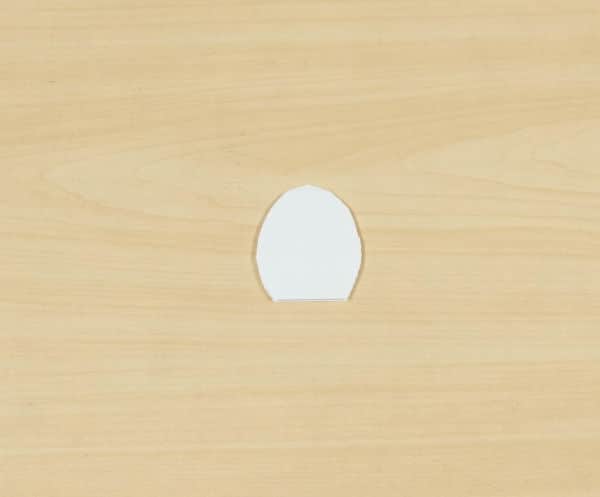
- Now, all we need is the Egg! Take the small cardboard piece and cut it in the shape of the egg and fix it on the base at some distance from the servo and the ultrasonic sensor.
With this, our entire assembly is completed.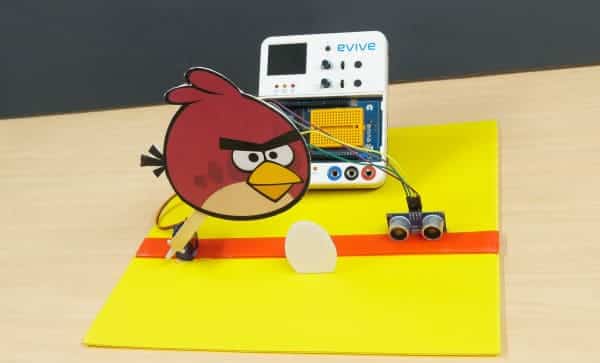
Making the Connection
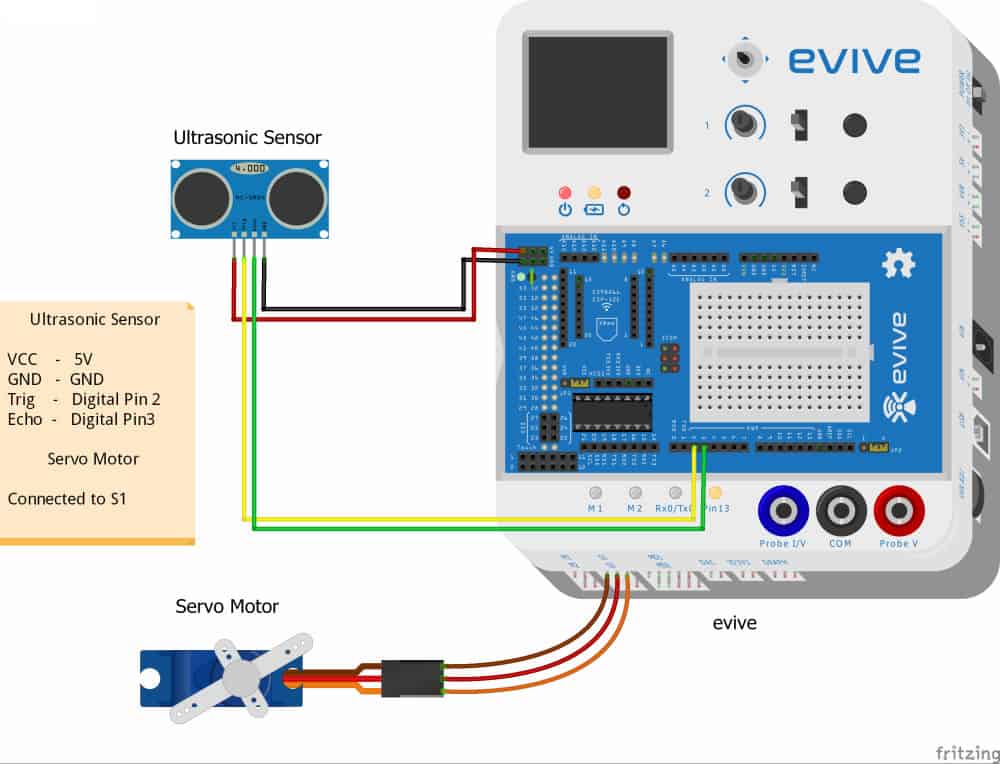
Now, we need to connect them to the microcontroller, evive is the one in our case.
- Servo to channel 1 i.e S1 of evive
- Ultrasonic sensor as:
- VCC to 5V of evive
- GND to Ground of evive
- Trig to digital pin 2 of evive
- Echo to digital pin 3 of evive

Writing the Code
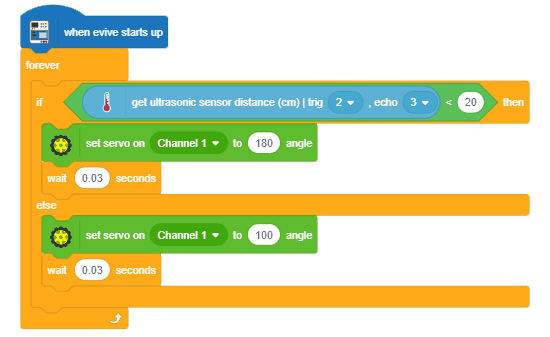
As this is a Scratch based Angry Bird, we will be coding it in PictoBlox- a Scratch based programming software. Just drag and drop a few blocks and upload the code to your hardware:
Also, Codeavour is live now! Participate for free and get a chance to win exciting prizes.
Working of the Project
The HC-SR04 Ultrasonic sensor detects any intrusion occurring and sends a signal to the brain. The brain then sends the signal to the servo motor.
Now, in this project, as soon as the intruder tries to steal the egg, the angry bird which is attached to the servo pricks the intruder. How exactly does our angry bird pricks? The initial servo angle is set to 180 degrees, now as soon as the ultrasonic sensor trigger the servo, the servo angle changes to 100 degrees.
To find more servo motor project, click here.
Conclusion
With this, your scratch based Angry Bird project is ready. Have fun!

