
Introduction
‘Tis the holiday season! Time for fun, frolic, and gifts! However, as much exciting getting someone a gift is, it is equally baffling! What to get? How to make it the most memorable gift ever? Whether to buy it or go for DIY? Well, the buck stops here. Here’s presenting you with a totally ingenious gifting idea that is bound to blow everybody’s mind away: the 3D printed lithophane lamp, an easy-to-make DIY lamp with a personal touch! Convert the photographs of your loved ones into lithophanes, print them using a 3D printer, join them, et voilà! The lithophane lamp is ready to light up the house and the mood of one and all.
Ditch everything else and Ready. Set. Print!
Converting Image to Lithophane
In the age of Smartphones, we have captured memories now-and-then. Thus, with those photos and with the help of the latest 3D Printing Technology, let’s make a customized lamp to give your house another great decor item.
The first thing that we need to do is to convert your PNG or JPEG image to .STL file. As for 3D printing, the file format that can be sliced in Cura is .STL (Stereolithography).
You may find many online web pages providing the same functions.
There are many ways of converting it. We will be converting it using the web application.
The one we are using can be found here.
As soon as you open the link, you will find the following screen.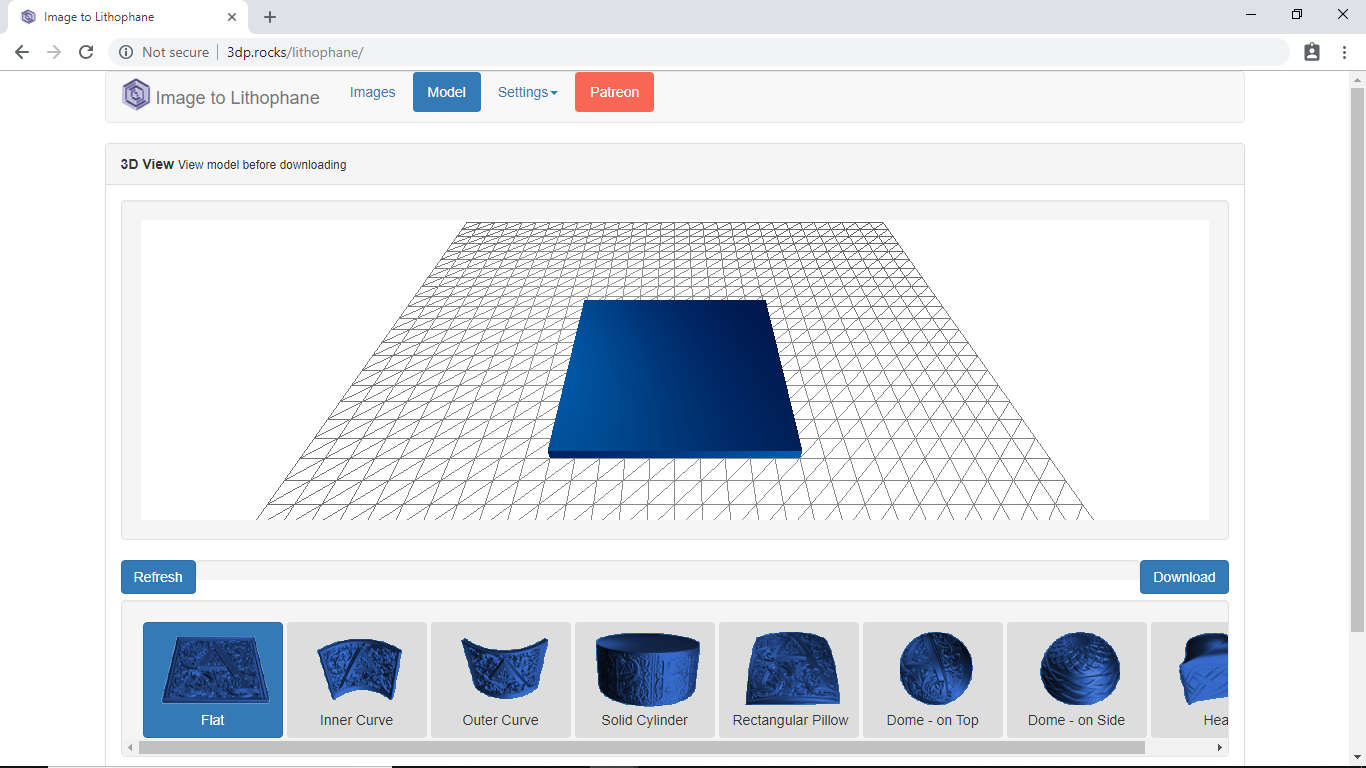
Import the image you want to convert choosing the IMAGE option from the toolbar.
Once you upload the image you will see the following image. 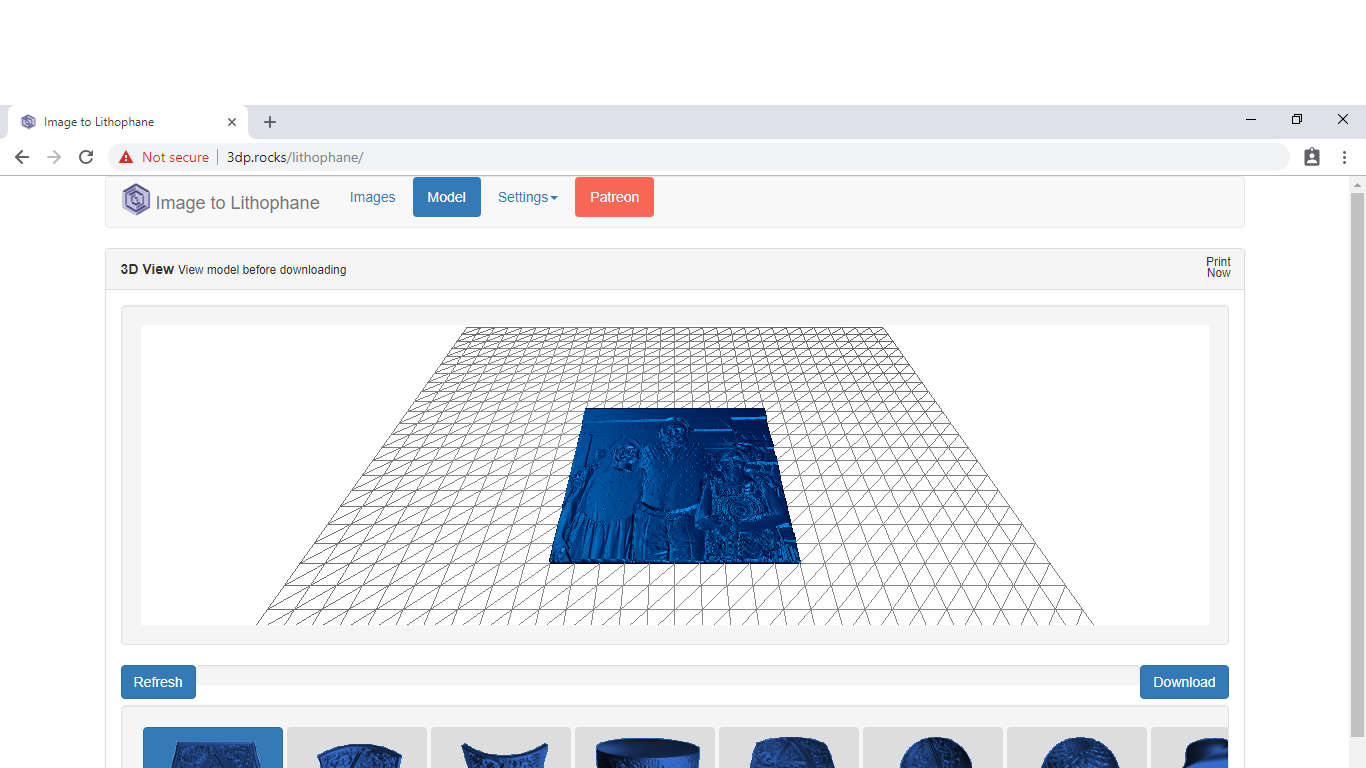
We will be changing some of the settings as listed below:
In Model Setting:
- Max Size: 150
- Thickness: 4
- Border: 5
- Thinnest Layer: 1
- Vector Per Pixel: 6
NOTE: You can change any of the above settings as per your requirement. 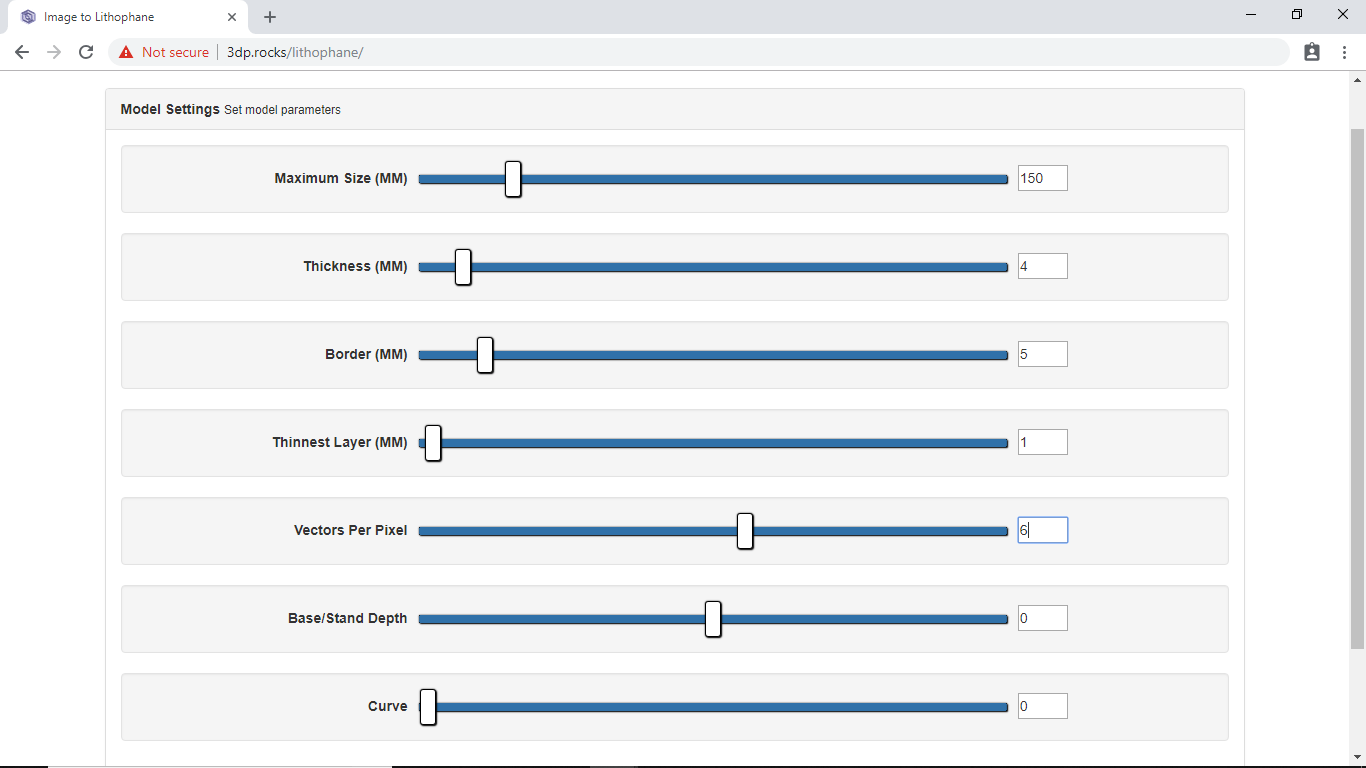
In Image Setting:
Make sure that you change the setting to Positive Image from Negative Image.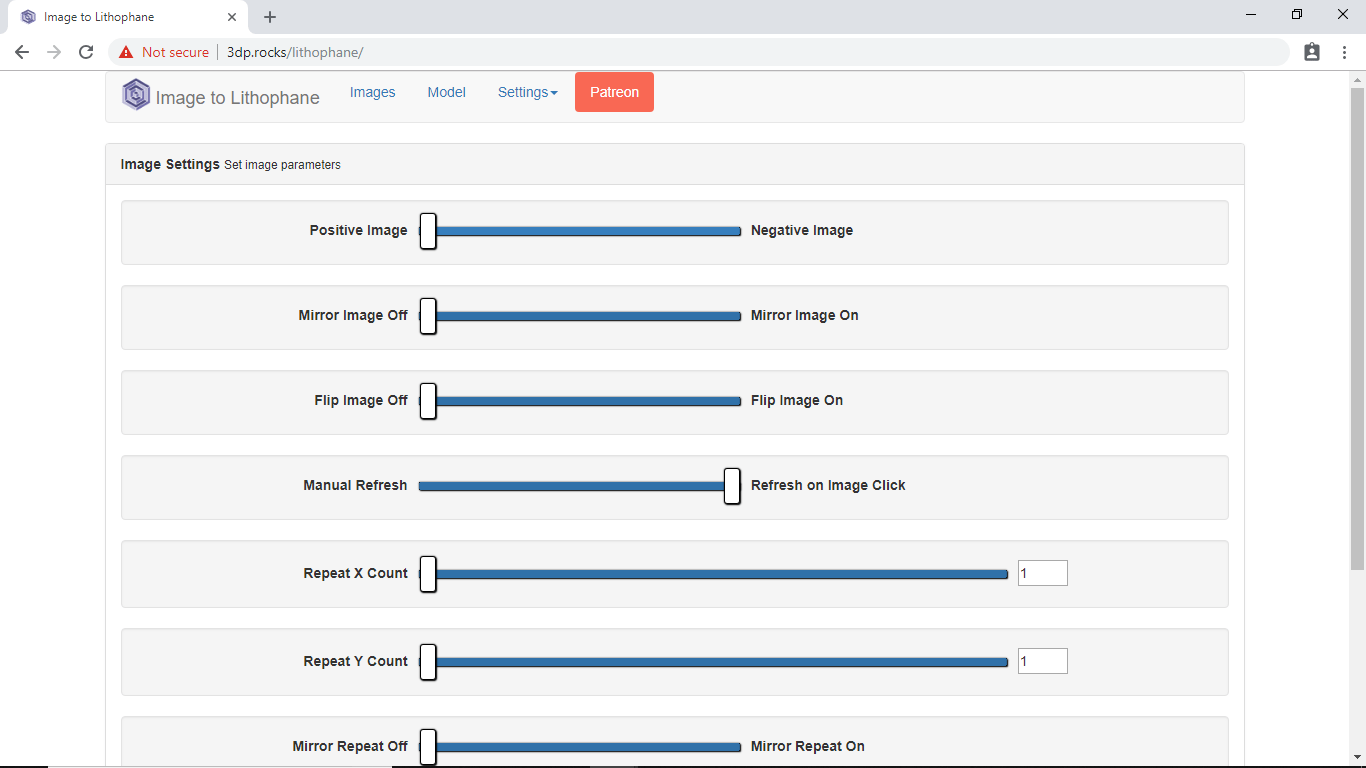
Once done with the setting go to model and Refresh.
When it is completed, download the .STL File.
Open this file in Cura and slice it.
While slicing, make sure that you keep the Layer Height to 0.1 and Infill Density to 100%.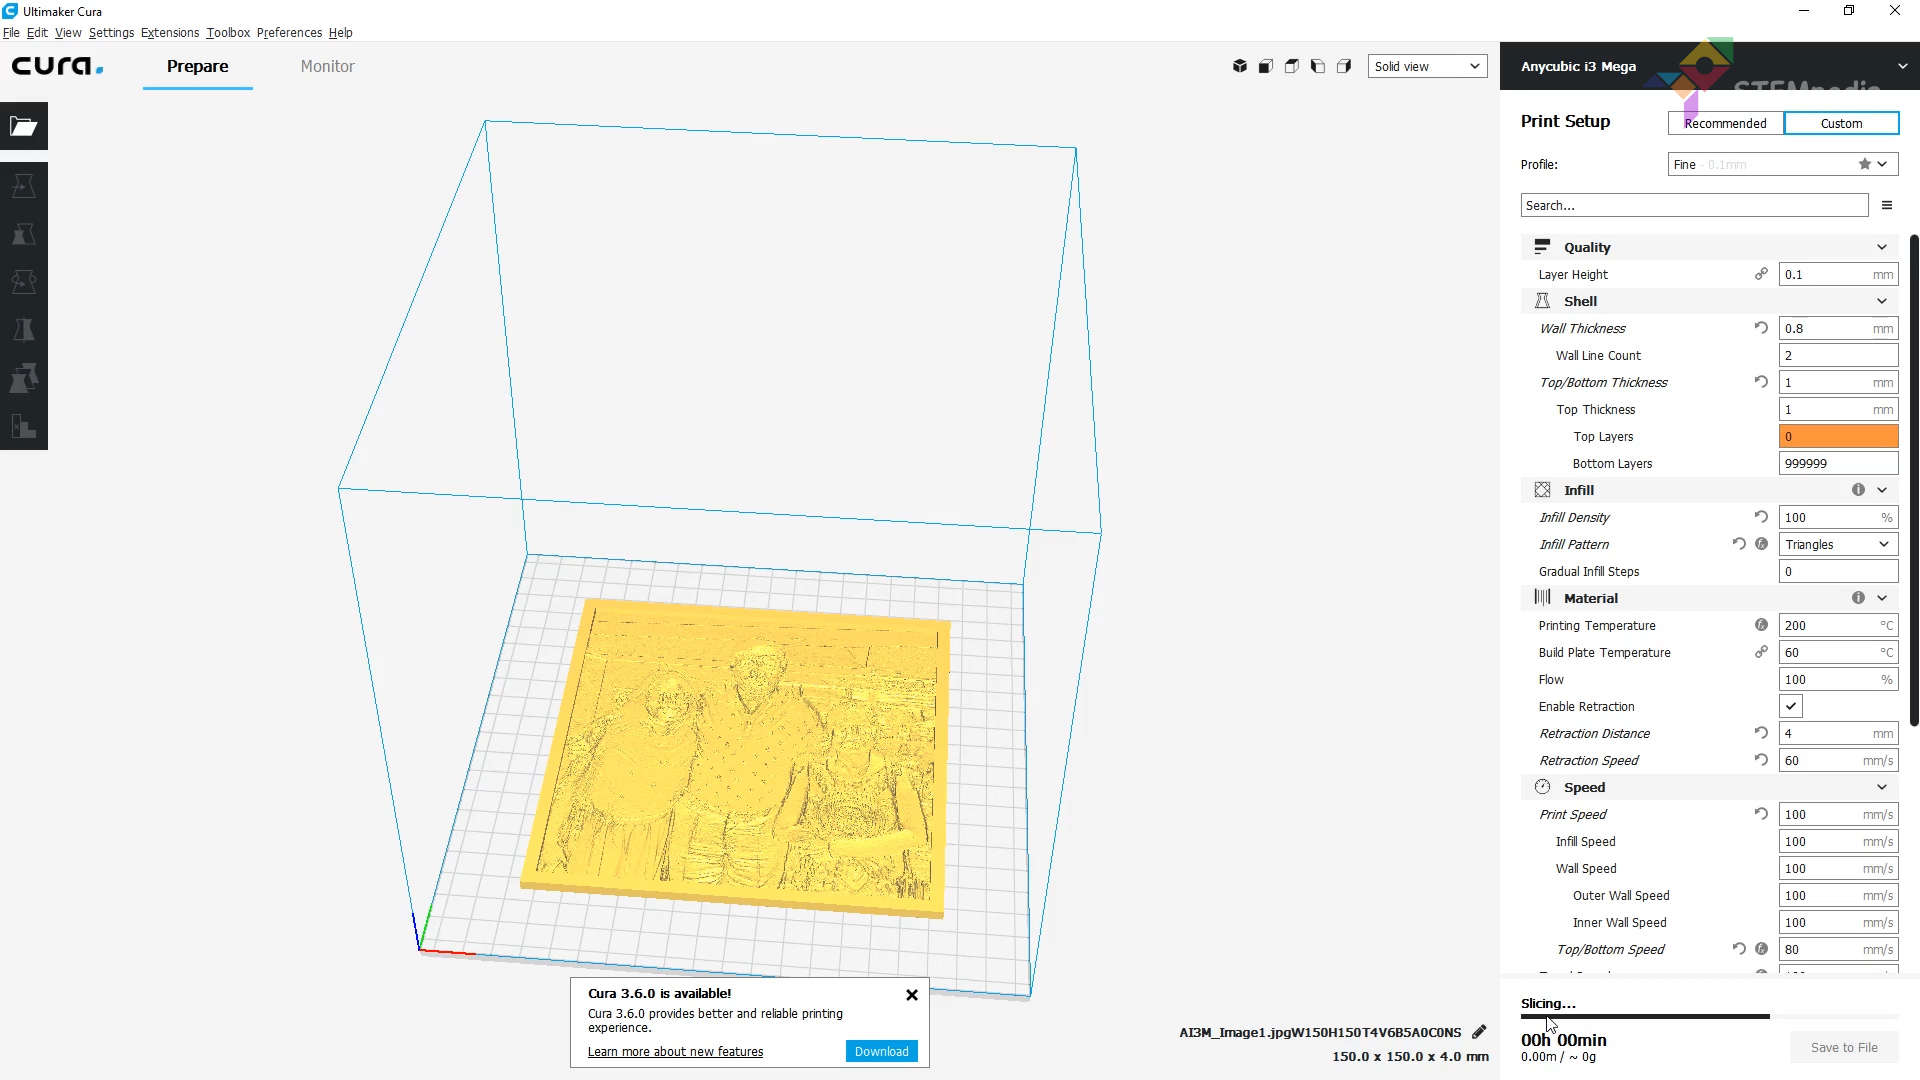
Then save it to the SD Card and print it.
Designing the Lampshade Fitting
Now that we have the sides for our lamp or we can call the lamp shade, its time to make its fitting.
We have manually designed it in TinkerCAD according to the size of our Lithophane.
The ring in the center is used to keep the bulb holder.
The shapes on the edges are used to keep the Lithophane tight.
You can change the dimensions according to the dimensions of your lithophane.
Slice it in Cura and save the gcode to the SD Card and print it twice.
Assembling the Lamp
Thus, we now have the two important things that we need to make our lamp.
Let’s start with assembling it.
Take one of the lamp fittings and lithophanes. Fix the lithophanes in the gaps given in fitting.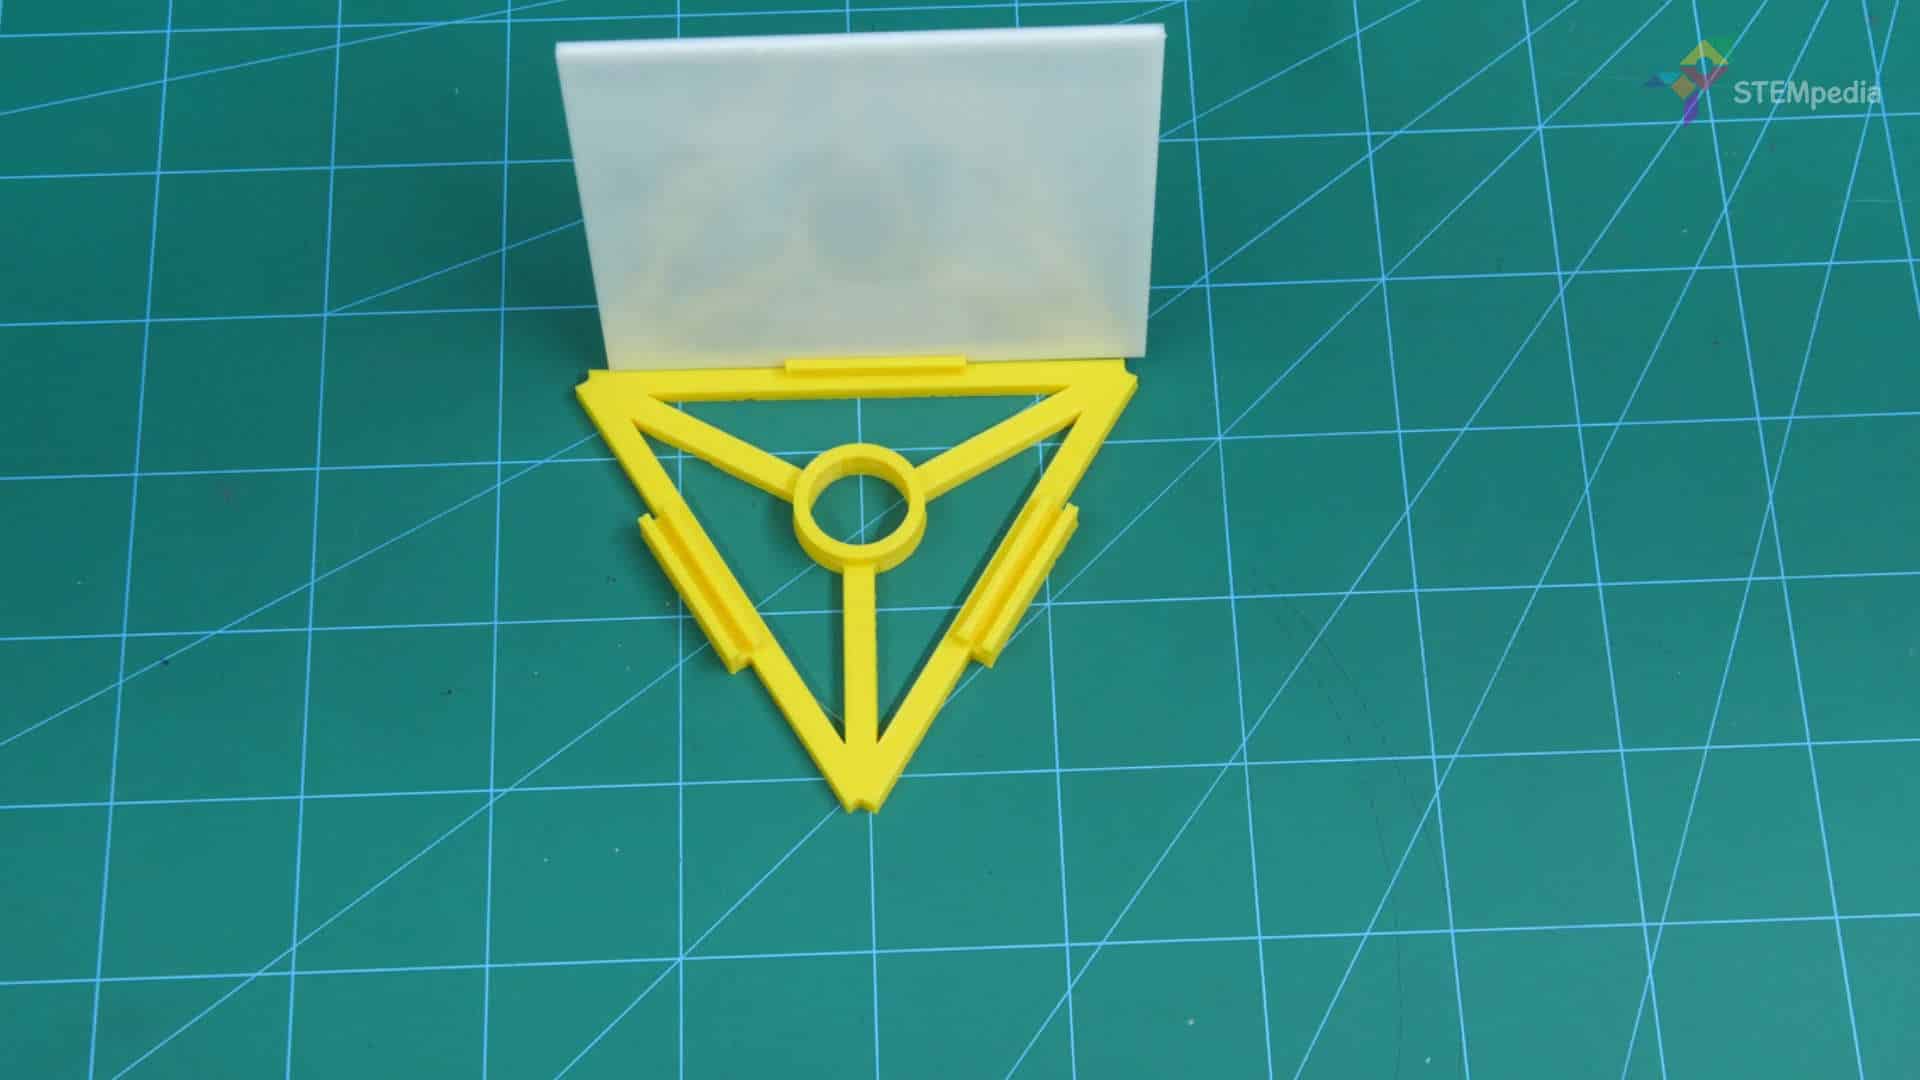
Keep this assembly aside.
As we are going to make a lamp, we need to add a bulb.
Thus, take the bulb holder and connect the electrical wires to it. Finally, fit it in the circle given in the center of the fitting.
Fix bulb into the bulb holder.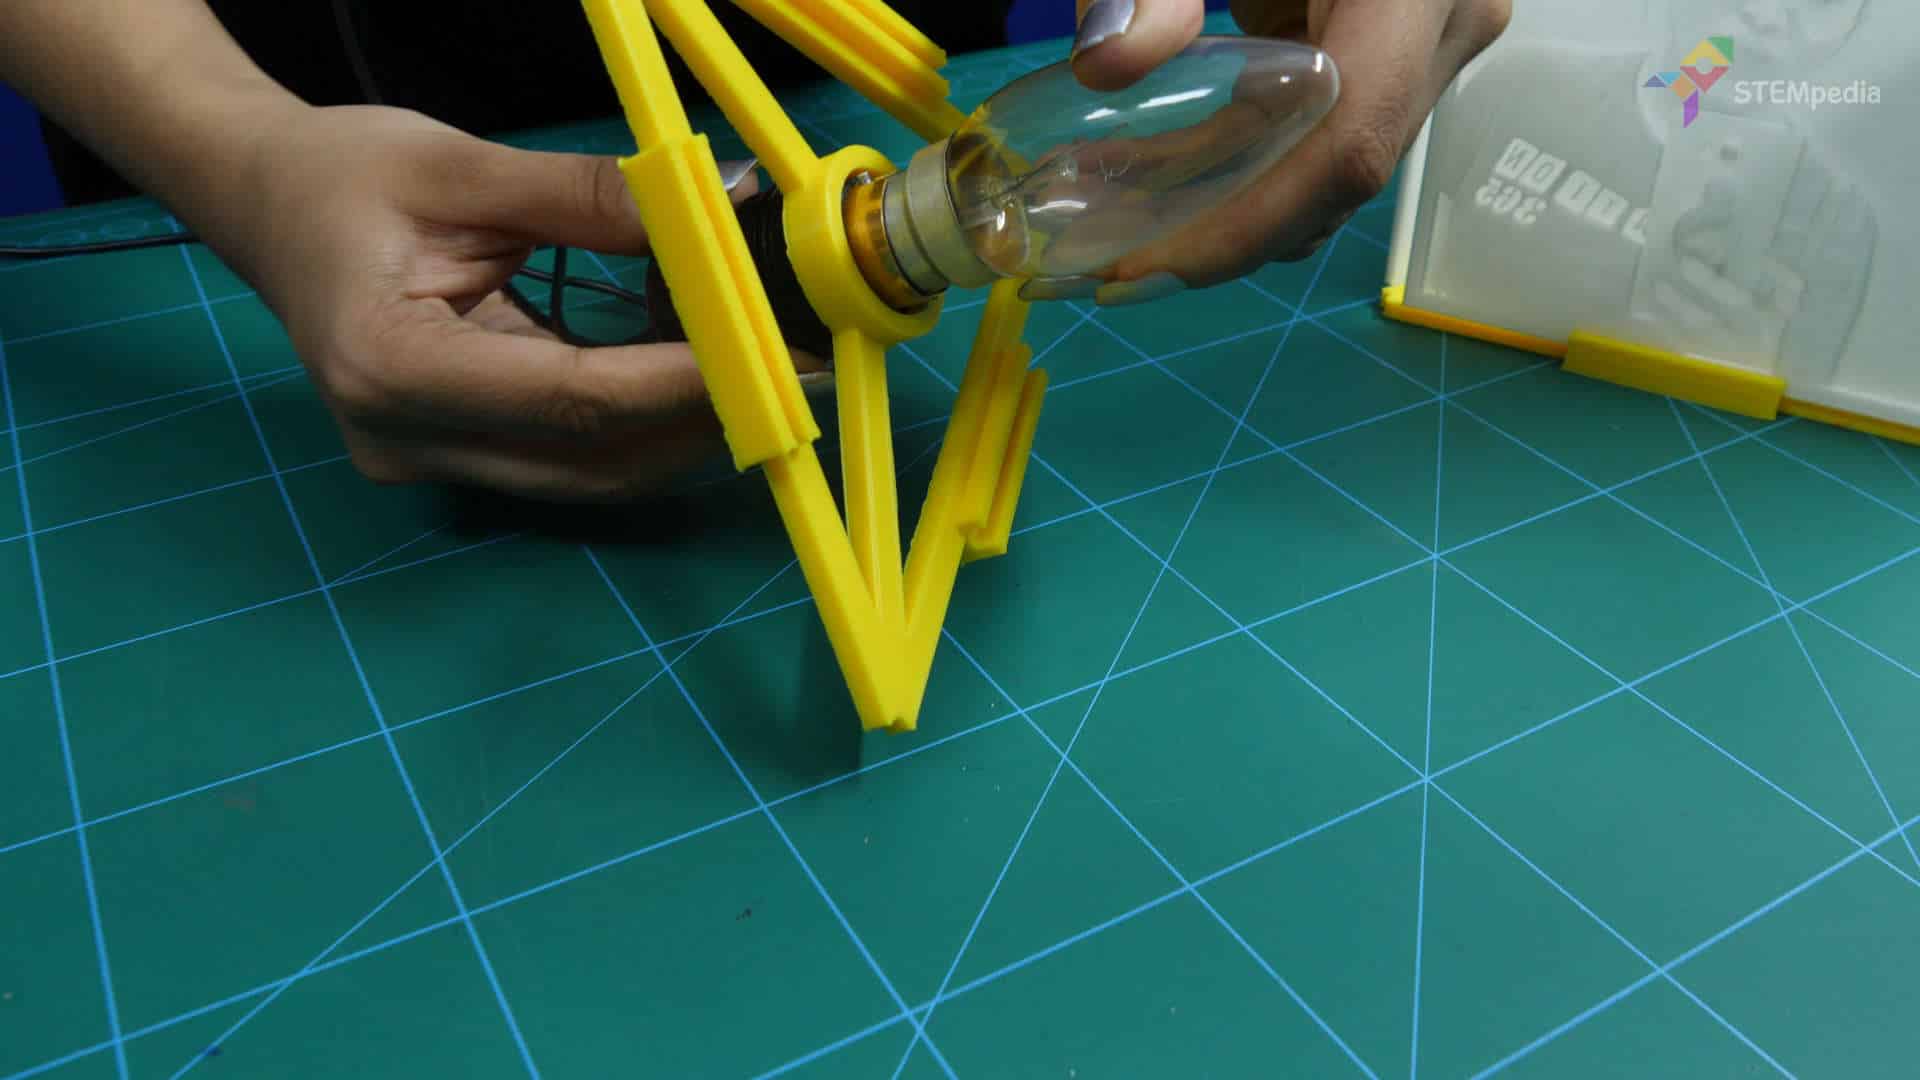
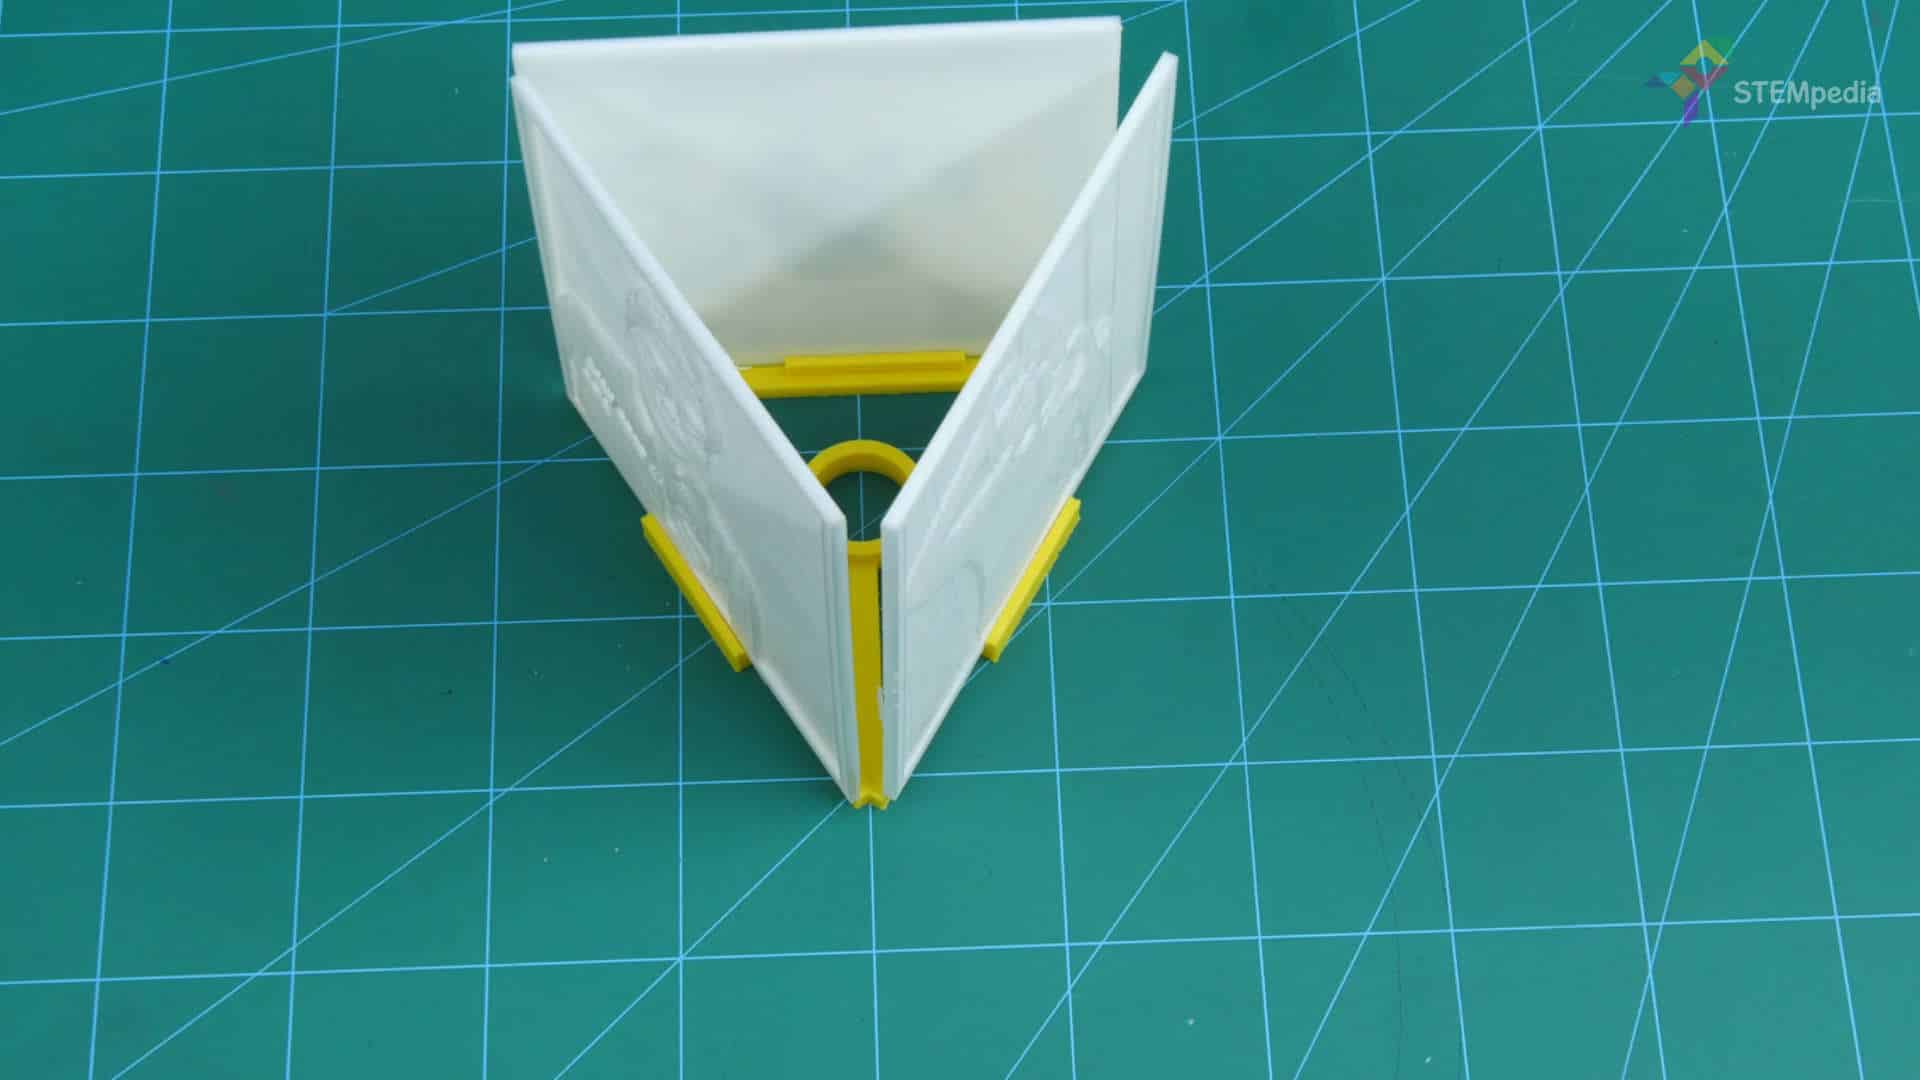
Place the fitting onto the lithophane assembly by inserting the lithophanes into the gaps at the edges.
Finally, connect the plug to the power outlet.
Your assembly is thus complete.
Conclusion
With this, your DIY 3D printed lithophane lamp is ready to light up your room, festival, and life!


 For Construction Sites by Abhay Maheshwari 2-6 screenshot")


