
Introduction
If you have plants at your home, you know going out on vacation poses a daunting question in your face: who in the world is going to water the plants?! If you have good neighbors then your life’s probably sorted. If not, then, well, you need something else. This ‘else’ is what this project is exactly about! What if we told you that you need not worry anymore about your plants drying up while you holiday near the sea? Yes, you hear it right! The DIY Automatic Plant Watering System will make sure that your plants stay lush and green while you’re out all on. its. own!
Want to know how to make one for yourself? Hop right in!
Drip Irrigation System
The overall making of the project is the same as the project we made earlier which is the drip irrigation system. The link for the same is given below:
Drip Irrigation System
The catch here is that in the last project the watering was done manually, but here in this project, we are going to make it automated.
When we talk about automatic plant watering, the first thing that comes in our is the reason that is lack of water. The pump only waters when the soil dries up. To check the moisture of the soil, we use the secret device known as the Soil Moisture Sensor.
Once you are ready with your drip irrigation system.
Take the Soil Moisture Sensor and insert in the soil as shown in the below figure.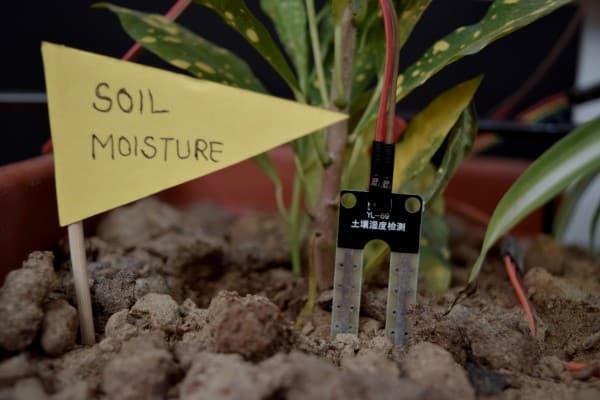
The connection of the same is shown in the below schematics.
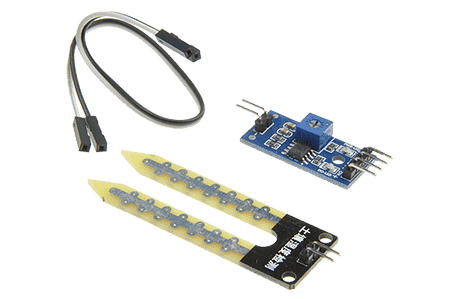
What is Soil Moisture Sensor and How it Works?
The Soil Moisture Sensor measures the water content of the soil. The moisture sensor contains two electrodes which are inserted into the soil. These electrodes are used to measure the content of water in the soil.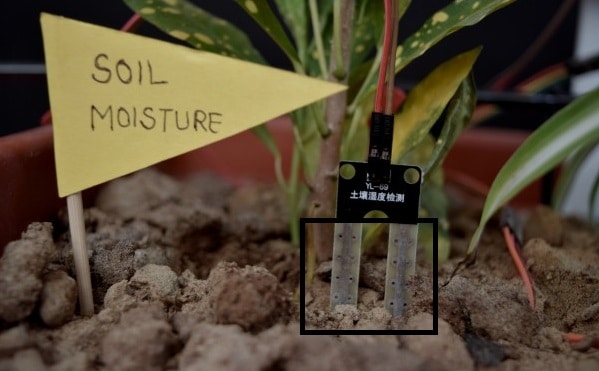
The electrodes are used to check the conductivity of the soil. When we check the conductivity of the soil.
The more conductive the soil is the more water content the soil has.
Logic
We will do the following things in our program:
- Get the sensor value.
- Convert the sensor value to the moisture level.
Moisture level = (Sensor value * 100) / 1023 - Display moisture value on the TFT display.
- If the moisture level goes below 30% we will start watering by starting the pump.
- The moisture will increase when the pump is ON, so we will monitor the moisture level until it reaches 70%.
- When the moisture value reaches 70%, we will stop the pump.
This is how the automatic plant watering system works.
Circuit Diagram
The Water Pump is connected to M1.
Soil Moisture Sensor is connected as follows:
- GND to GND of evive
- VCC to +5 V of evive
- VIN to A0 of evive

PictoBlox Script
Follow the steps:
- Open PictoBlox, select the board as evive.
- Connect your COM port to evive.
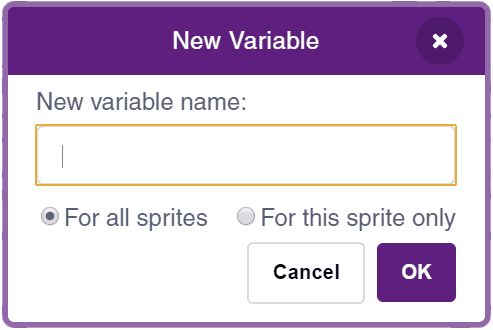
- Create two variables Sensor Reading and Moisture Level.
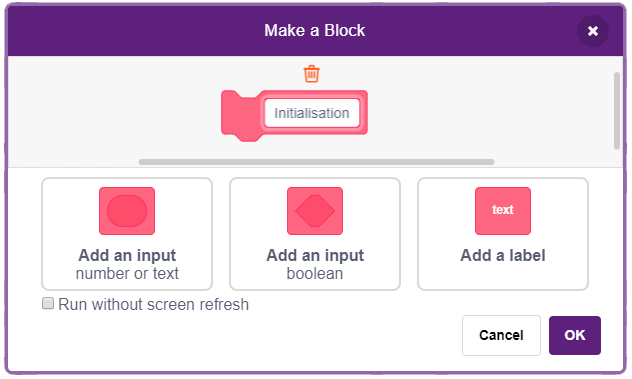
- Make a block to measure moisture and display moisture level:

- Create the script using when evive starts up block following the logic stated in the previous step.
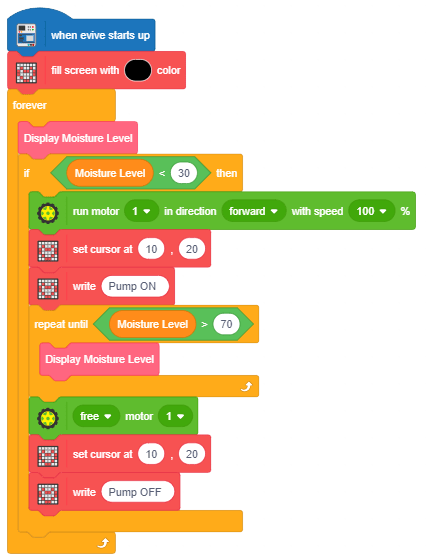
- Upload the code onto evive:
Conclusion
With this, your DIY Automatic Plant Watering System is ready! Go, enjoy your vacay and let the watering system take care of your plants.


 0-1 screenshot")


