Introduction
Christmas is just around the corner and many of us are still wondering what to get as a gift for our kids, siblings, and cousins. Train sets have been one of the most popular and enjoyable gifts for a long long time. This year, how about adding a DIY twist to it so that they can also learn a thing or two while building and playing with their train set?
Presenting to you the DIY automatic railway crossing – an easy to build yet engaging project that gives an idea of how railway crossings work whenever a train passes by. Your kids, siblings, and cousins are sure going to have an amazing time with it!
Want to make one? We’ll show you how!
Making
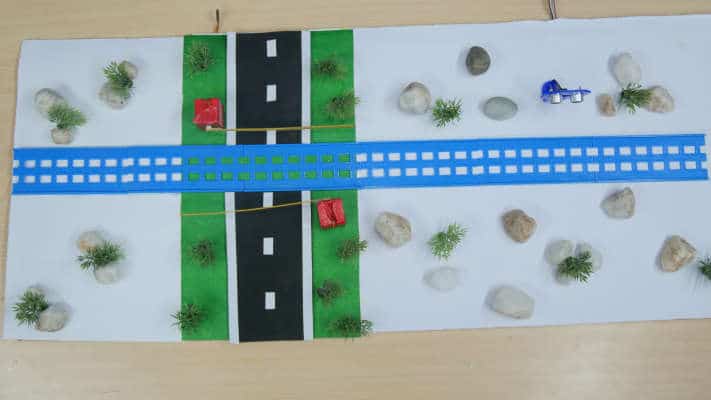
Take the white cardboard sheet and mark the outline of your track and road.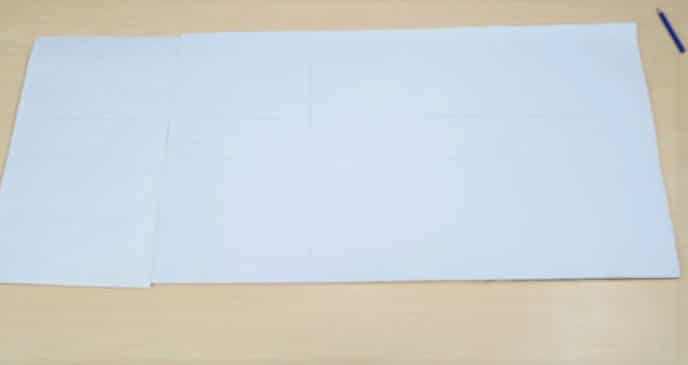
Paste a green piece of paper on the cardboard to indicate where the path will be.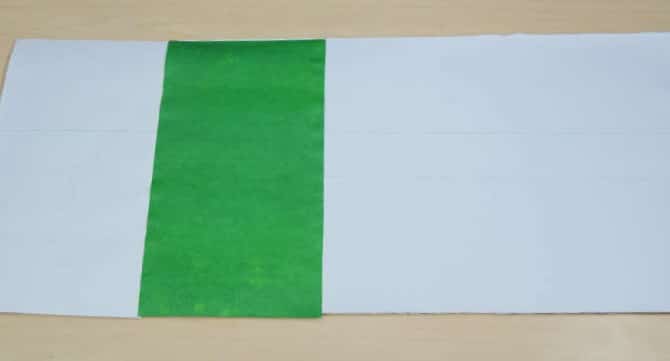
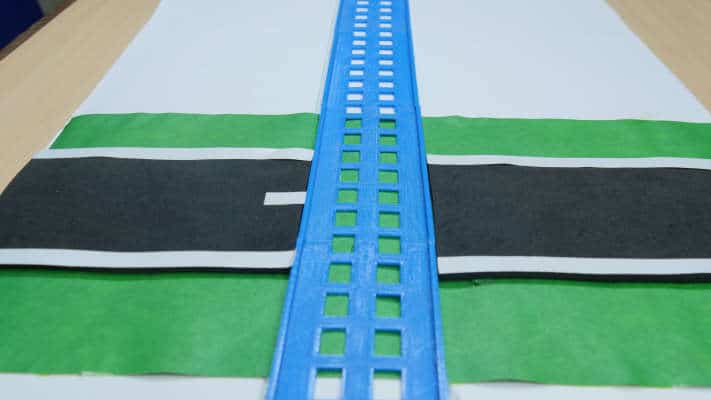
Attach the railway track on the cardboard As per the outline you made. Here, we have 3D printed our railway track.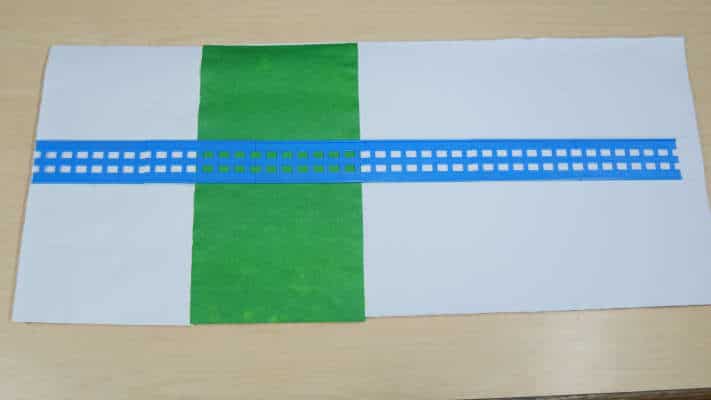
Glue pieces of the black coloured paper on both the sides of the track; they will work as the road.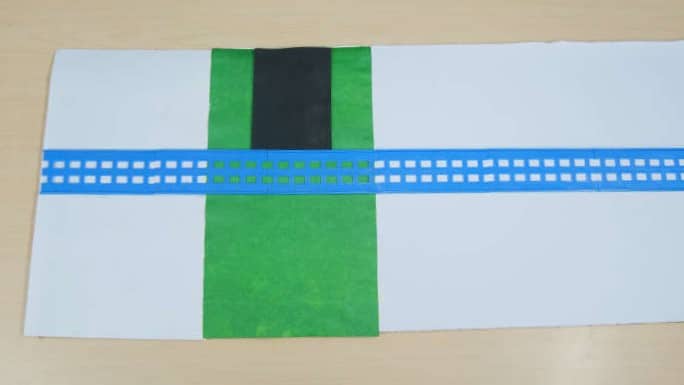

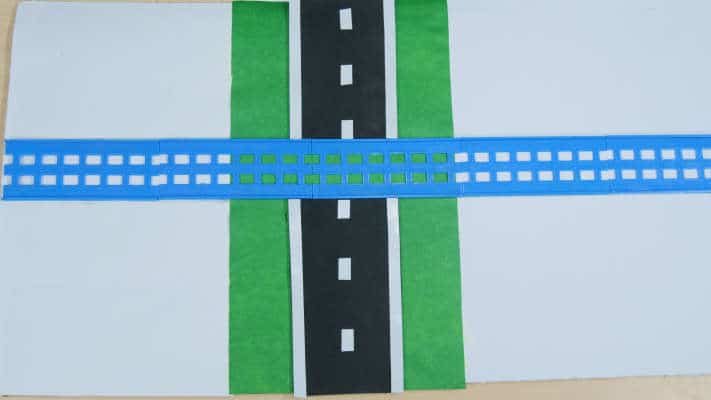
To add more details, we have added the solid white markings on both the sides of the road and broken white marking in the centre of the road.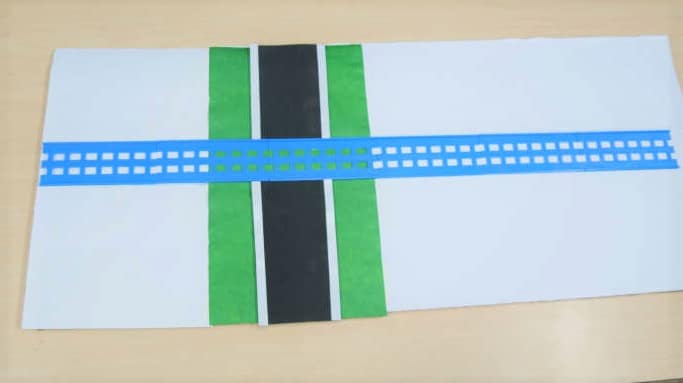
Now, we know that at the crossing, barriers are mounted to stop the vehicles while the train passes by.
Now, add the barriers to your railway crossing.
We will be using two servos.
Glue the foam sheets on both the sides of the servos.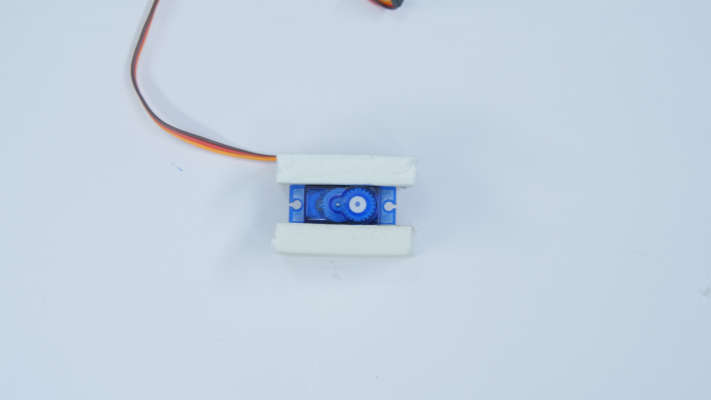
We have fixed as well covered the servos using red tape.
Make sure you keep the servo head out of the tape.
Attach the servo horns on the free servo heads.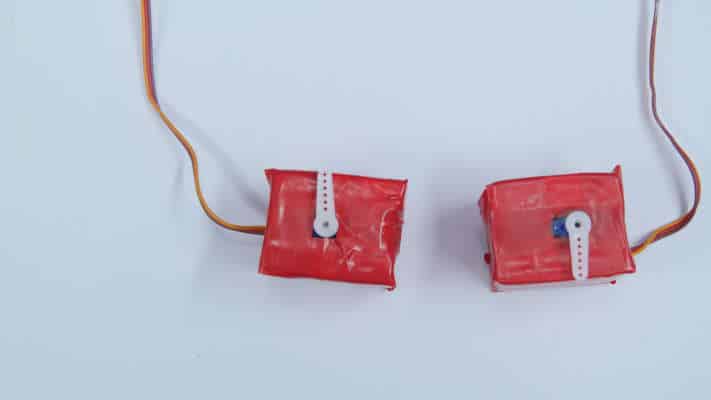
Now that the barrier mechanism is complete, we need to make the barriers.
Attach two long sticks on the servo horns.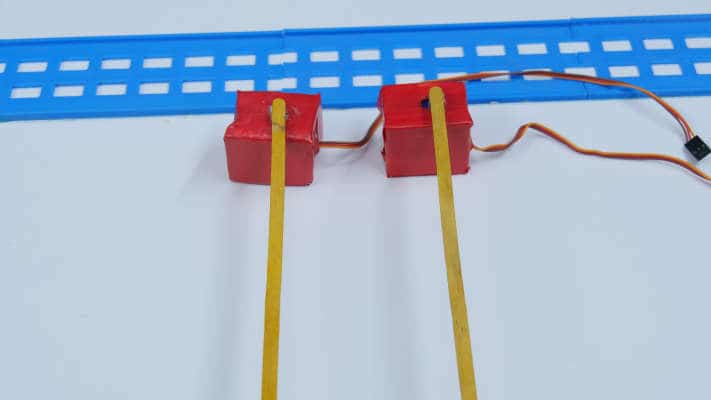
Now, glue the barriers on both the sides of the track.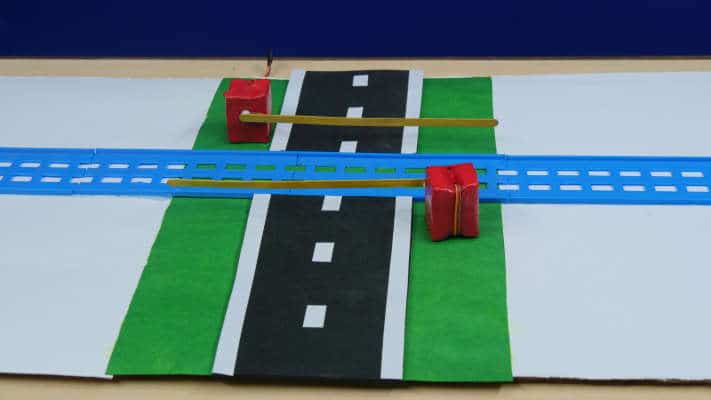
We need something to detect the arrival of the train. For that, we are going to use the Ultrasonic Sensor.
Mount an ultrasonic distance sensor with its holder beside the crossing.
Now, to add a touch of the real world, we will add some artificial plants and stones.
The assembly will be completed once you make the connections as shown in the next step.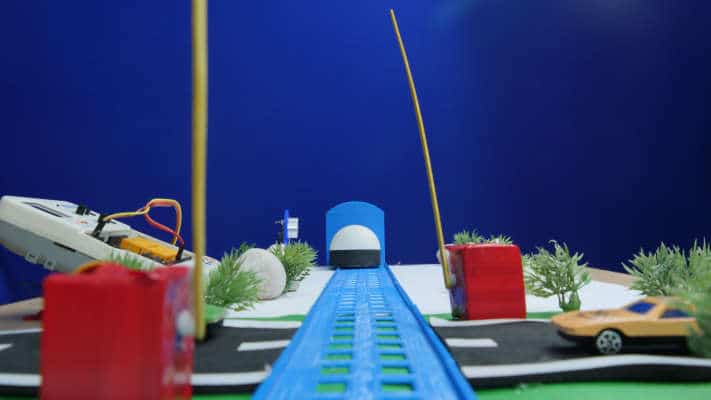
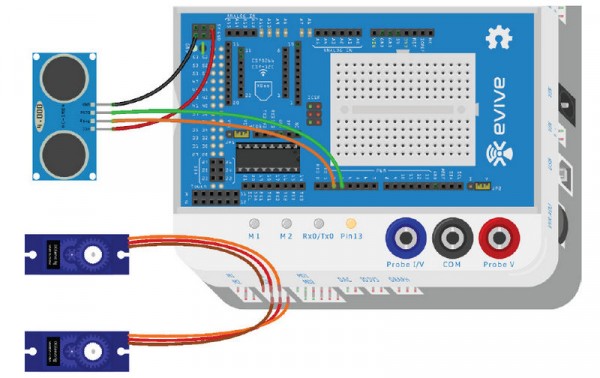
Connections
Make the connections as shown.
Also, make sure that all the wiring should be done under the white sheet.
Logic and Flowchart
The logic is very simple: if the ultrasonic sensor detects the train (distance sensed by the sensor is less than a threshold value, say 10cm), the barriers (servo horns) will close. They will automatically open after a few seconds, i.e. the servo horns will automatically return to their start position.
Code
The following Arduino Code should be uploaded to evive.
Working
The train is not detected hence the barriers are open.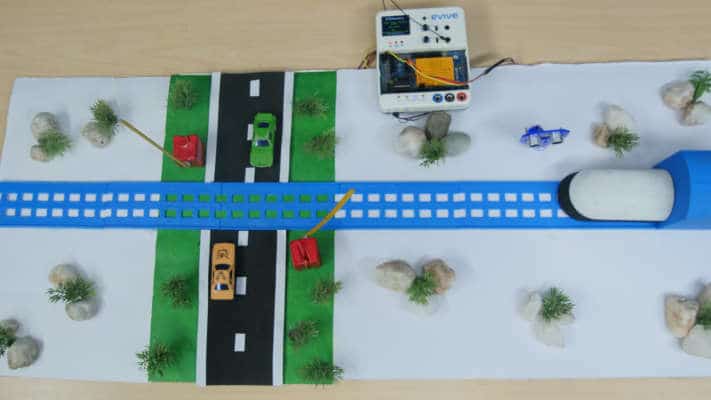
Once the train is detected the barriers are closed.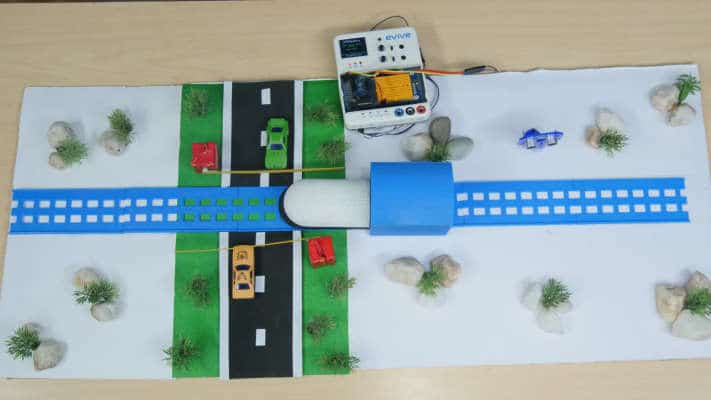
Conclusion
With this, your DIY automatic railway crossing is now up and standing to warn cars whenever a train passes by! Enjoy!