Introduction
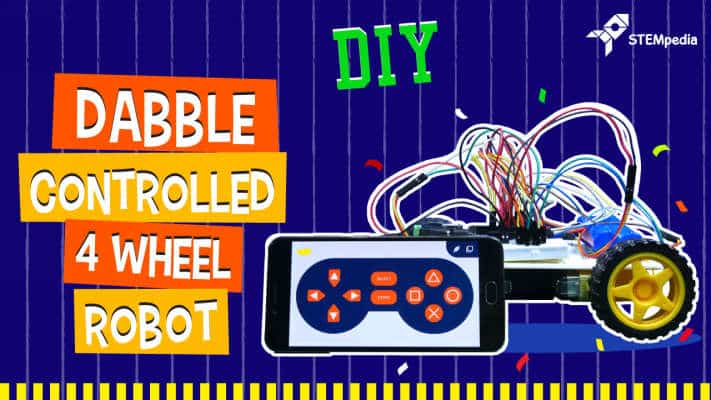
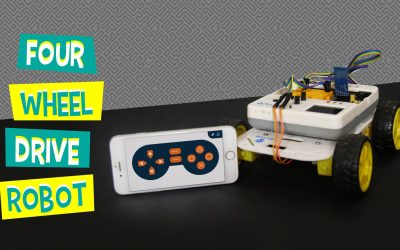
Aaaand we’re back with yet another out-of-the-ordinary gifting idea this Christmas that is perfect for all the hobbyists, tinkerers, and curious minds out there! Packed with some robot making, some wireless control, and fun while doing, of course, is the DIY 4-Wheel robot – an Arduino Uno-powered robot that can be controlled via Bluetooth through our indigenously developed mobile application, Dabble! All you need to do is install it and pair it, and you will be good to go!
So, are you ready to find out why this robot is a great gifting idea for your fellow tinkerers? Then, let’s begin!
Making
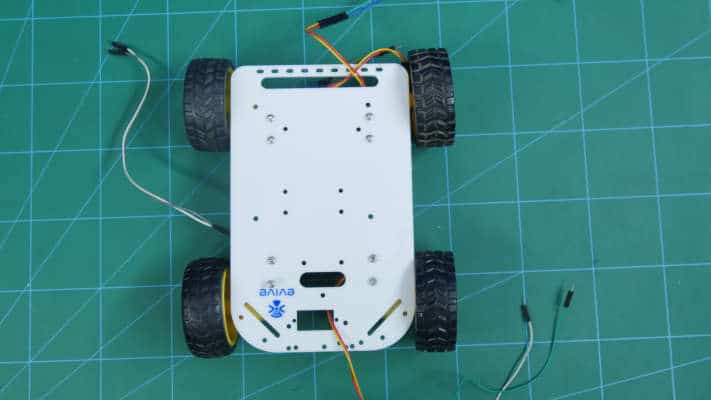
We will first be assembling the base of 4 Wheel Robot.
Take the chassis and turn it upside down.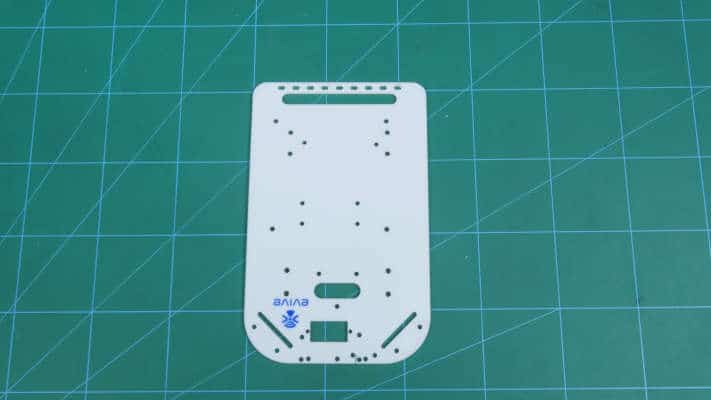
Fix the 4 motor mounts on all the four corners using M3 bolts(8mm) and nuts.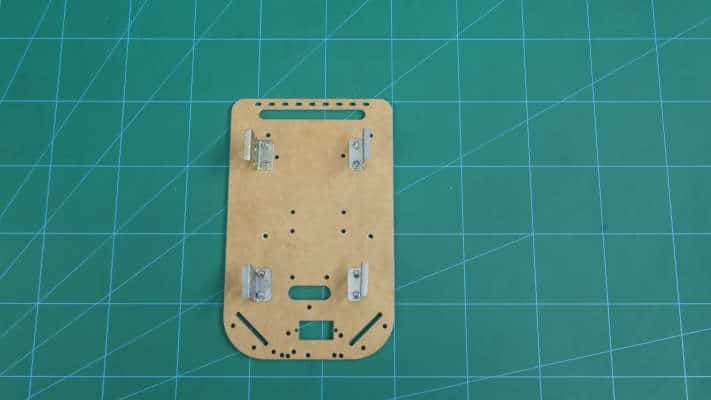
Once you have fixed the mounts, attach motors to it using M3 bolts(25mm) and nuts.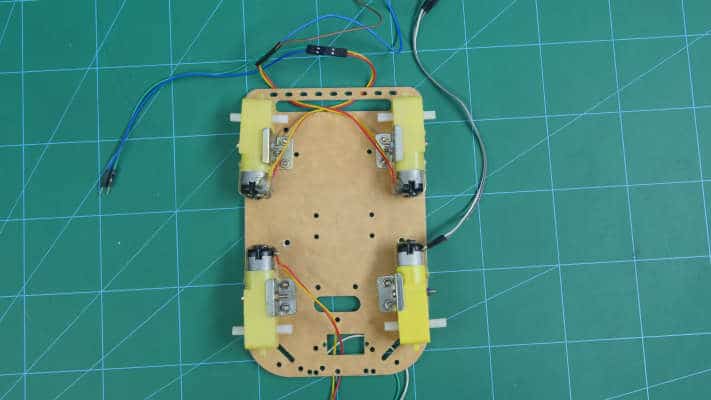
Make sure you keep one shaft of all the motors facing outwards.
Attach the wheels onto the motor shafts.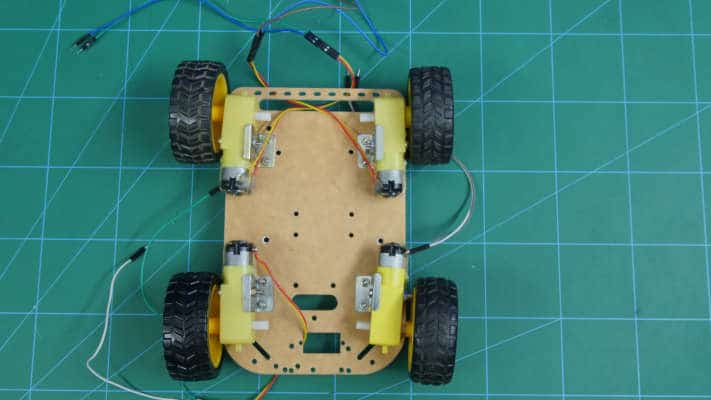
Thus the base of your 4 Wheel Robot is ready.
All you need to do now is to install the Arduino Uno board and make the connections.
The connection can be made using the following step.
You can fix all the elements to the chassis, such as Arduino board, breadboard, and Bluetooth Module using double-sided tape.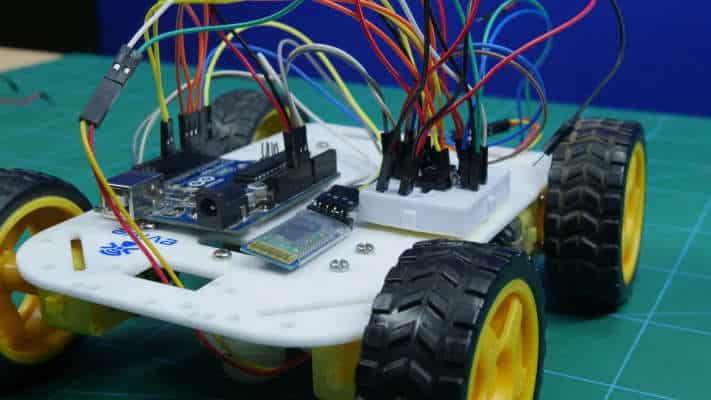
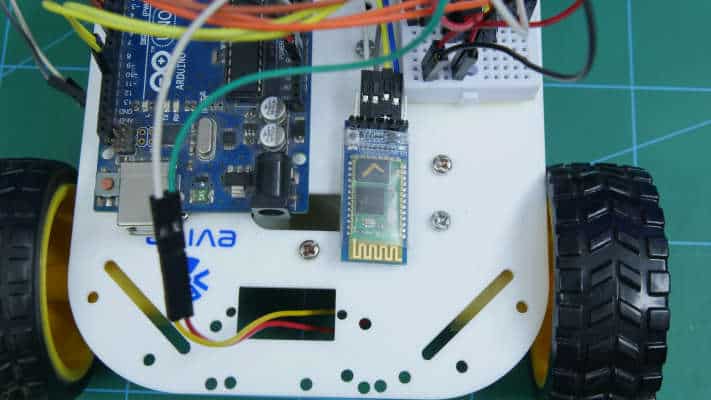
Finally, add the battery and the DC Jack.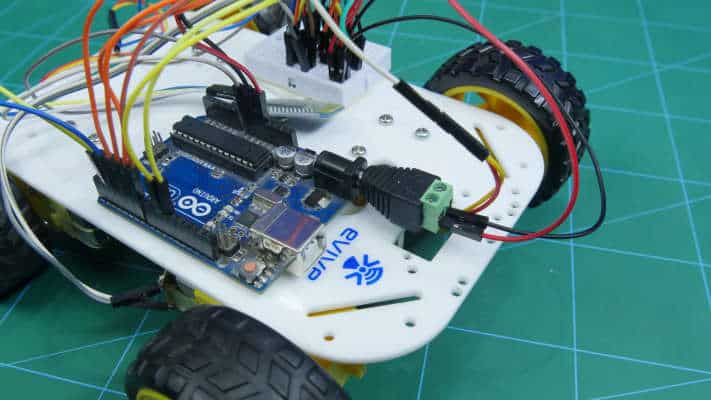
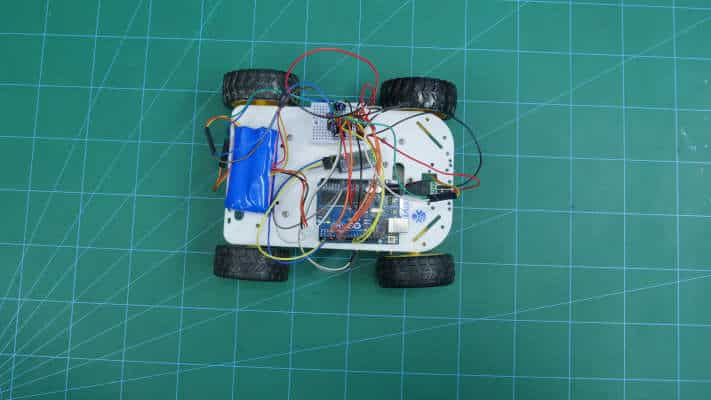
Connections
We are using Arduino Uno as our microcontroller board.
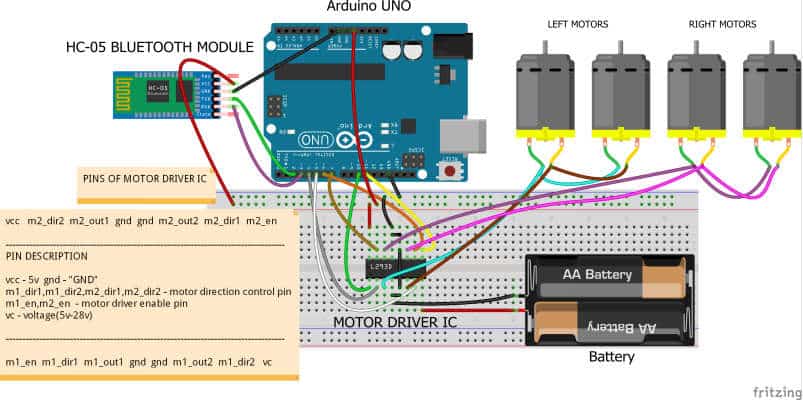
Next component that we are using is the Motor Driver IC.
The reason that we need to use motor driver is that Arduino does not provide much power. Thus we need an external power supply to run the motors. Thus Motor Driver is connected to Arduino and battery and the motor thus run through the Motor Driver IC.
Motor Driver has the following set of pins:
- VCC – 5V
- GND – Ground
- m1_dir1, m1_dir2, m2_dir1, m2_dir2 – Control the direction of the motors
- m1_en, m2_en – Motor Driver enable pin
The left two motors are connected in parallel. Similarly, the right two motors are too connected in parallel.
The connections are made as follows:
- Enable Pins – Digital Pin 10 and 11
- VCC – Arduino 5V
- m1_dir1, m1_dir2, m2_dir1, m2_dir2 – Digital Pin 4, 5, 6, and 7
- VC – External Battery
- GND – GND of Arduino and Battery
Make sure we connect all the GND wires together.
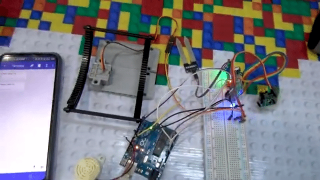
Also, connect HC05 as shown in the below figure.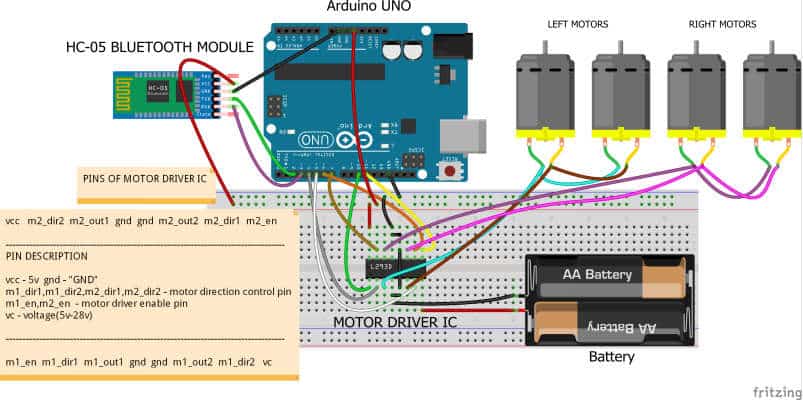
Logic
The HC-05 Bluetooth module is used to connect our 4 Wheel Robot to Dabble.
Install the app and open it.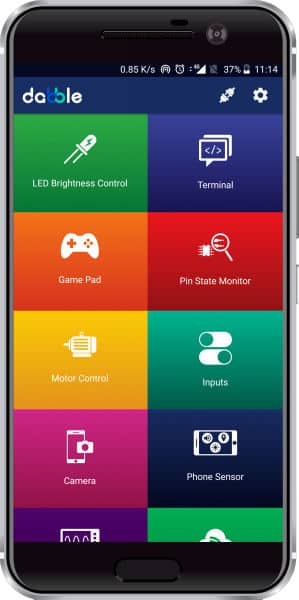
Then, pair it with the HC-05 Bluetooth module.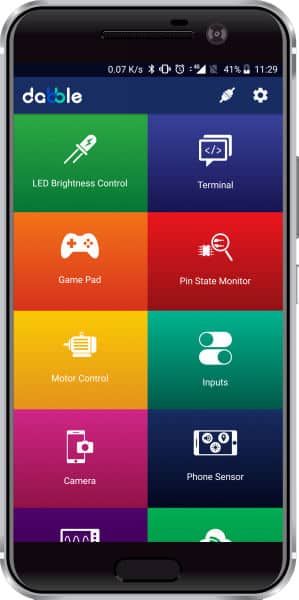
Open Gamepad.
You can now control your Robot using the keys of the GamePad.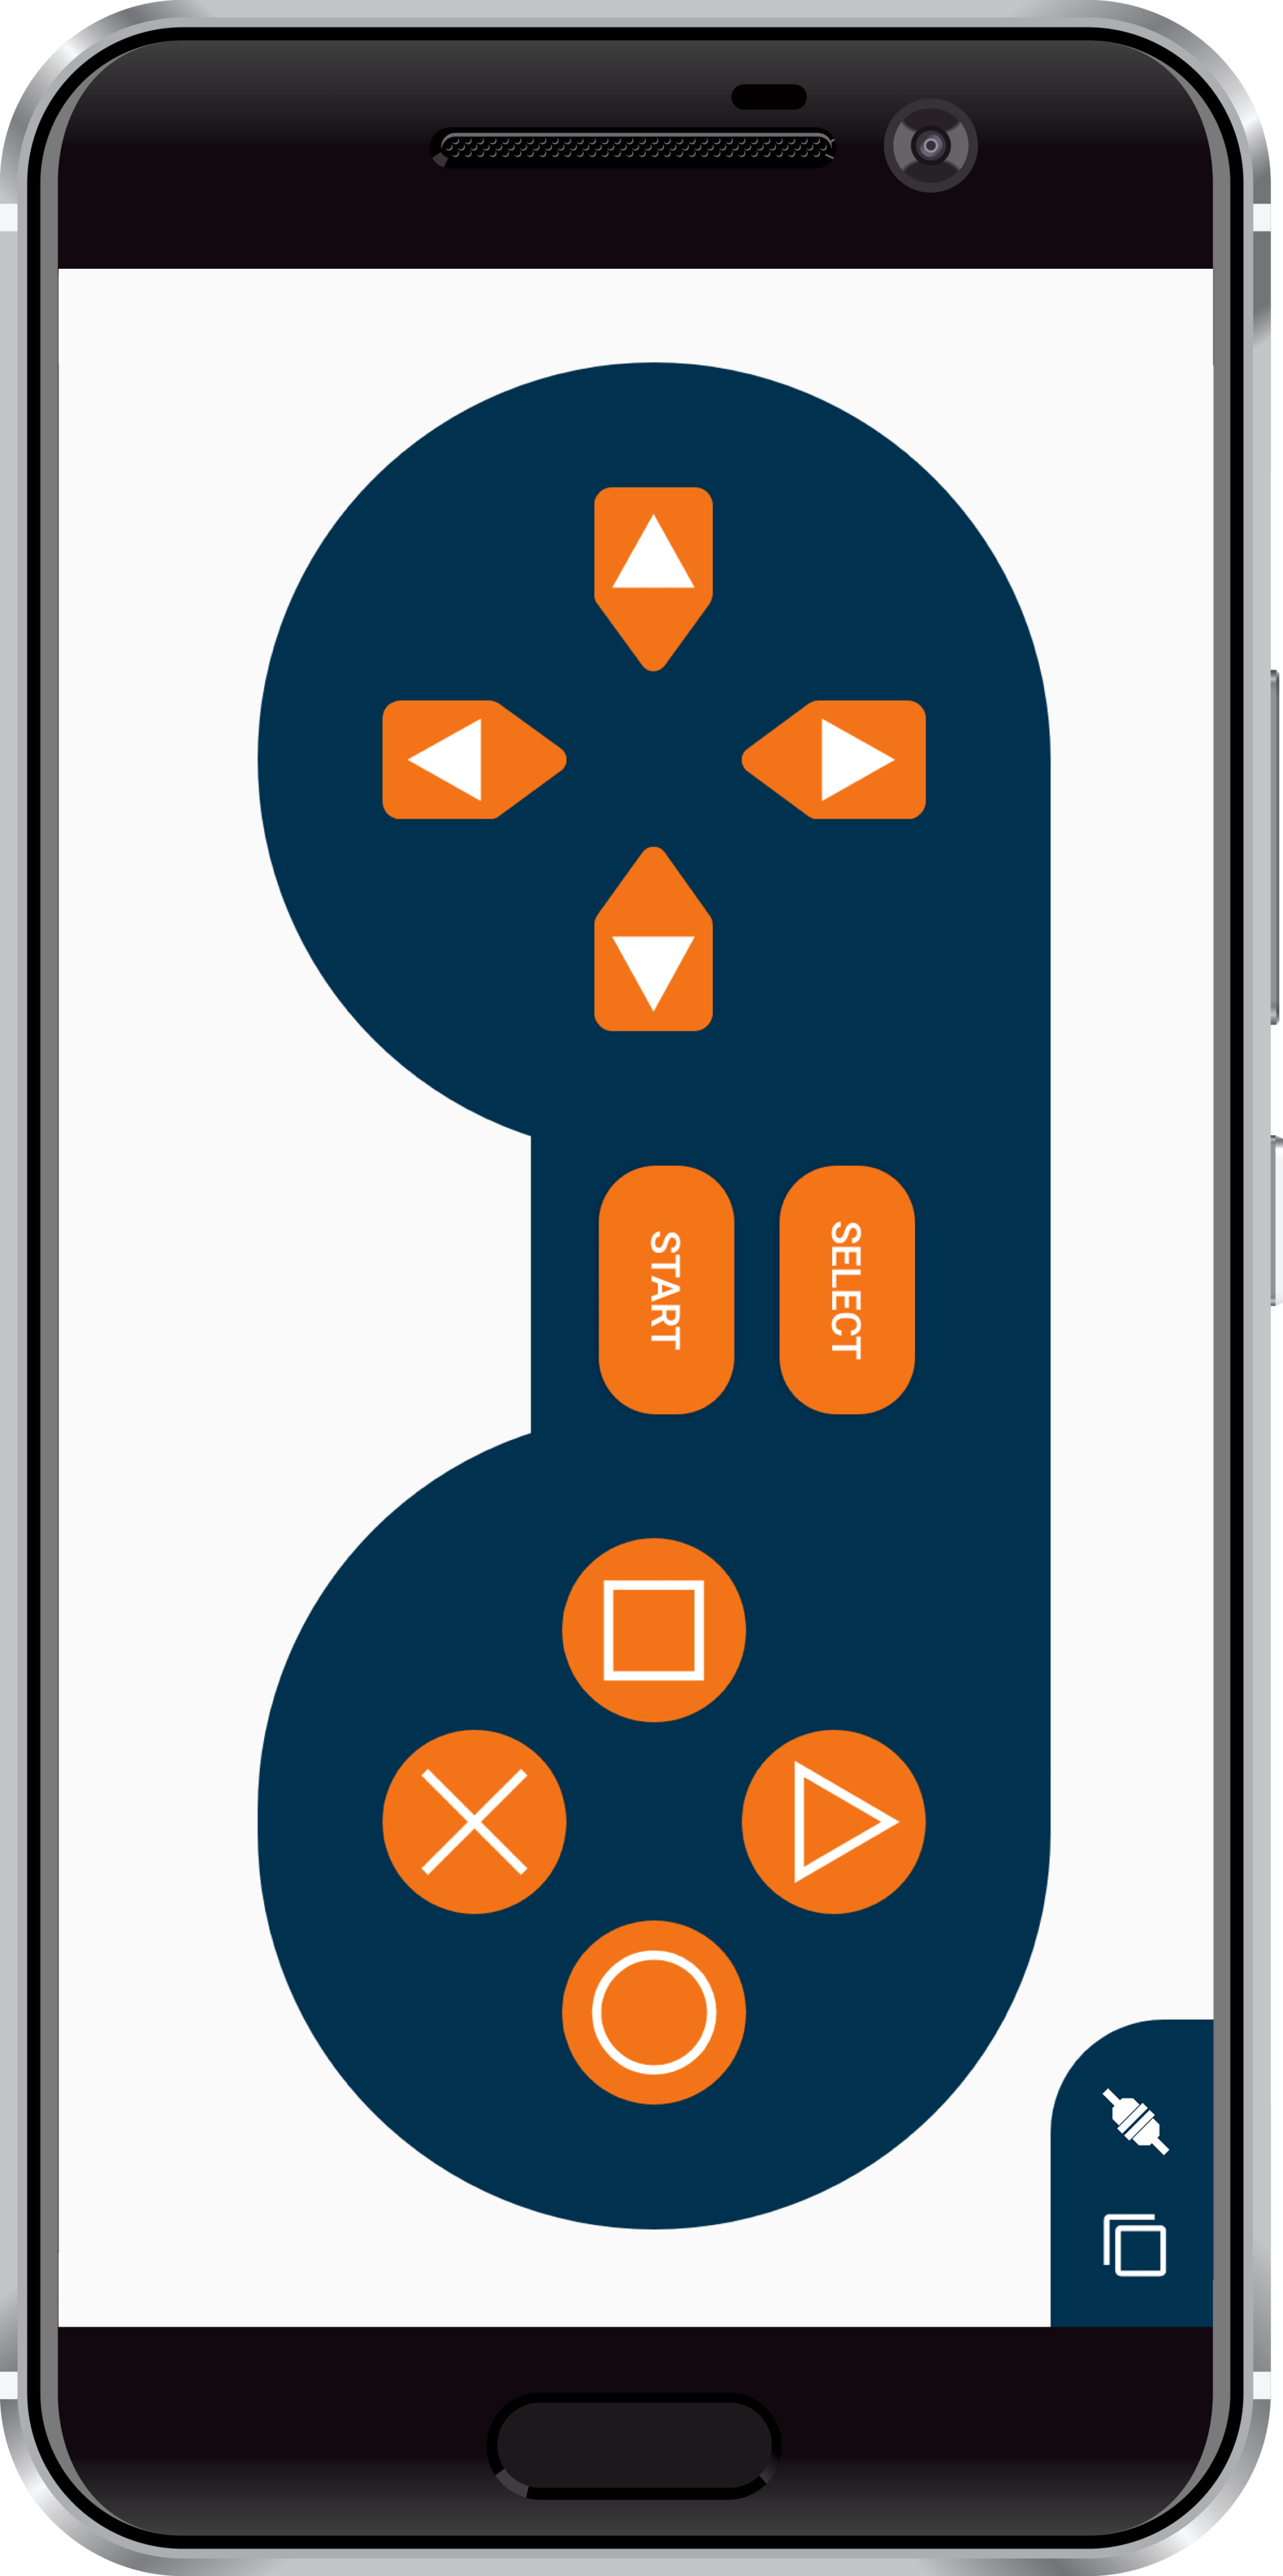
We will be using the left set of keys.
- Up – Move Forward
- Down – Move Backward
- Left – Turn Left
- Right – Turn Right
Code
Upload the following code to our Arduino board.
Conclusion
With this, the DIY 4-wheel robot is ready to rock ‘n’ roll! Now that you agree that it is a super cool gifting idea, then what are you waiting for! Make Christmas special for your geeky peeps!
BTW, Dabble can do much more than just Bluetooth control. You can explore more about it here!

