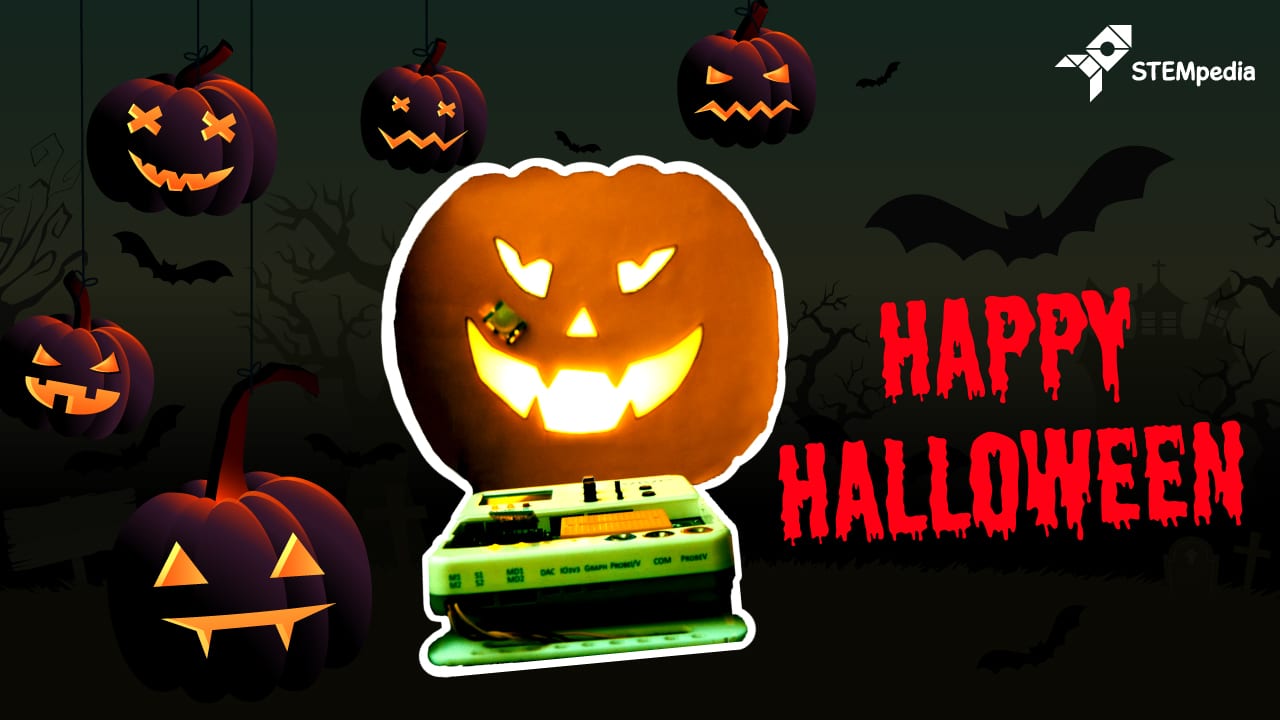

Introduction
When witches go riding and black cats are seen, the moon laughs and whispers ‘tis Halloween!
The spooky time of the year is back! This time, we’re going to take the ‘spookiness’ to the next level by making a DIY Halloween Town where robots celebrate Halloween. We’re going to make it using the things we made in some of the previous projects, such as the DIY Turntable, Robotic Arm, Rat Trapper, Smartphone Controlled Robot, Lightsaber, and 3D printed objects like the ones below!

Also, since October 26 is Pumpkin Day, we’re also going to make a DIY PIR sensor activated jack-o’-lantern to add to the eeriness of the town!
So, are you ready for the most spooktacular project this Halloween?
Then what are you waiting for?
Ready. Set. Boo!
Making of the Pumpkin
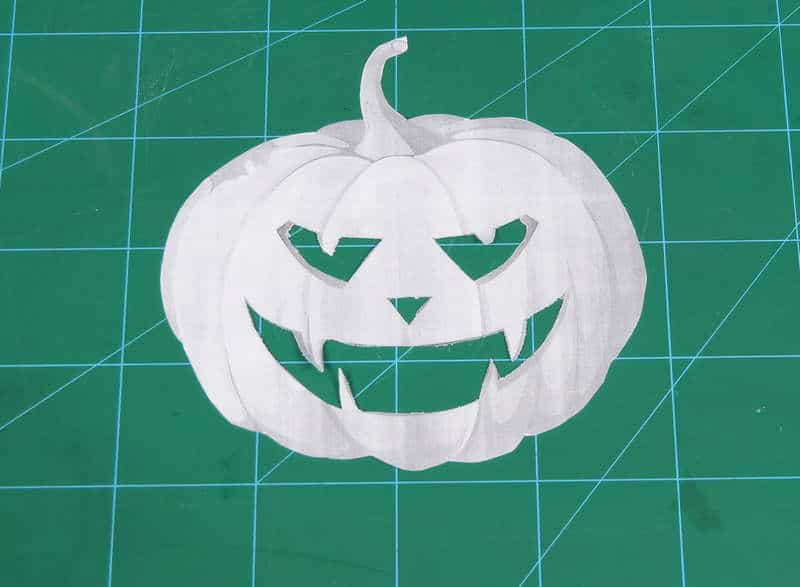
The first thing we need is the printout of the Pumpkin shape. You can download the one given below. Or you can even SKETCH one.
- Once you have it on the paper, take the cut out. This will act as the stencil for us.
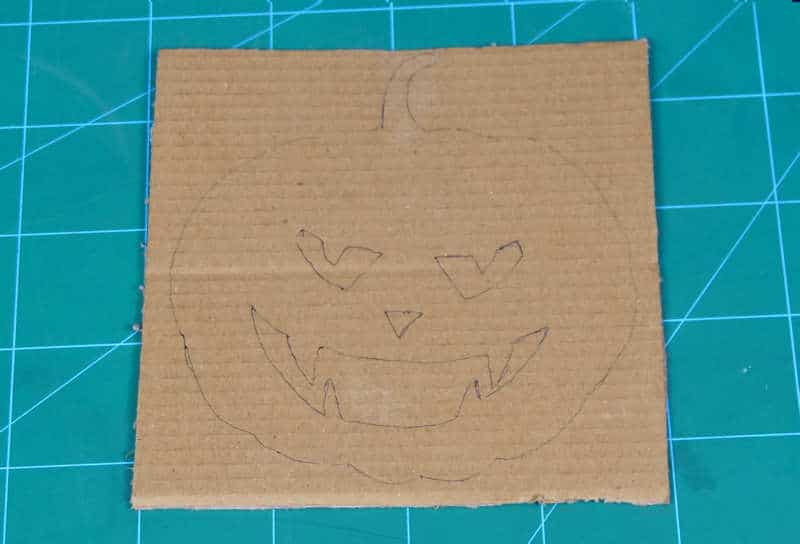
- Now that you have the paper cutout of pumpkin in your hand, it’s time to cut the cardboard in that shape using the paper.

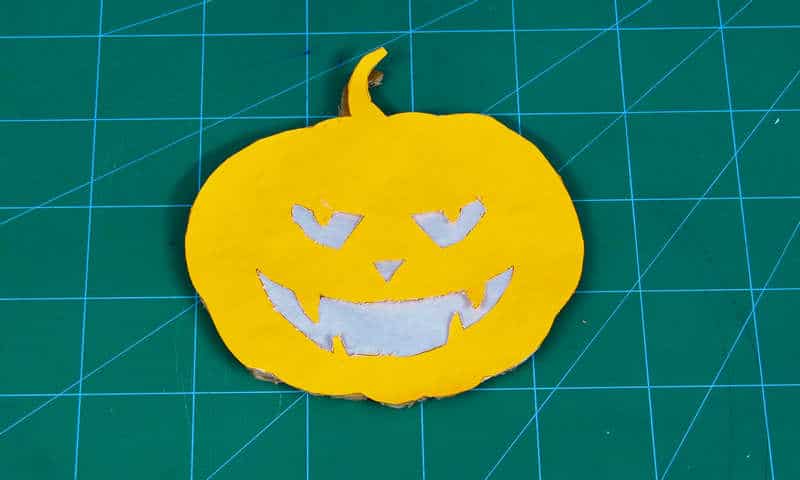
- You need to glue butter paper on the cardboard. We will discuss the reason later on.
- Now, using the paper cutout. Cut the colored paper.
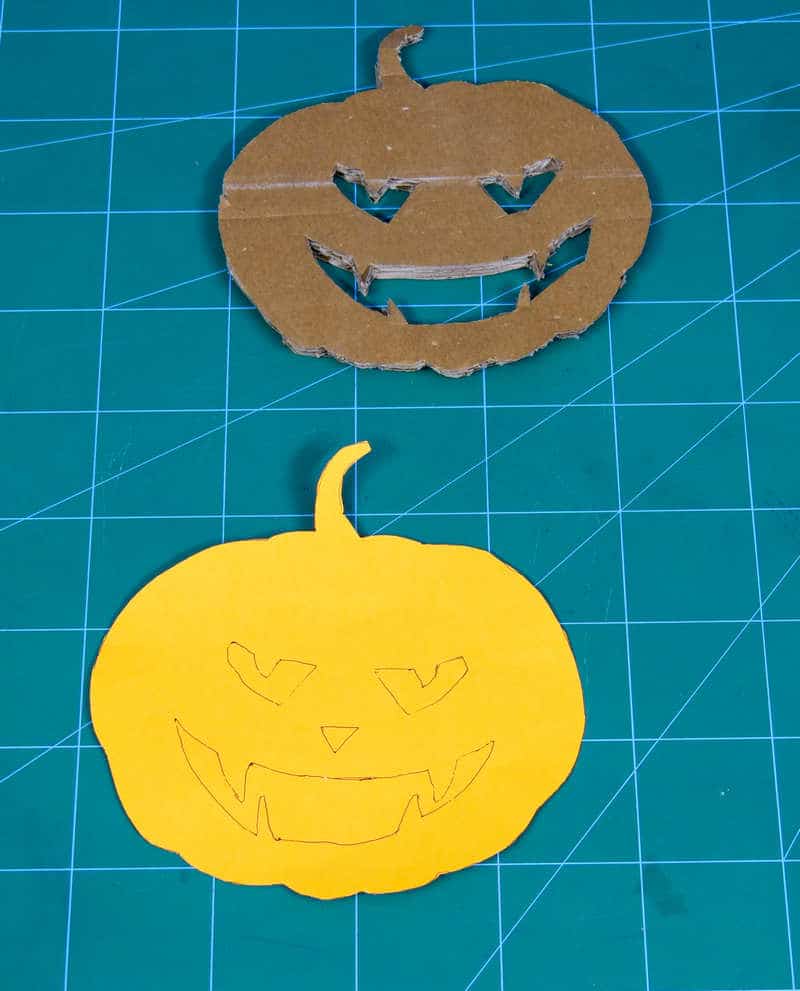
- Take both the cardboard assembly and colored paper cutout and glue it on top of the butter paper.
- You can even color the pumpkin if you want.
- With this the cardboard assembly of pumpkin is complete.
Now, it’s time to add the components that will scare the people out there.
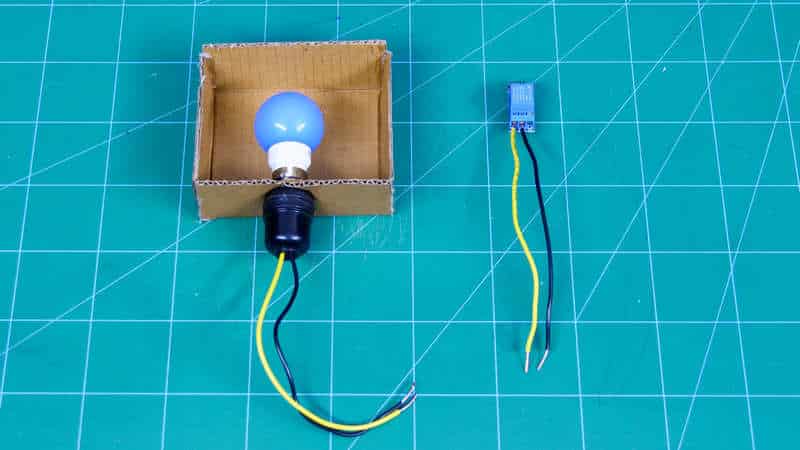
- To make the pumpkin glow, we need a bulb and of course the bulb holder.
- We took the cardboard of 20 cm x 20 cm. From all the four edges we left 5 cm each and drew a line.
- Fold the cardboard along those lines and make a box out of it.
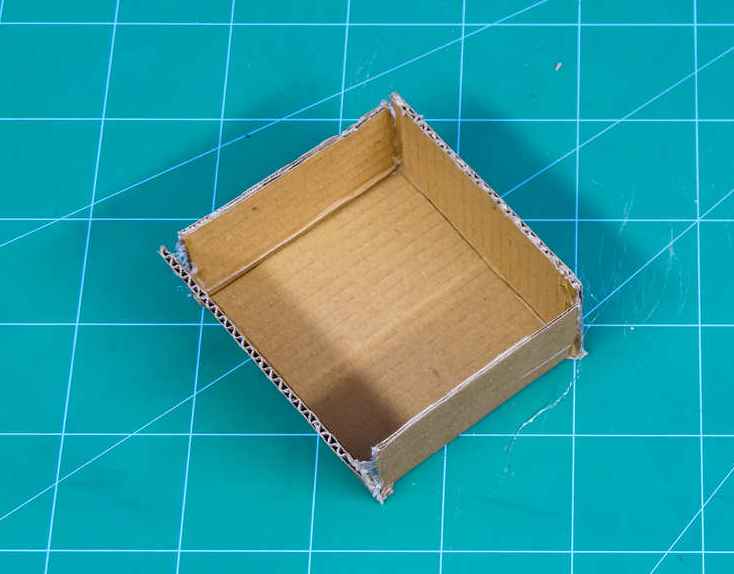
- This box will hold the bulb and relay, which we are going to use as a switch.
- Insert the bulb holder from the bottom edge and insert bulb in it.
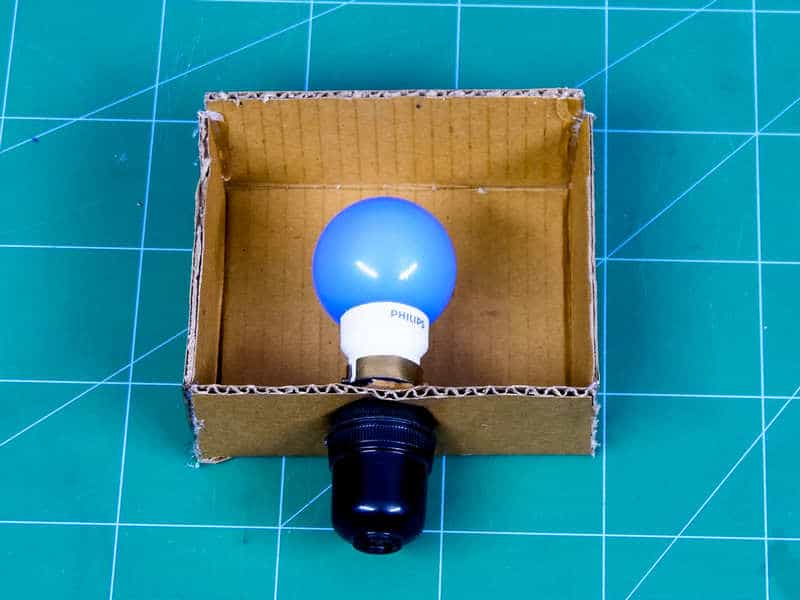
- Along with the bulb, we are going to insert the relay in the box.
- Now, it’s time to add the component which will sense people coming close to the pumpkin.
- The PIR Sensor does this work for us.
- We attach the PIR Sensor on the front end of the pumpkin. And pass the jumper cables connected to the PIR through a hole.


- Now to the pumpkin back, we are going to glue the cardboard box.
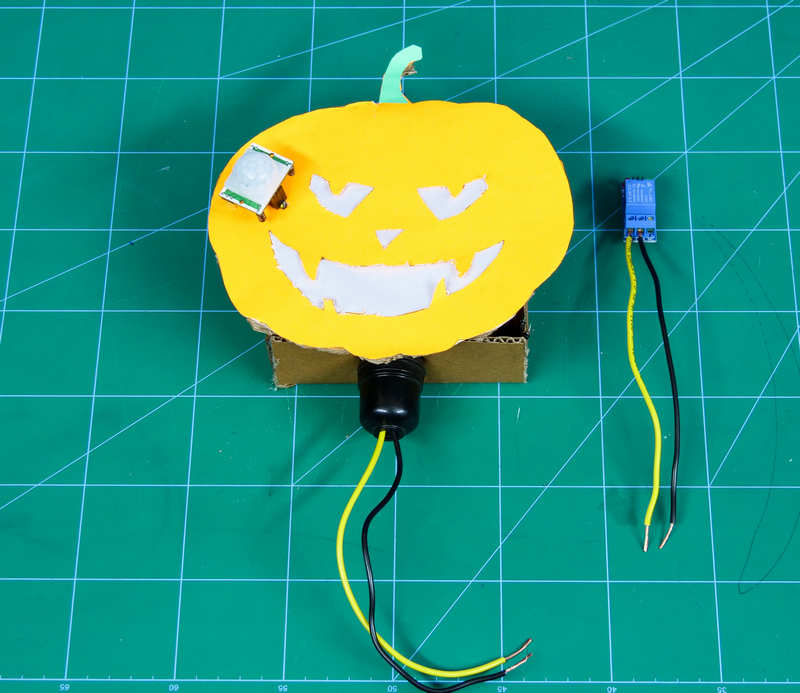
- Thus, the assembly is complete. All you need to do is make the connections.

Brief of How PIR works-
The PIR Sensor does the same work what IR Sensor or Ultrasonic Sensor does.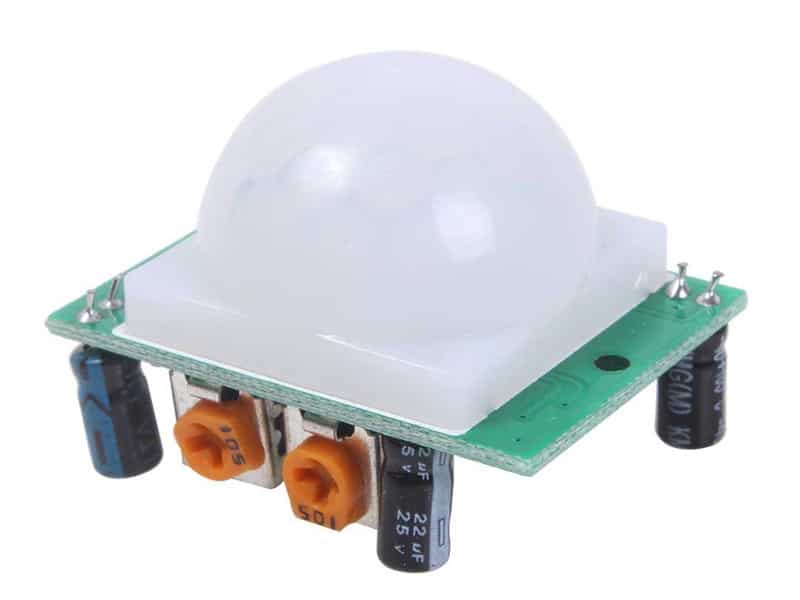
PIR Sensor stands for Passive Infrared Sensor. Unlike other sensors, it passively senses or detects the presence of the human as it does not emit the IR itself. In PIR there are two slots, they are inactive when no human is present. It converts the radiation emitted by the human into electrical energy. The two slots present in the sensor carries this process.
Logic
The PIR Sensor detects the presence of a human, the signal is sent. This signal will trigger the relay. And as we know relay acts as a switch, it will turn the bulb on.
To make a little bit scarier, we have programmed relay such that will keep turning bulb ON and OFF. We have also added sound to the buzzer of evive. The buzzer and lights will keep on ringing and glowing in sync for as long as we want.
Now, why butter paper. The light coming directly from the bulb will be too harsh. Thus, to scatter the light we are using the butter paper.
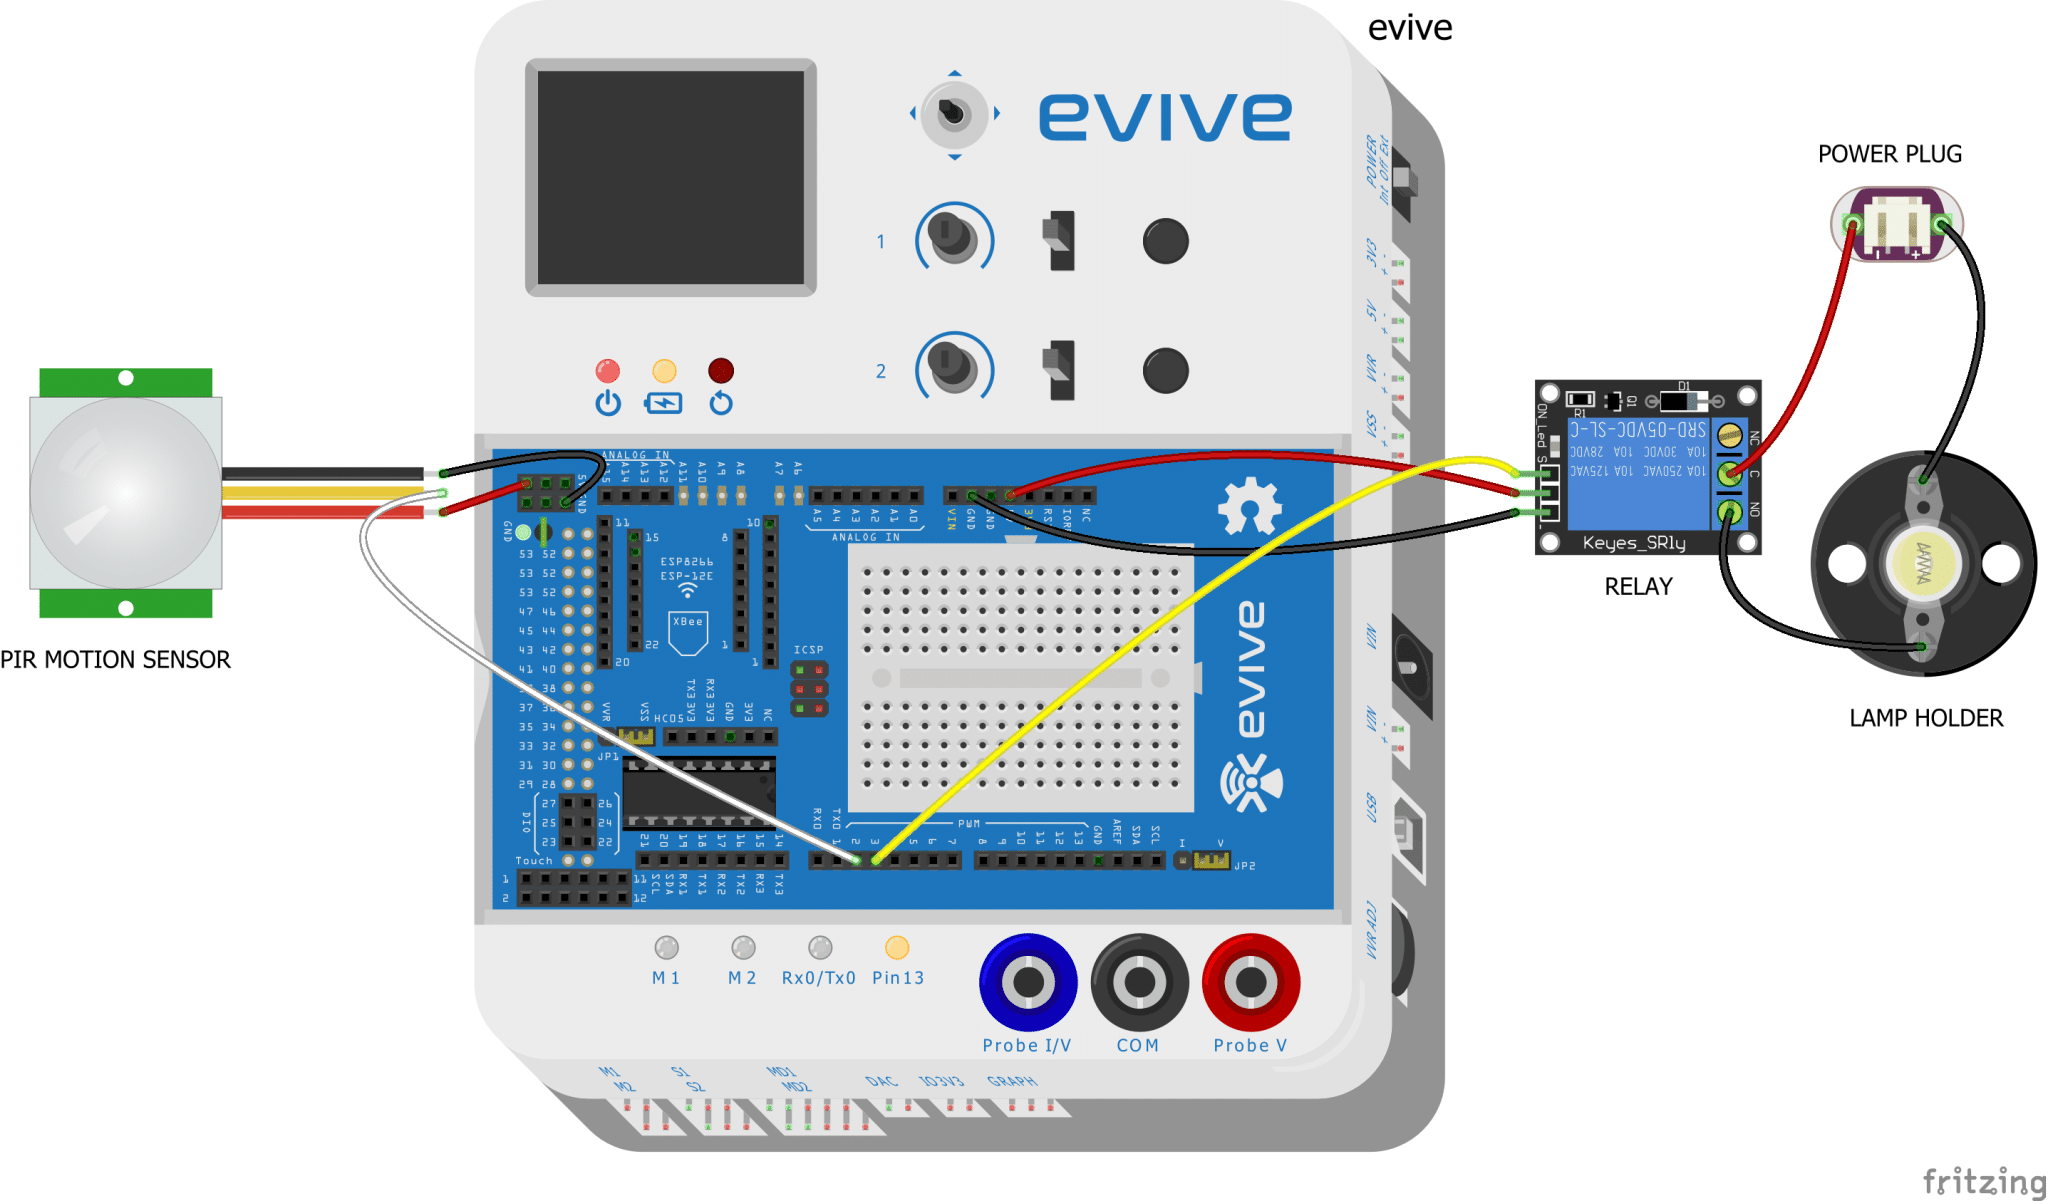
Circuitry for Pumpkin
The relay is being connected to the bulb holder as it will act as a switch. The PIR Sensor is directly connected to evive.
The following connections should be made:
Code
The following Arduino code should be uploaded to evive:
Conclusion
With this, your DIY Spooky Town is ready! Have fun scaring everybody out there!
Happy Pumpkin Day and Happy Halloween!