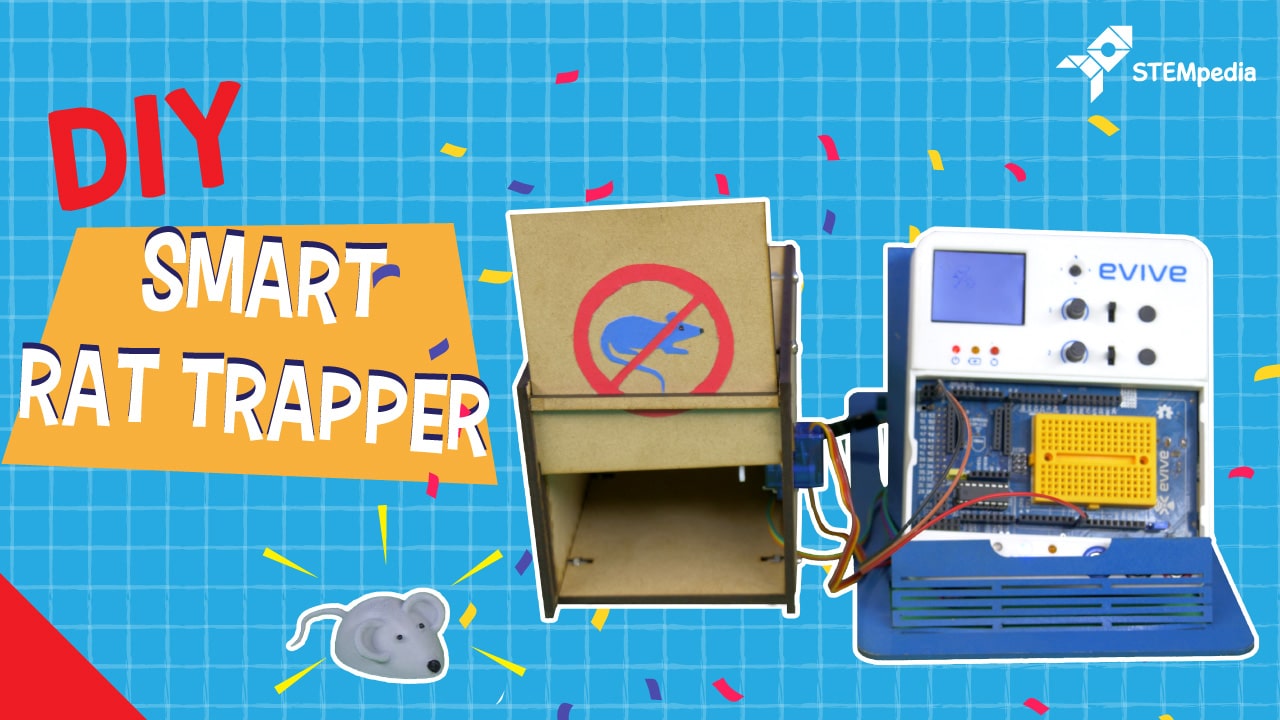

Introduction
Rats! The single most annoying creatures in every household! They nibble away anything and everything that comes their way, destroying precious furniture, clothes, bags; you name it! Only if there was a way to take care of them once and for all!
Well, guess what! Your prayers have been answered! With the help of evive, an IR sensor, a computer program, and little DIYing, you can now make a simple yet smart DIY rat trap of your own that no rat can escape! *evil laughter*
Put on your sneaky scientist cap and get to work on your mission right away!
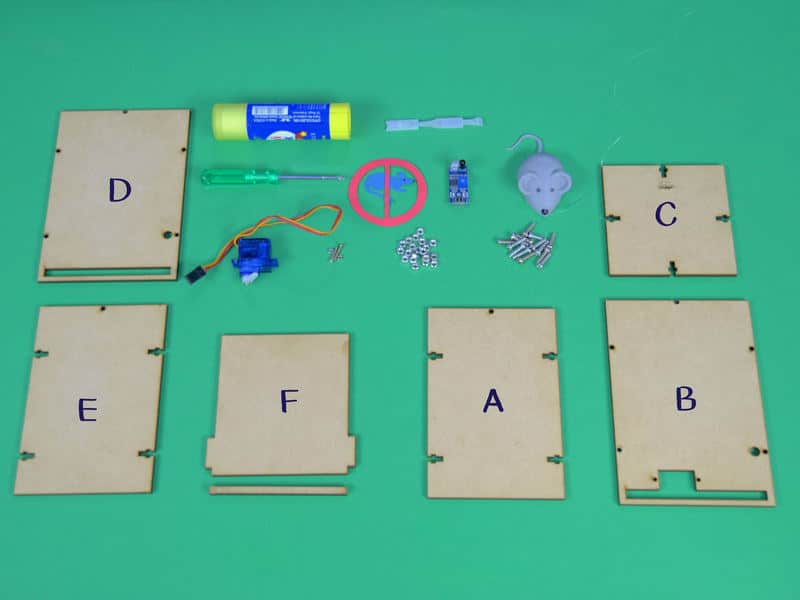
Assembly
- For making Automatic Rat Trapper, you need to have the cutouts of the following dimensions from the cardboard.
A = 13.5 cm x 9 cm
B = 14.5 cm x 10 cm
C = 9 cm x 9 cm
D = 14.5 cm x 10 cm
E = 9 cm x 10 cm
F = 9 cm x 1.5 cm - Make a slot of the size of the micro servo in piece B.
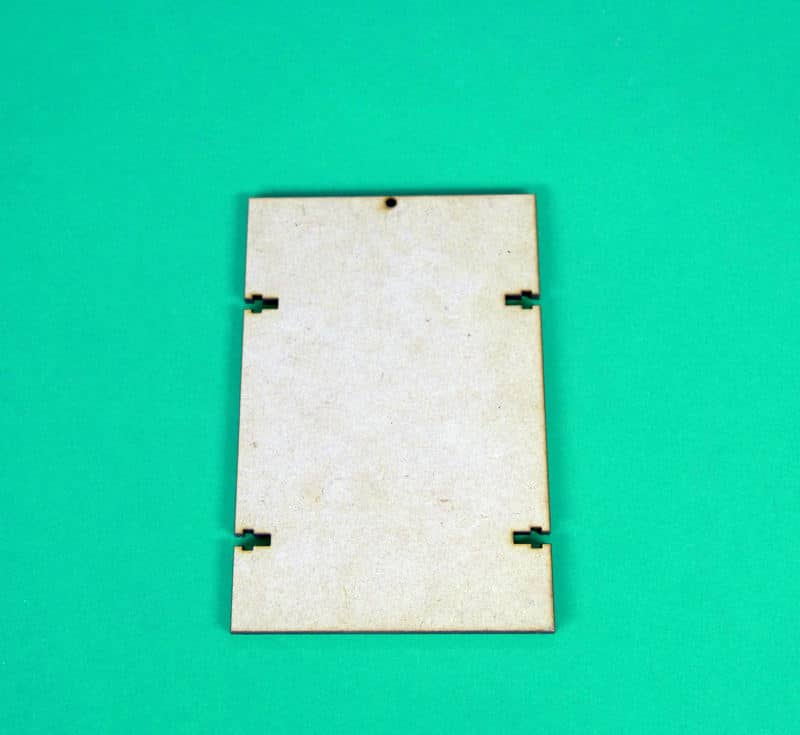
- Also, make slots of 0.5 cm thickness leaving 0.5 cm in B and D.
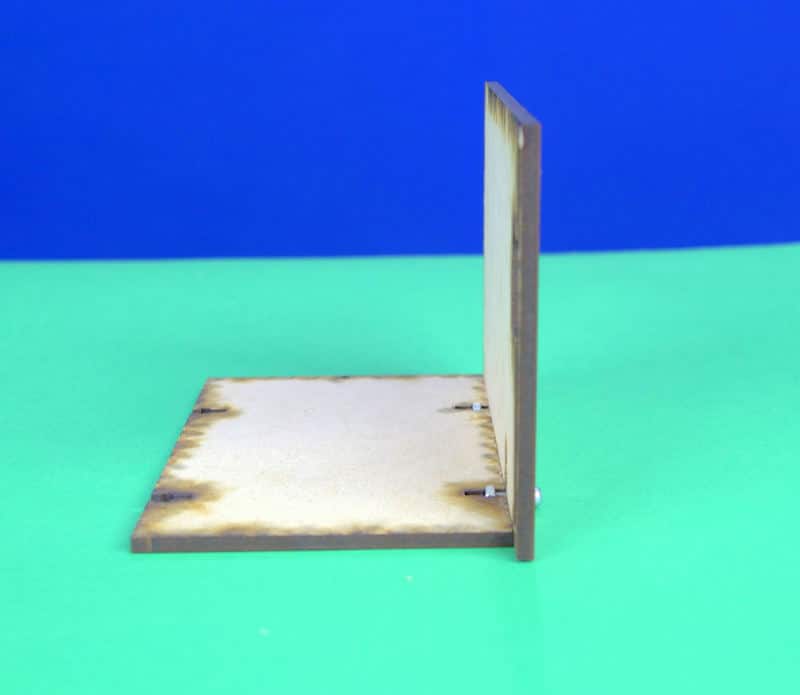
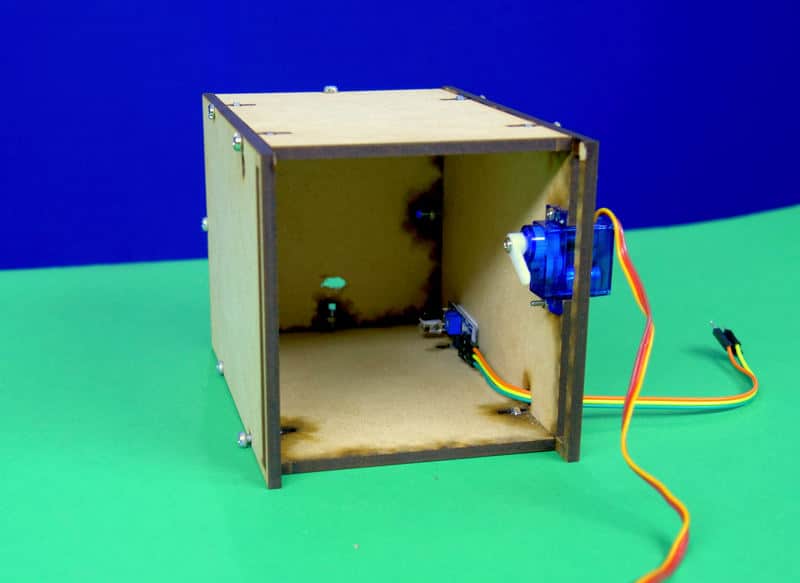
- Take the base plate, i.e piece A and attach the left wall i.e piece B to it using M3 bolts of 12mm length and M3 nuts.
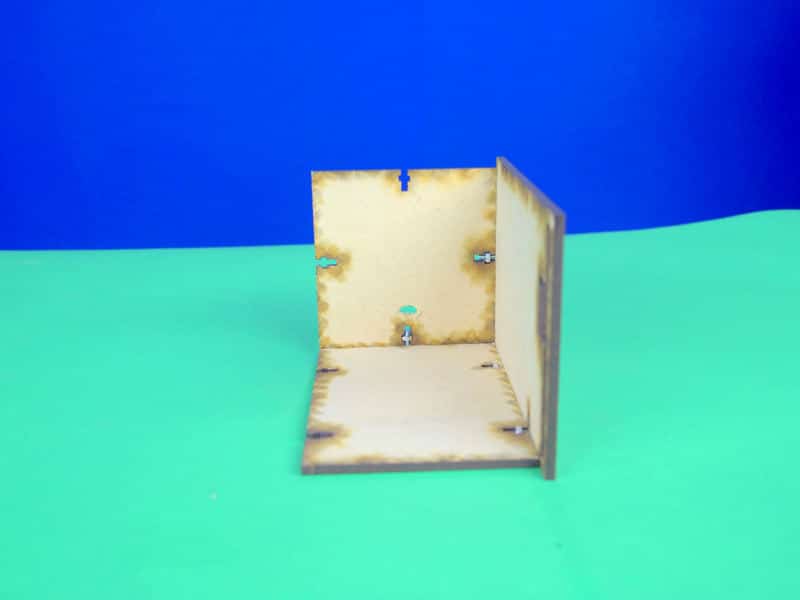
- Next, take the back wall which is piece C and attach it to the left wall and the base using M3 bolts and nuts.
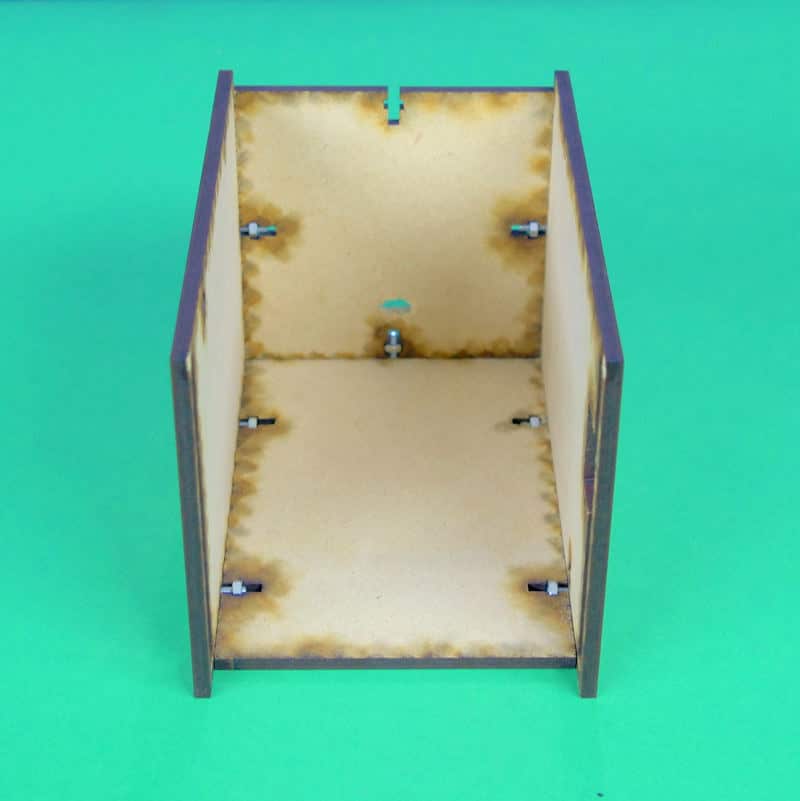
- Similarly, take the right wall and attach it to the base and back wall using bolts and nuts.
- Take the IR Sensor and with the help of double-sided tape, attach it to the left wall.
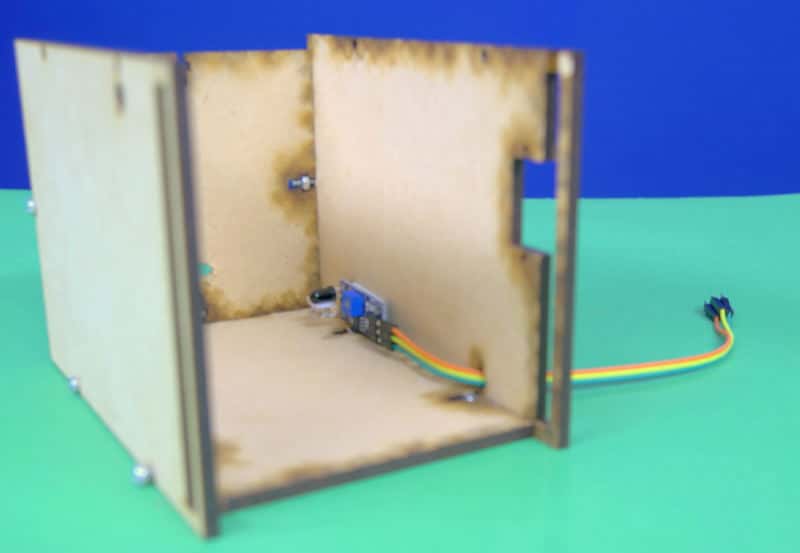
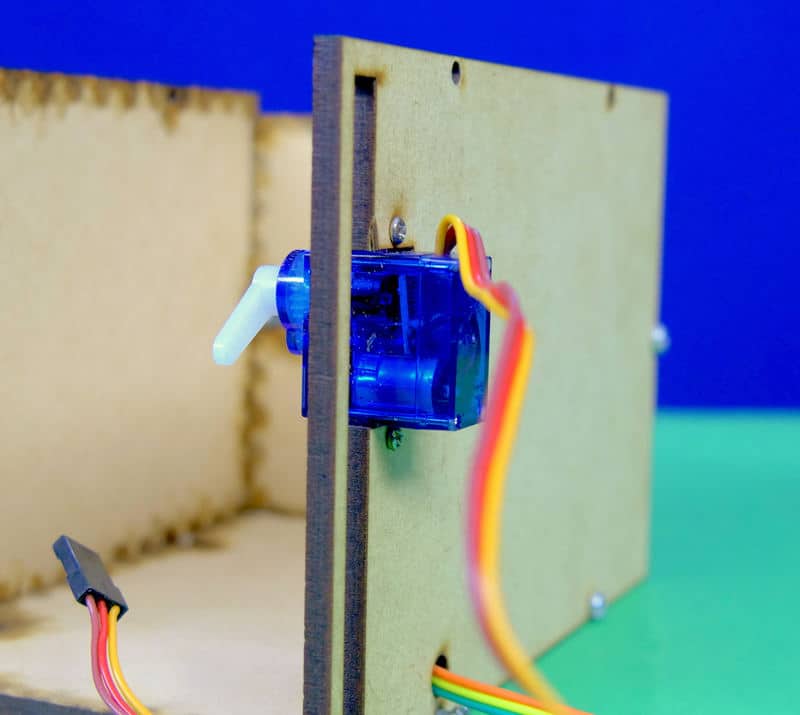
- Now, it’s time to bring the servo in the picture.
Take, the servo horn and fix it on top of the servo head using the self-threading screw given in the servo accessories.
Make sure, that the servo horn is at 0(degree). - Now in the slot given on the left wall, attach the servo using M2 bolts of 12mm length and M2 nuts.
- Next, take the upper wall and fix it on the top using M3 bolts and nuts.
- Now its time to close the trapper.
For that, take the door and insert it into the gaps of the side walls.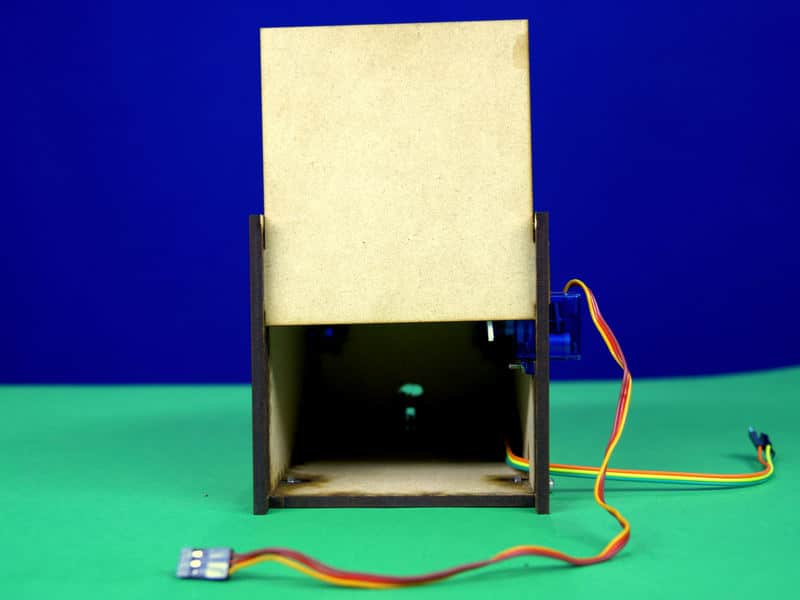
- Now, to fix this door, we have used a small strip i.e piece G which is glued to the walls.
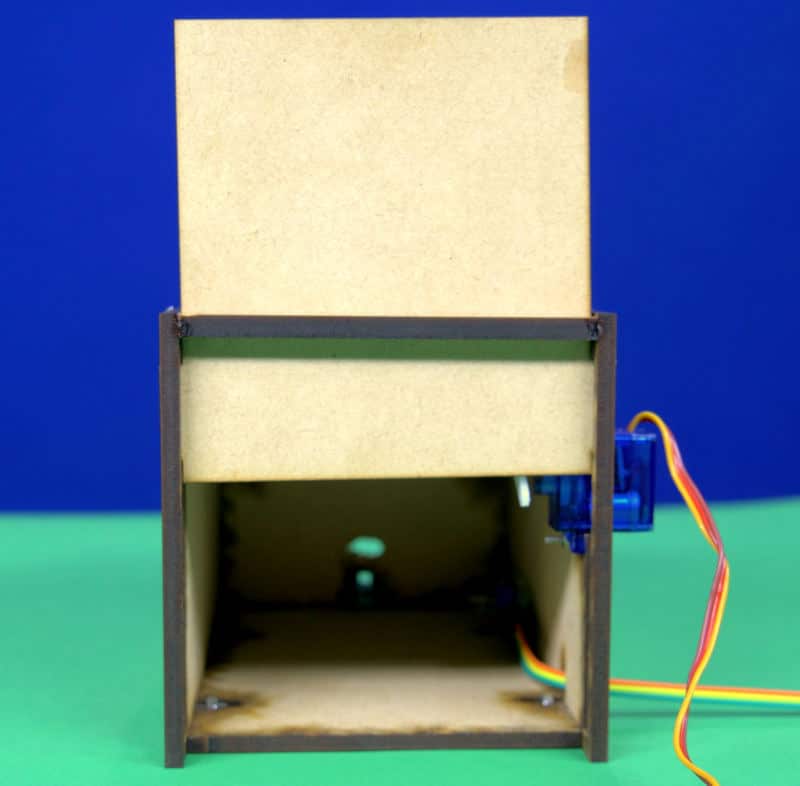
The final assembly looks like this:

Logic
Here, the servo horn is at 0 degrees, thus holds the door above the ground level.
As soon as the rat gets in the trapper, the IR Sensor detects it’s present, and thus the servo rotates at 180 degrees. As soon as it rotates, the support below the door moves and the door closes.
You can again open the door by resetting the servo angle and placing servo horn below the door.
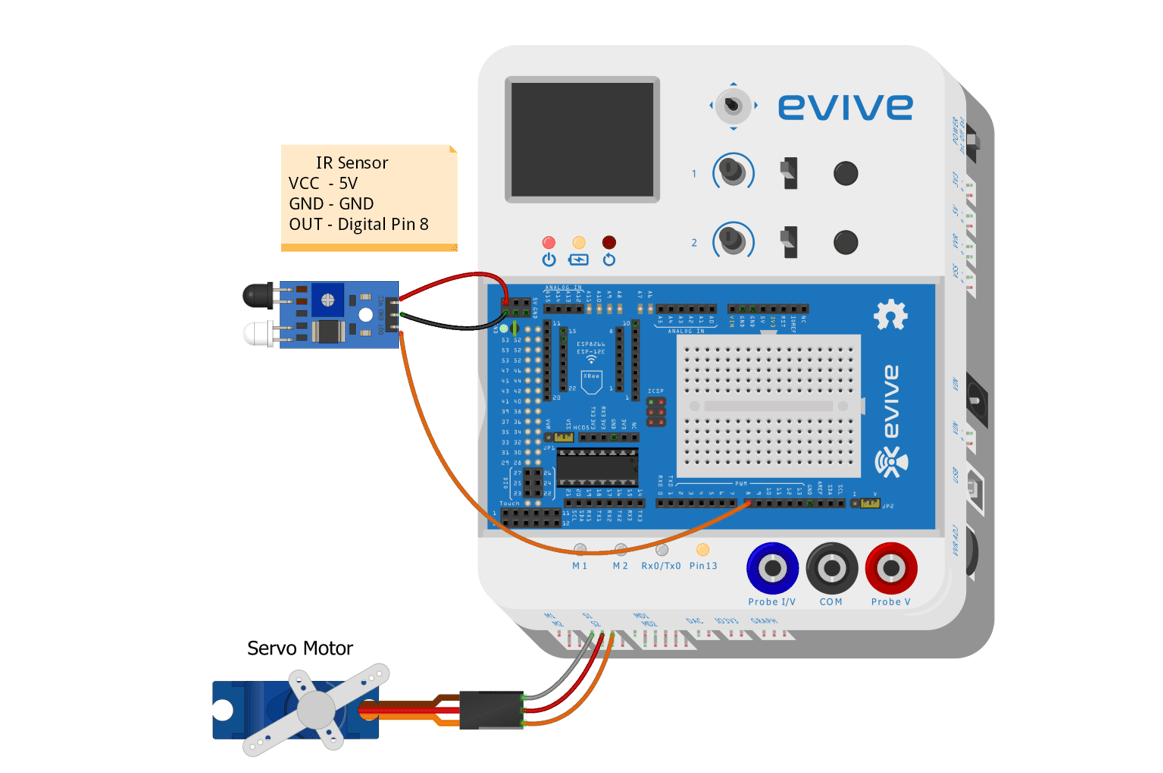
Circuitry
Two connections are to be made:
- Servo Motor:
It will give support at the base of the door, thus preventing it from closing.The motor wires to S1.
- IR Sensor:
Will detect the rat.VCC – 5V
GND – GND
OUT – Digital Pin 8
Code
We can code it in both Scratch as well as Arduino:
The following shows the Scratch Script:
The following is the Arduino Code for the same:
Conclusion
With this, your rat trap is now ready! The happy days of the pesky little rat are now over.