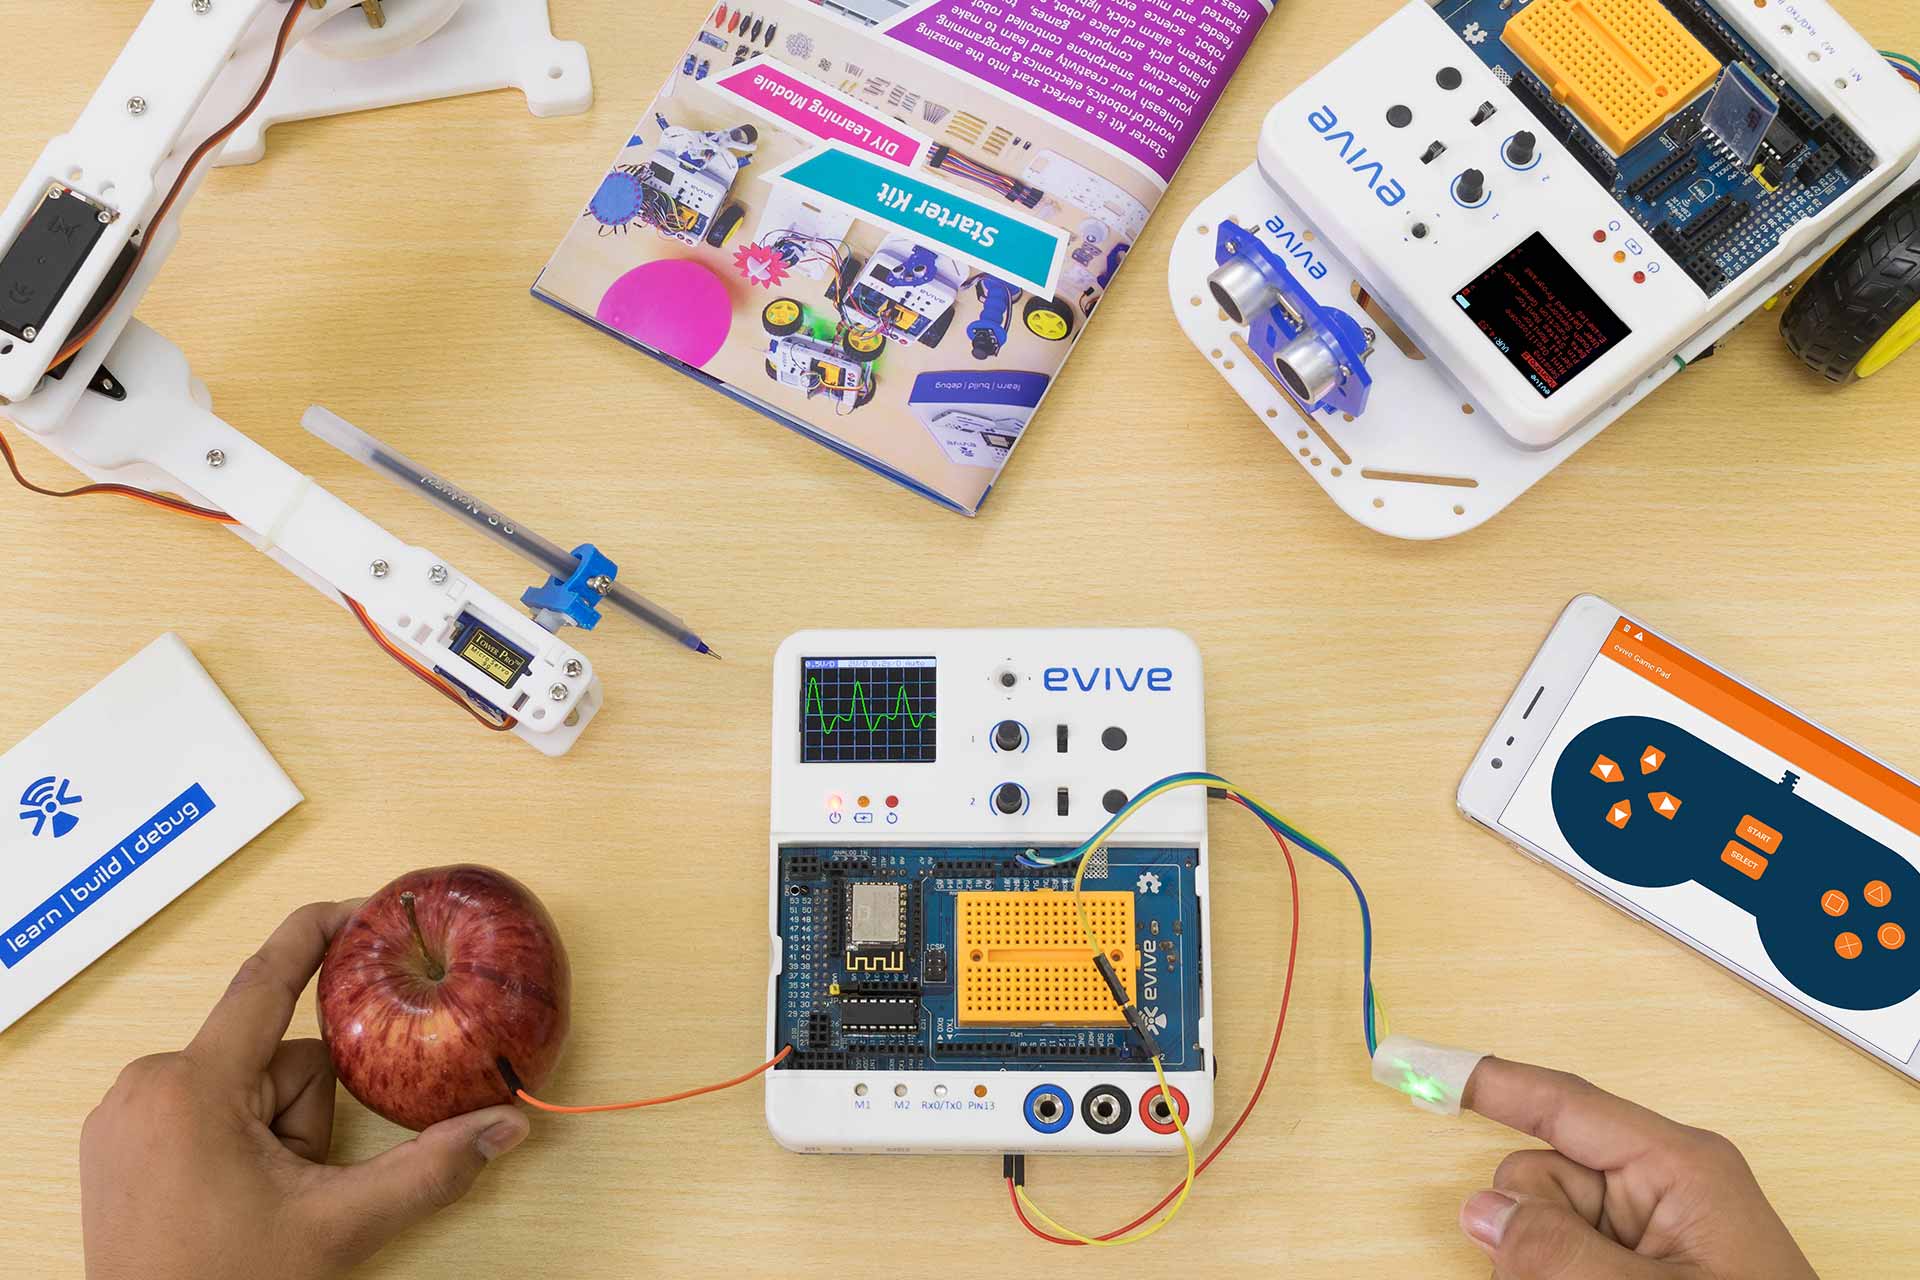
Physical Computing for Kids – Level 1 is a coding curriculum for middle school designed by computing curriculum experts for teaching physical computing through exciting activities such ascontrolling characters using evive, creating exciting games, making a smart LED street light, etc. With its clear explanations and a variety of exciting coding activities and games,Physical Computing for Kids – Level 1 will help students develop basic physical computing skills in no time.
Prerequisites: Completed Electronics for Kids – Level 1 and Introduction to Programming for Kids or have worked on Scratch.
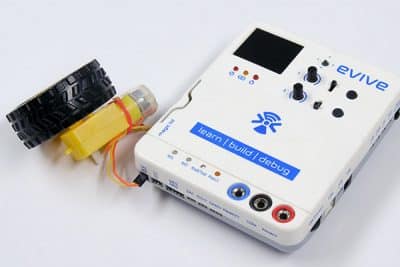
Kits Required: Evive
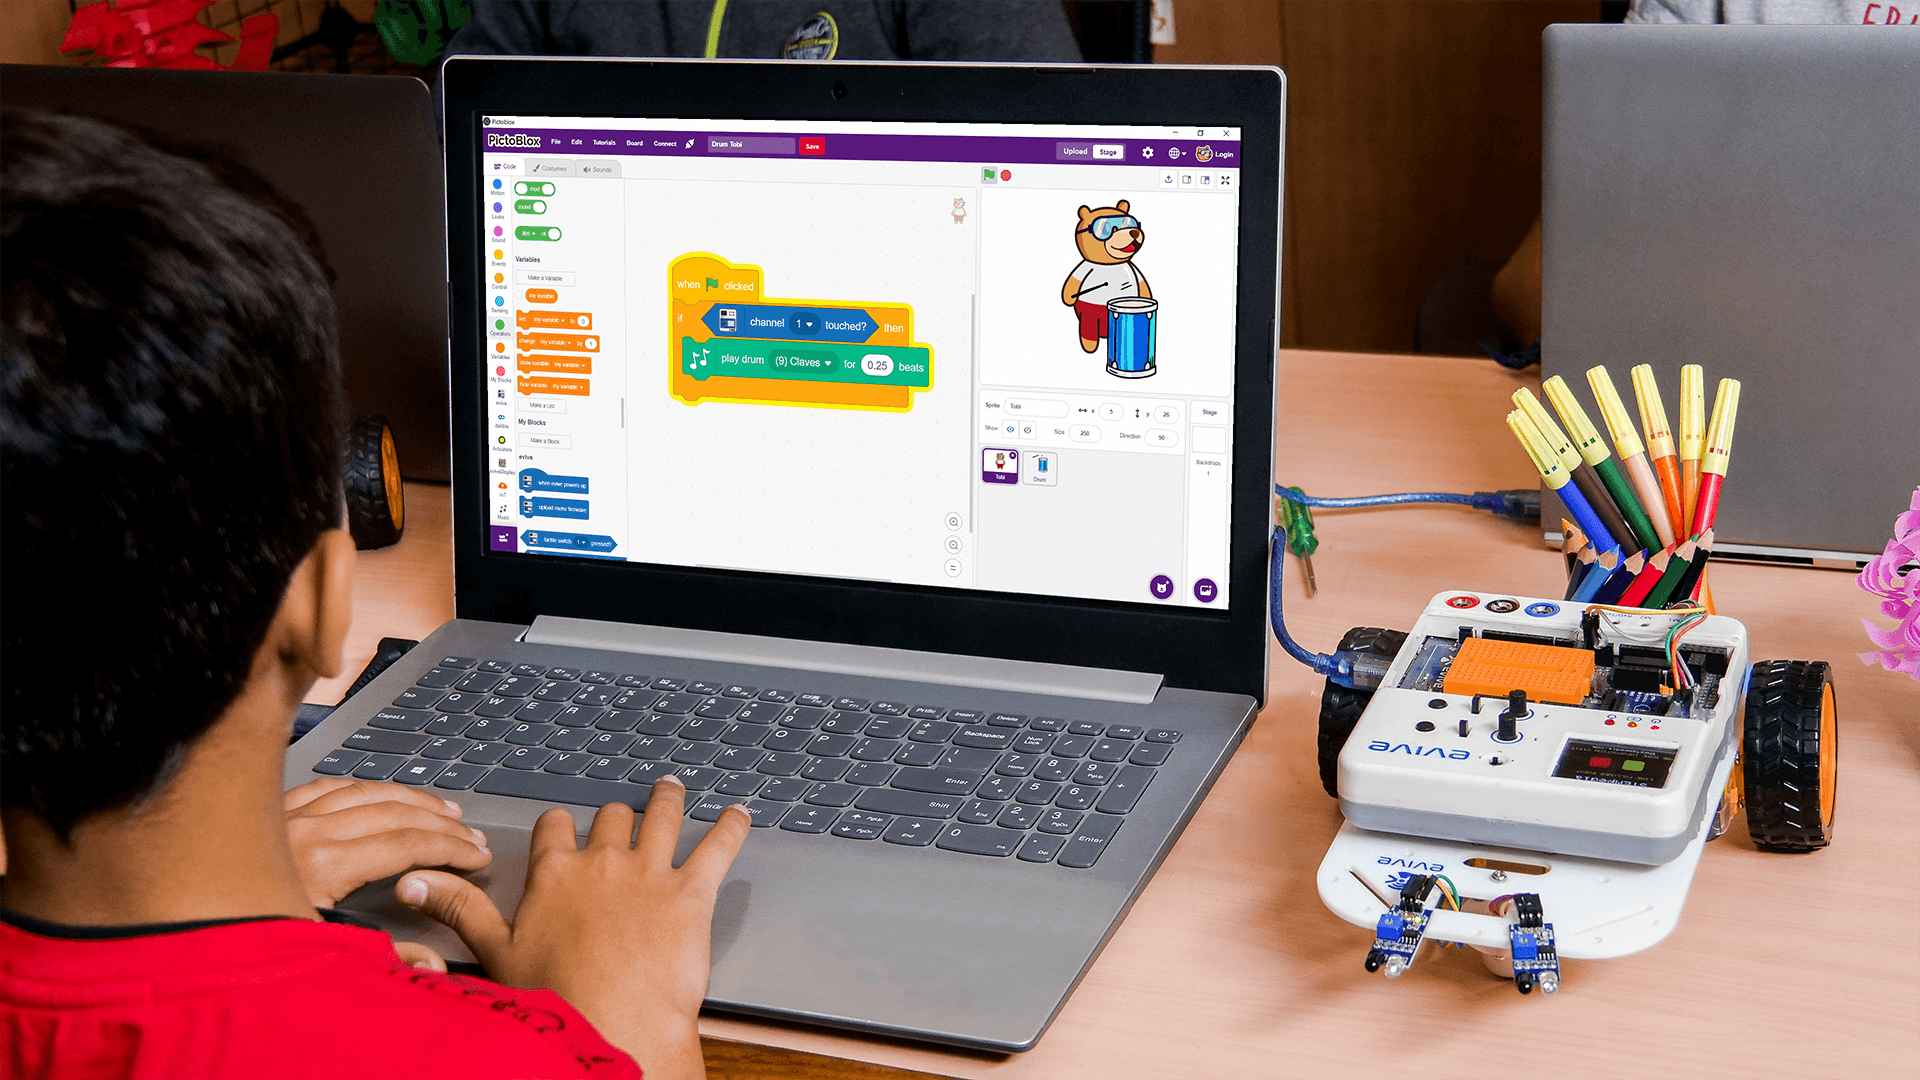
Programming Software: PictoBlox (Block Coding)
Learning Outcomes
After completing Physical Computing for Kids – Level 1, students will become familiar with the basics of physical computing and gamification, algorithms, and logical reasoning with the help of a wide variety of coding activities.
Apart from the aforementioned learning outcomes, this STEM curriculum will also help them develop important skills such as problem-solving, attention to detail, and abstract thinking.
14
Lessons
10+
Activities
13+
Learning Hours
5+
Grades
Curriculum Lesson Plan
Module 1: ABC of Physical Computing
Students will be introduced to the basics of physical computing with the help of engaging coding activities based on evive.
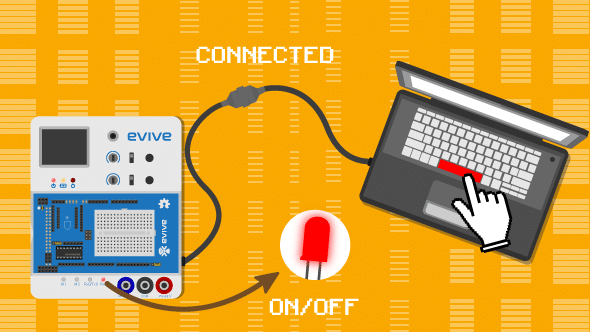
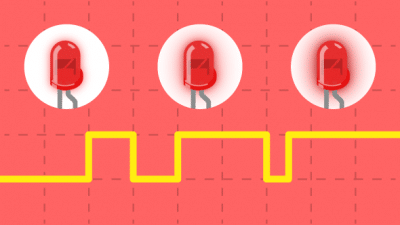
Lesson 1.1: Digital Output – LED State Control
Objective: What is physical computing? How to interface evive with PictoBlox in Stage mode? How to control the digital state of a pin to turn an LED ON and OFF?
Activity: Making an LED blink for 1 second.
Activity: Controlling the LED using a keyboard's space key as switch.
Learning Outcome: What is physical computing? | How to interface evive with PictoBlox? | How to control the digital state of a pin using set digital pin () output as () block.
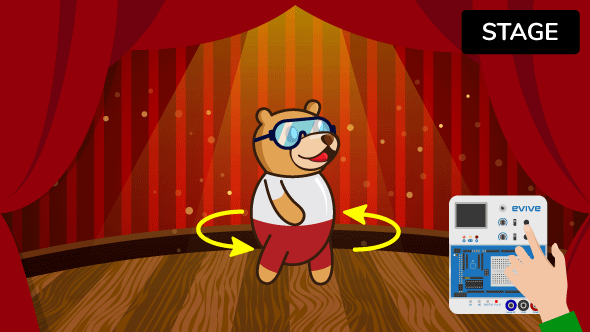
Objective: What is digital input? How to read the state of a digital pin in PictoBlox? How to read the state (pressed or not) of evive tactile switch? How to read the state (up, down, or center) of evive’s slide switch?
Activity: Making the sprite to rotate when the tactile switch is pressed.
Learning Outcome: What is the digital input and how to read it in PictoBlox using read status of the digital pin () block? | What are evive’s tactile switch and how to read the state?
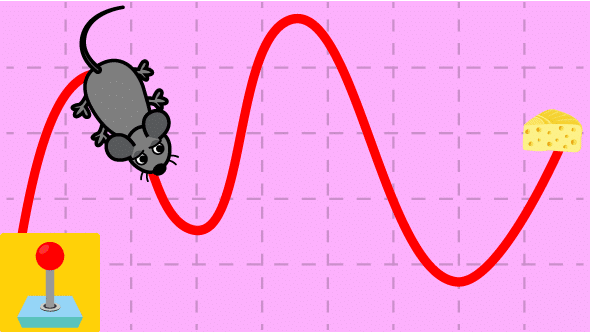
Objective: What is analog input? What is its range? How to read the analog state of pins in PictoBlox? How to read the state of evive’s potentiometer?
Activity 1: Creating a script to control a sprite's direction using potentiometer to make it move across the Stage.
Activity 1: Creating a script to control an LED's brightness of using potentiometer.
Learning Outcome: What is analog input and how to do it in PictoBlox. | What are evive’s Potentiometers and how to read their state using potentiometer () reading block?
Objective: What are the specifications of evive’s display? How to display and manipulate text on the display using the evive Display Extension?
Activity: Creating a script to display potentiometer reading on evive's display.
Learning Outcome: What is evive display and its specifications? | How to display and manipulate text on evive display using evive Display Extension. | Explore evive display extension blocks.
Students will learn the basic elements that make up a game and will code two simple games on their own in PictoBlox that can be played using evive.
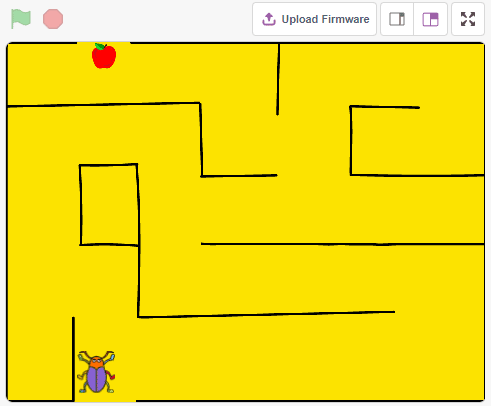
Lesson 2.1: Beetle in the Maze
Objective: How to make games and animations in PictoBlox? How to read the sate of evive’s navigation key?
Activity 1: Creating a game in PictoBlox whose aim is help a beetle reach the end of the maze without touching the boundaries. The beetle will navigate around using the navigation key of evive.
Learning Outcome: In this activity, students will make an animated game in PictoBlox where beetle needs help to come out of the maze without touching the boundaries. The beetle will navigate around using the navigation key of evive.
Objective: How to create clones in PictoBlox? How to detect contact between two sprites and perform actions accordingly?
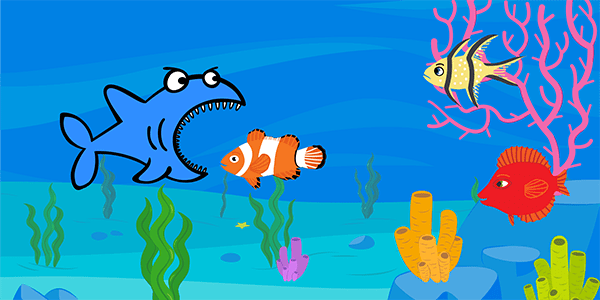
Activity: Creating a game in PictoBlox whose aim is to feed a super hungry shark as many fish as you can by controlling it using evive’s potentiometer.
Learning Outcome: In this activity, students will make a game in PictoBlox where the aim of the game is to feed the shark as many fish as you can by controlling it with evive’s potentiometer.
After gaining ample knowledge about physical computing, students will make various exciting DIY projects using PictoBlox and evive by implementing the knowledge.
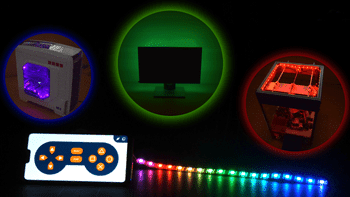
Lesson 3.1: Displaying Patterns on RGB LED Strip
Objective: How to make games and animations in PictoBlox? How to read the sate of evive’s navigation key?
Activity 1: Creating scripts to play and understand the different pre-defined patterns on a RGB LED strip.
Learning Outcome: What are the RGB LED strip and its type? | How to connect the RGB LED strip to evive? | PictoBlox blocks to create different patterns.
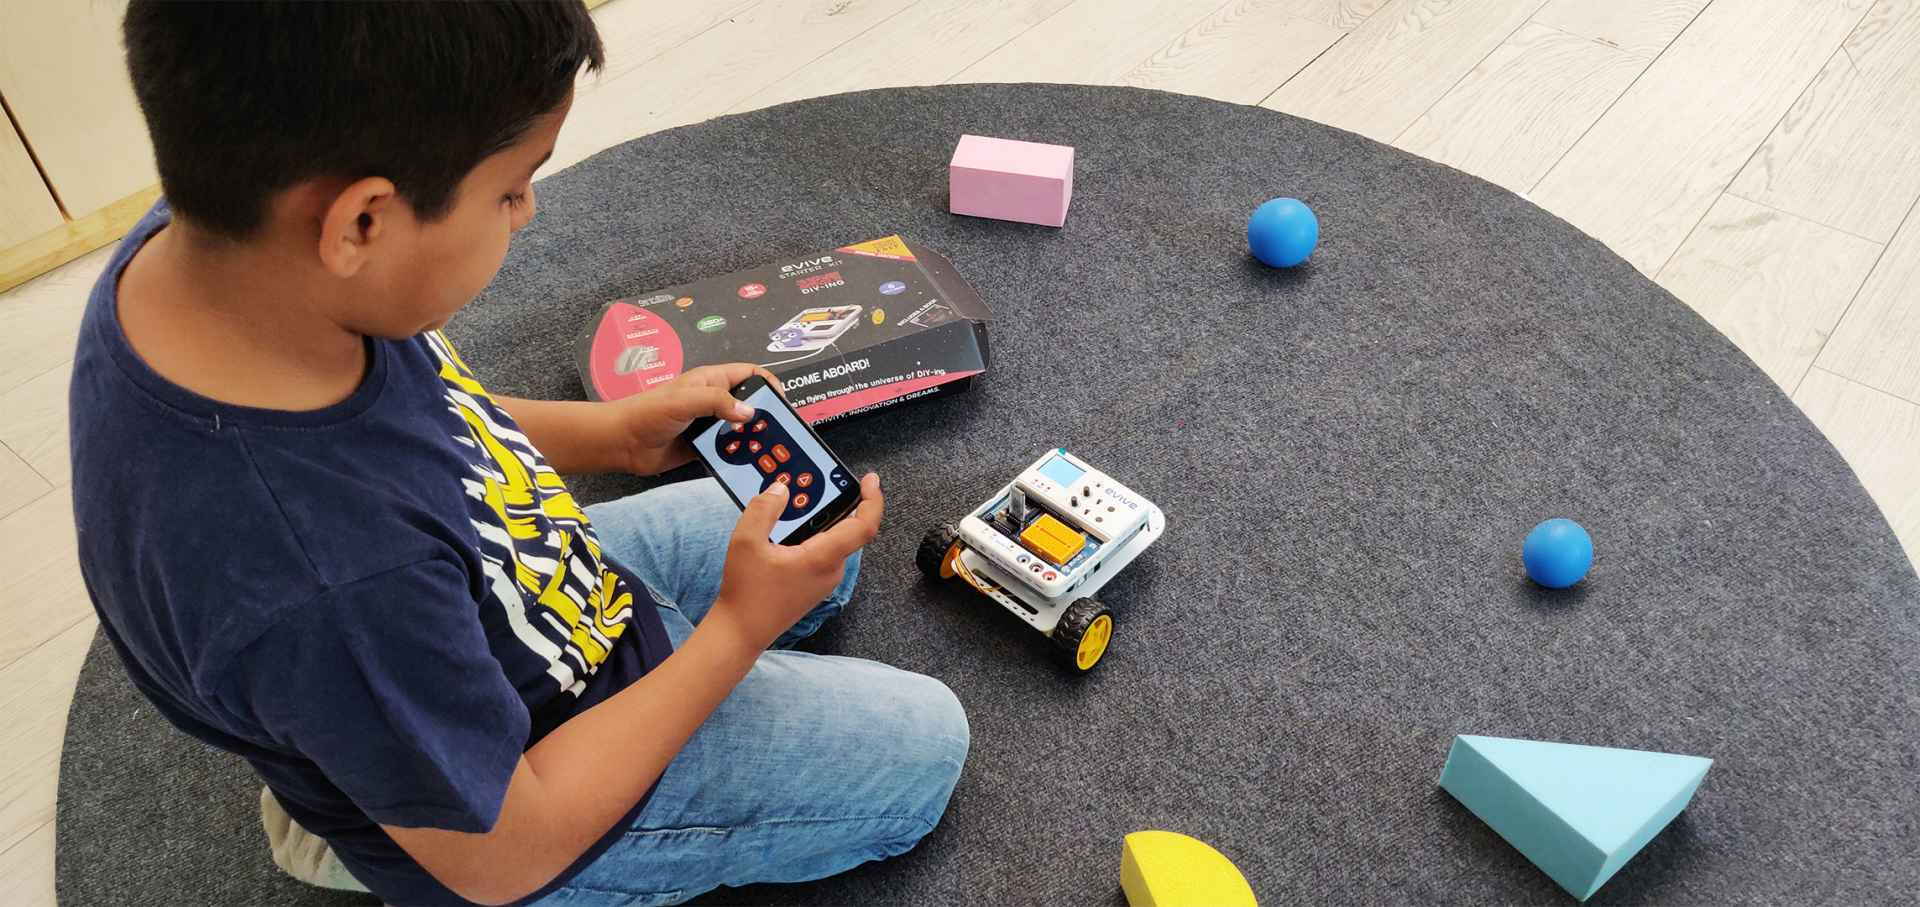
Lesson 3.3: Controlling a DC Motor using PictoBlox
Objective: How to program evive to control the direction and speed of a DC motor in PictoBlox?
Activity 1: Creating a script to control the speed and direction of a DC motor using evive's potentiometer slide switch respectively.
Learning Outcome: What is a DC motor? | How to connect a DC motor to evive? | DC motor controlling blocks in PictoBlox and the different parameters to control a motor.
Objective: What is an ultrasonic sensor? How does it work? How to connect it to evive? How to get the distance of an object using the sensor in PictoBlox?
Activity: Making a distance alarm system that will notify the user his/her distance from the object by changing the sound.
Learning Outcome: What is an ultrasonic sensor and how does it work? | The formula for calculating the distance using the ultrasonic sensor. | How to connect the ultrasonic sensor with evive?
Lesson 3.5: Controlling a Servo Motor using PictoBlox
Objective: How to control the angle of a servo motor in PictoBlox?
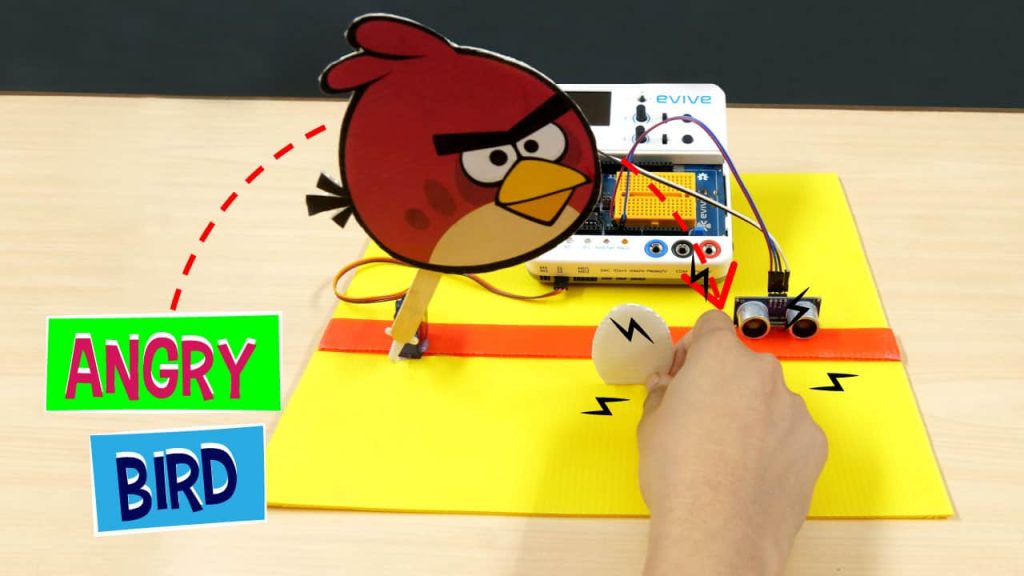
Activity 1: Making a smart intrusion detection system that detects intrusion with the help of an ultrasonic sensor and prevents someone from stealing the egg by controlling the bird's movement using a servo motor.
Learning Outcome: In this session, students will learn how to control a servo motor using PictoBlox programming.
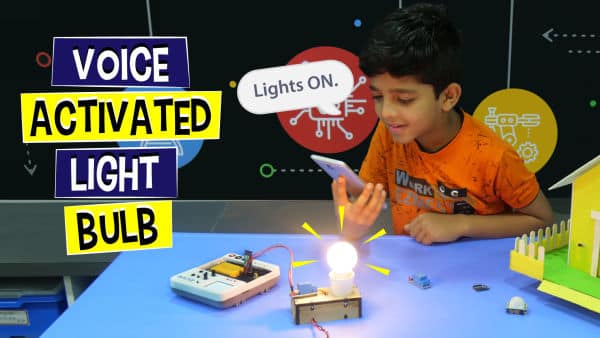
Objective: How to read the reading of analog sensors in PictoBlox? How to automate something based on a sensor’s data?
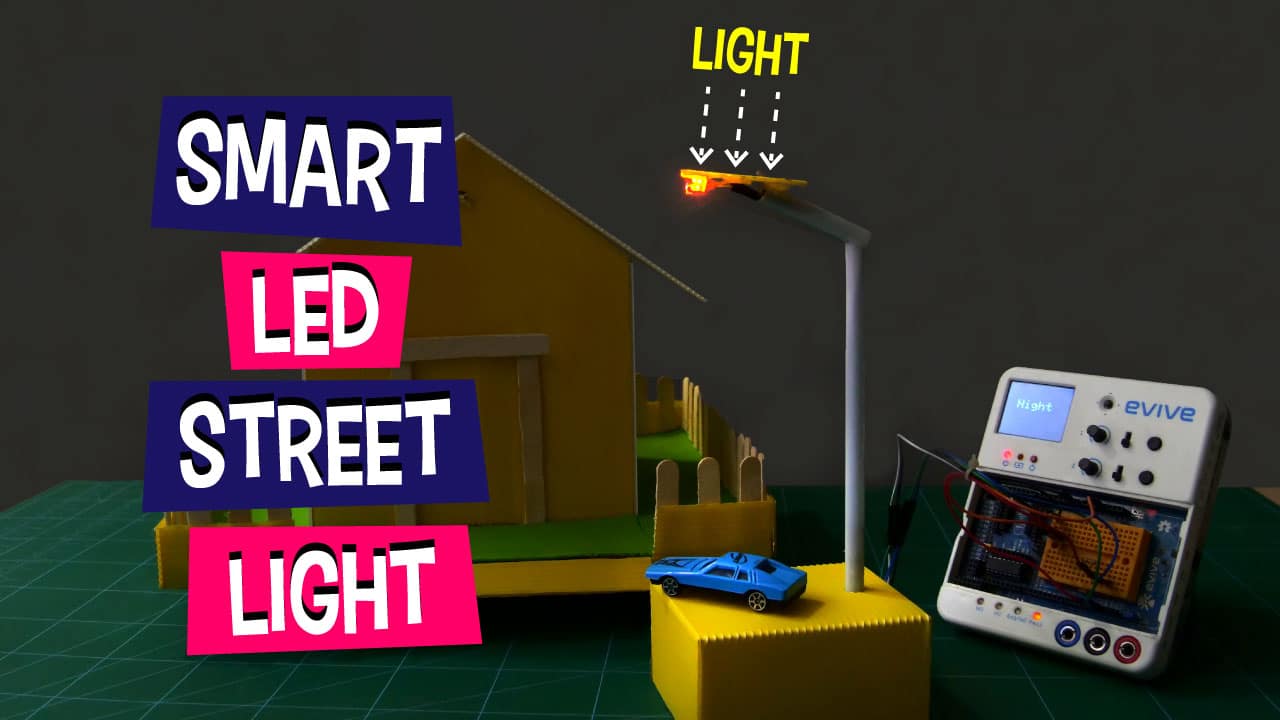
Activity: Making a smart LED street light using an LED and a light sensor that turns ON when the sensor detects low light in the surrounding.
Learning Outcome: In this session, students will make a Smart Street Light, in which, the LED light will glow when the light will go below a certain limit.
The final lesson of the Physical Computing for Kids – Level 1 curriculum for schools is where students get to apply all the concepts they have learned in the previous sections to make a project to solve a real-world problem of their choice.
What will you need to Conduct this Curriculum?
STEM Classroom Bundle
The perfect Starter Package for schools to implement STEM, electronics, and robotics education.