PictoBlox App is a graphical programming app based on Scratch 3.0 for kids and beginners to learn to code on the go. Its user-friendly interface and drag-and-drop functionality similar to the PictoBlox desktop version eliminates the need to memorize syntax and rules that is the case in traditional programming languages. You can make games and animations, control robots, program prototyping boards like Arduino Uno, Mega, Nano, ESP32 and evive, and do a lot more with it.
Download PictoBlox App from here to get started:
Exploring the Surroundings
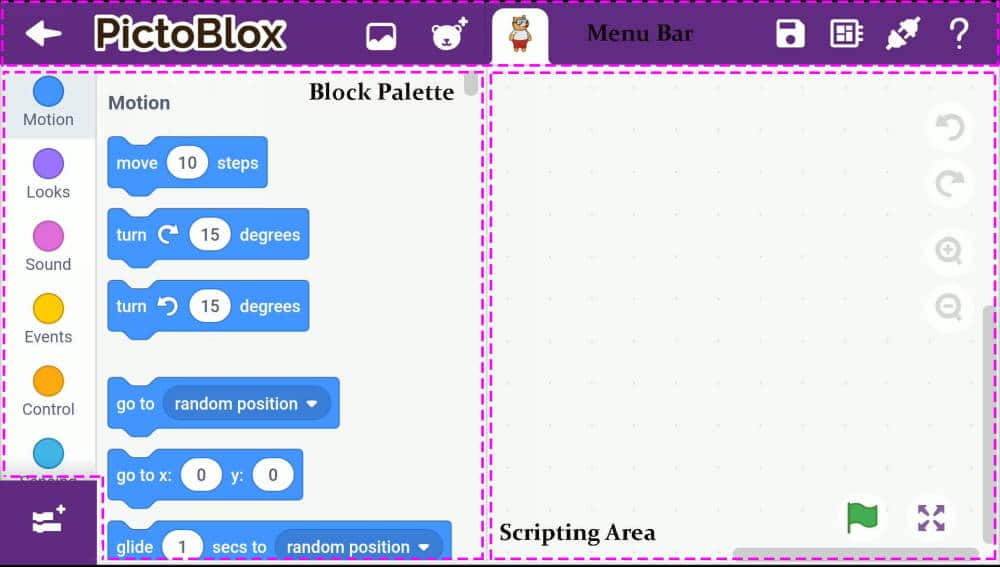
Before we begin let’s first have a look at the User Interface of the PictoBlox Mobile Application
- Tap the + button on the bottom right corner of the screen to start with a new project.

- Similar to its desktop version, there’s a purple-coloured menu bar at the top.
- On the bar, you’ll notice the icon of a character. That’s Tobi, the sprite selected by default in the beginning. A Sprite is nothing but an object or a character that performs different actions in the projects.
- On the left is the block palette with blocks of different colors that are used for creating scripts in the scripting area on the right. A script nothing but the code that we write.
- There are four buttons in the scripting area:
- Undo
- Redo
- Zoom In
- Zoom Out
- Next, Tap the Maximize icon on the bottom right corner to see the stage, the area where the sprite performs actions according to your code.
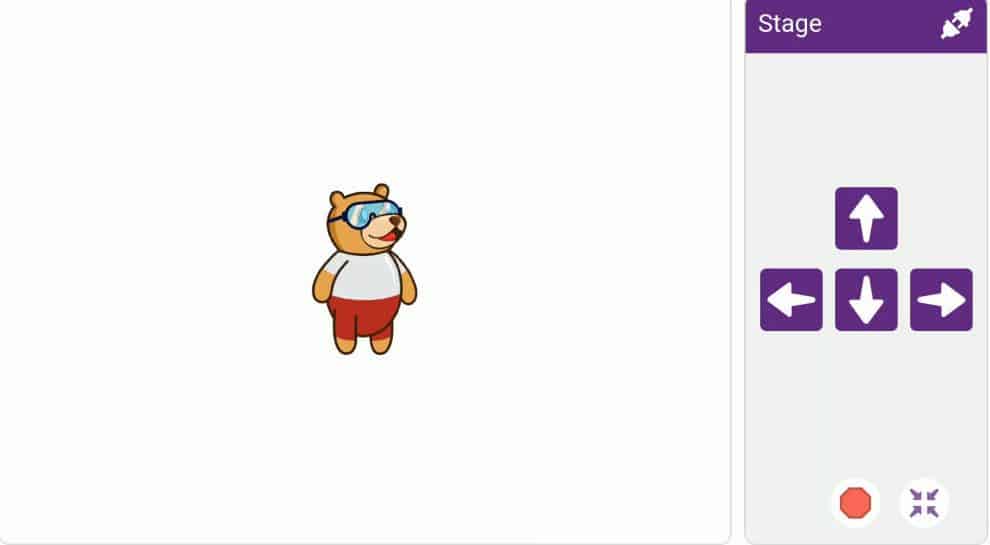
- To the right of the stage are the arrow keys. You can use them to move the sprite in different directions or as specified in the script.

Activity: Making the Tobi Move
Now that we have PictoBlox Mobile Application installed, we have
- First, let’s make the Stage a bit more colorful. We can do that by changing the backdrop.
- For that, we need to go back to the scripting area. Tap the Minimize icon for the same. Now, to change the backdrop, tap the add backdrop button available above the block palette. You’ll notice that some blocks disappear from the palette. Tap it again. You’ll see an edit button. Click it to open the Backdrop settings.
- In doing so, the stage will appear along with a palette on its left, similar to the one we have in the desktop version.
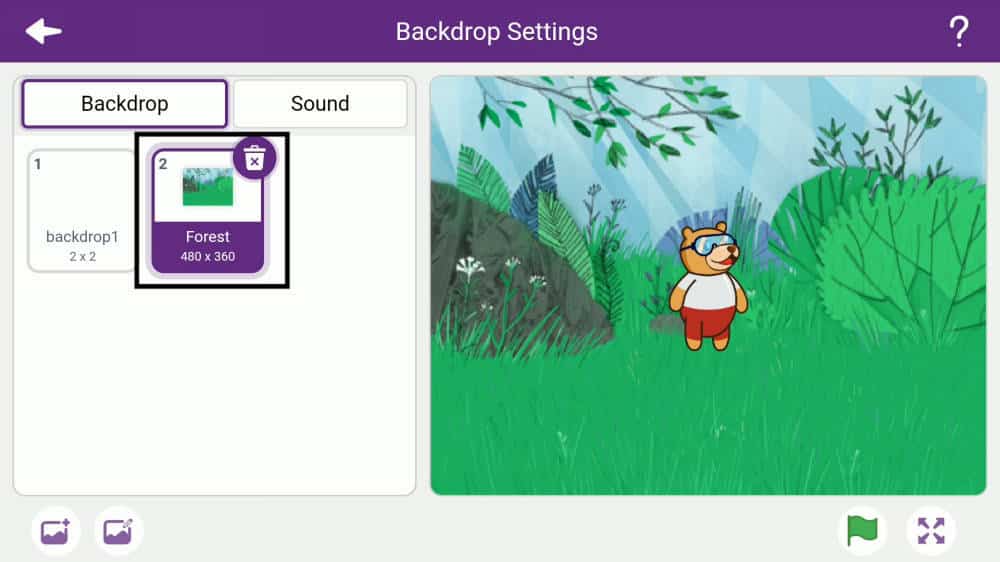
- Now, tap the choose a backdrop button on the bottom-left corner to open PictoBlox’s library of Backdrops and choose a backdrop of your choice. We’re going for Forest.
- As soon as you select the desired backdrop, the white background of the Stage is replaced by the background you’ve chosen. The small card in the Stage palette shows the recently selected backdrop.
- Now that the stage is all set, let’s go back to creating the script. Tap the back button on the top-left corner to go back to the scripting area.
- Since we’re creating the script for Tobi, we must first select Tobi’s icon from the menu bar. Let’s create a script to make Tobi move, we’re going to use blocks from the motion palette.
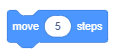
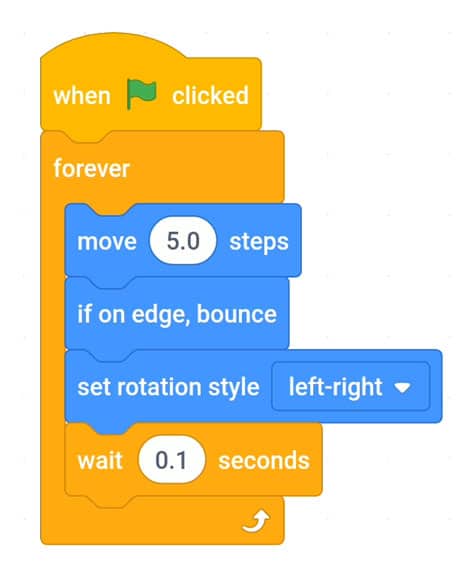
- Go to the Motion palette and drag and drop a move steps block into the scripting area. This block will make Tobi move the number of steps you enter into the white space. Write 5 in the space given.
- To make Tobi move continuously we are going to use a forever block from the control palette.
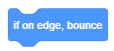
- Now, he should change the direction as soon as he reached the edge of the Stage. For this, we’ll use an if on edge bounce block from the Motion palette.
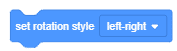
- Next, add a set rotation style block below the bounce block and select left-right from the drop-down to make sure that Tobi doesn’t turn upside down upon reaching the edge.
- Now tap the script to run it. You’ll notice that the green flag at the bottom gets replaced by the stop button represented by a red octagon.
- Switch to the Stage to see Tobi moving. You’ll notice that he’s moving too fast!
- To slow him down, stop the script and go back to the scripting area. From the Control palette, drag and drop a wait block below the set rotation style block.

- Write 0.1 in the white space. This will add a delay of 0.1 seconds every time the loop starts executing again.
- Now, you might have noticed that so far, we’ve had to click the script every time to run it. Instead of having to click it manually, there’s something else that we can use to ease things for us – a hat block. A hat block is a block with a bump at its top and is used to start a script based on a predefined condition.
- Go the Events palette, and drag and drop a when flag clicked hat block above the forever block.
- Now, go to the stage, and then tap the green flag to start the script.
Making Tobi Look Like He’s Walking
- Then, tap Tobi’s icon once. Three buttons will appear below it. The one on the left is the edit button. Tapping it will open the Sprite Settings, similar to the Costumes tab in PictoBlox’s desktop version.
- Tap the Costume button. You’ll see that there are 4 appearances or costumes. Out of these 4, switching between walking 1 and walking 2 will make Tobi look like he is walking.
- Since we’re working on Tobi’s looks, we’re going to use blocks from the Looks palette. Drag and drop the switch costume to block into the scripting area.
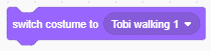
- Select Tobi Walking 1 from the drop-down.
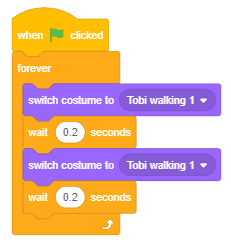
- Long press on the block to duplicate it. Select Tobi Walking 2 from the drop-down of the second block.
- Add a wait block with a delay of 0.2 seconds below each switch costume to block and stack all the blocks together.
- Add a forever block to run the script forever.
- Finally, add the when flag clicked hat block above the script and run this script.
- Since both the scripts have the same hat block, they’ll run together whenever we click on the flag.
- You can go full screen by clicking on this button. Now, click on the flag button.
And that’s it! You’ve successfully written your first-ever code in PictoBlox! Nothing can stop you now from unleashing your imagination and do wonders with it. B-)
Enjoy!

Conclusion
PictoBlox App provides an easy and fun way to learn to code on the go. With its user–friendly interface and drag–and–drop functionality, you can easily create games and animations, program prototyping boards like Arduino Uno, Mega, Nano, ESP32, and evive, and do a lot more. We hope this tutorial has provided you with a basic understanding of PictoBlox App and its features. Now, you can start exploring its possibilities and unleash your imagination!


