
OpenWeatherMaps
In this tutorial, we will retrieve different weather parameters of a location using latitude and longitude.
For getting weather data, we will use OpenWeatherMap APIs. It provides current weather of more than 20000 cities across the world.
Follow the steps to get a free API of yours:
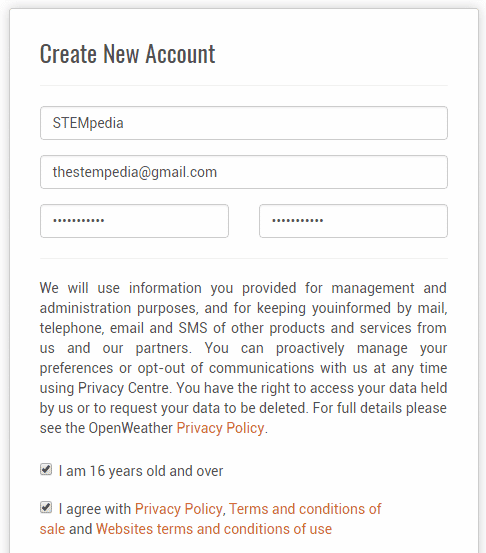
- Go to OpenWeatherMap website: https://openweathermap.org/ and create a free account.
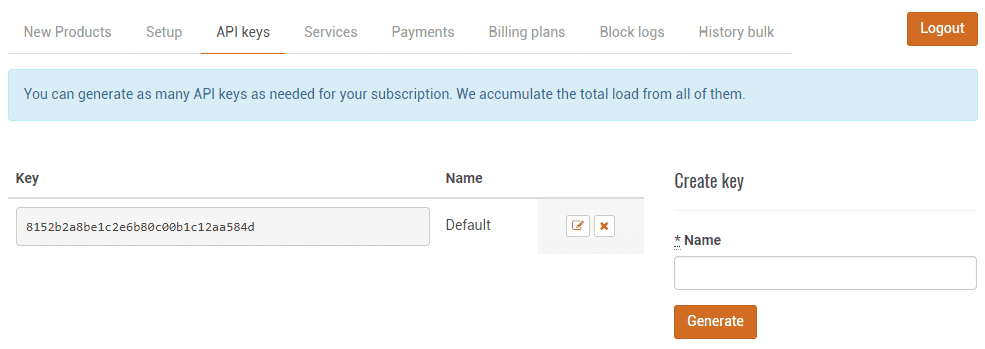
- Choose the API tab to get the API Key.
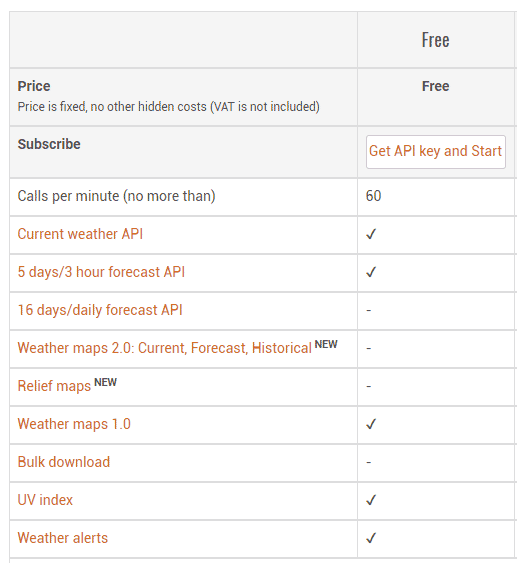
Free plan has some limitations like only 60 calls per minutes, but it is sufficient for individuals.
Connecting evive to Internet
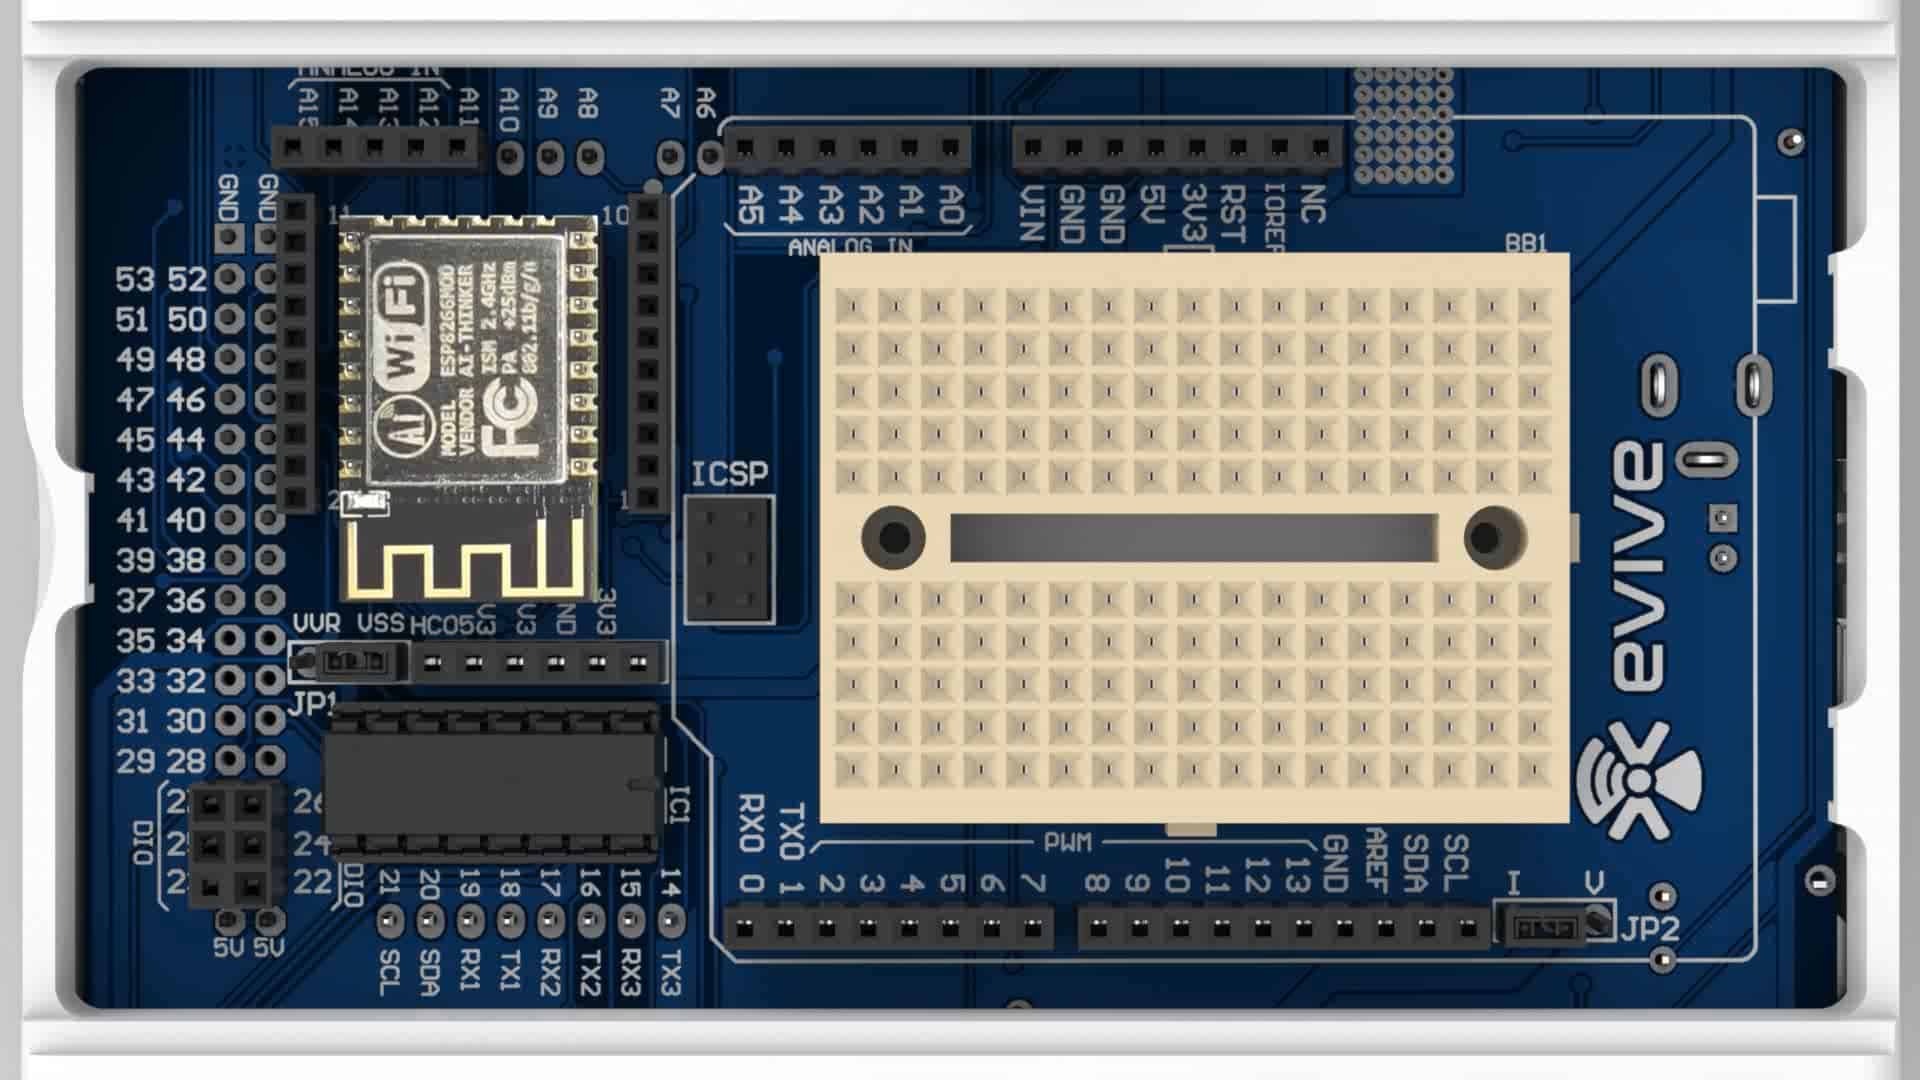
To connect evive with the internet we will use the ESP8266 module.

Connect ESP8266 Module to its header on evive:
PictoBlox Blocks for Weather
- connect to Wi-Fi () with password (): The block connects ESP8266 module connected to evive to the WiFi. The user has to specify the WiFi name and password in the block.

- get weather data for latitude () & longitude () with API (): The block gets the weather data of the specified location (using latitude and longitude) and stores in the internal variables.

- get (float) data: The block reports the weather data specified in the input:
- latitude,
- longitude,
- the temperature in C,
- the temperature in F,
- humidity,
- visibility,
- wind speed,
- wind direction, and
- clouds.

- get (string) data: The block reports the weather data specified in the input:
- weather,
- weather description,
- country code,
- city name,
- time of captured data,
- sunrise time and
- sunset time.

PictoBlox Program
Follow the instructions:
- Open PictoBlox.
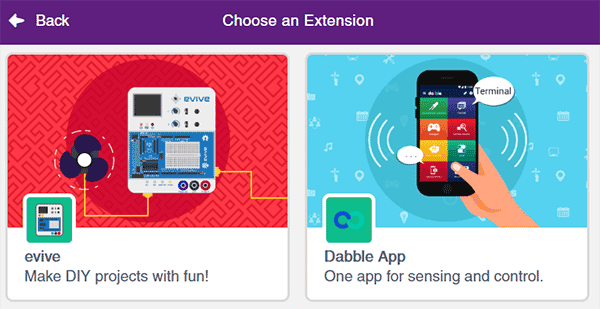
- Select the board as evive:
- Connect the evive.
- Add Internet of Things extension in PictoBlox by clicking on the add extension button on the bottom left corner.
- Create the following script using when evive starts up block:

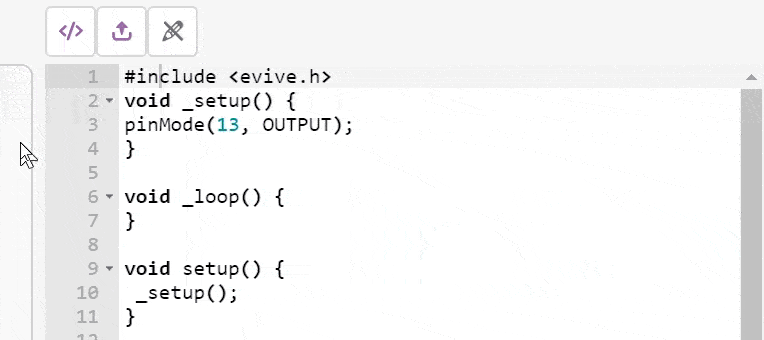
- Upload the code onto evive:
You can download the PictoBlox program from here: IoT – Displaying Weather Data
When you start your evive, you will see two things happening:
- M1 LED glowing:
- Yellow: Connected to Wi-Fi.
- Red: Not connected to Wi-Fi. Check if your Wi-Fi name and password are correct.
- M2 LED glowing:
- Yellow: Connected to OpenWeatherMap.
- Red: Not connected to OpenWeatherMap.


