Introduction
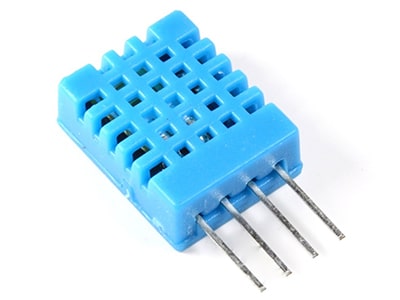
DHT 11 is a temperature and humidity sensor which uses a capacitive humidity sensor and a thermistor to measure the surrounding air and spits out a digital signal on the data pin (no analog input pins needed).
How does DHT11 sensor work?
The DHT11 Humidity and Temperature Sensor consists of 3 main components. A resistive type humidity sensor, an NTC (negative temperature coefficient) thermistor (to measure the temperature) and an 8-bit microcontroller, which converts the analog signals from both the sensors and send out single digital signal.
Circuit for DHT11
The connections between humidity and temperature sensor are explained below
- + Pin is connected with the female jumper wire and the male end to the 5V power supply on evive board.
- – Pin is connected with the female jumper wire and the male end to the ground on evive board.
- OUT Pin is connected with the female jumper wire and the male end to the digital pin.

PictoBlox Program
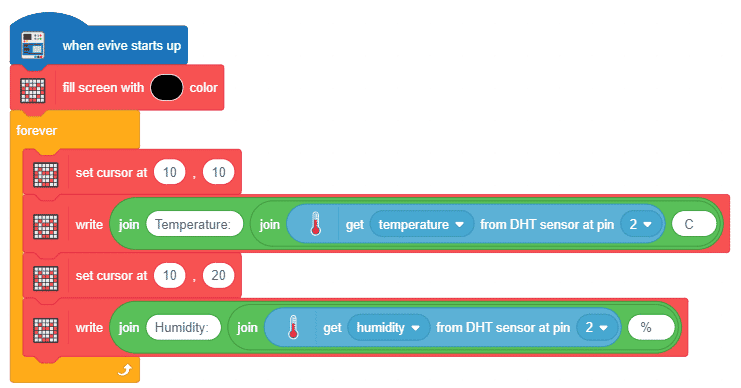
In this example, we will display the temperature and humidity value on evive TFT Display:
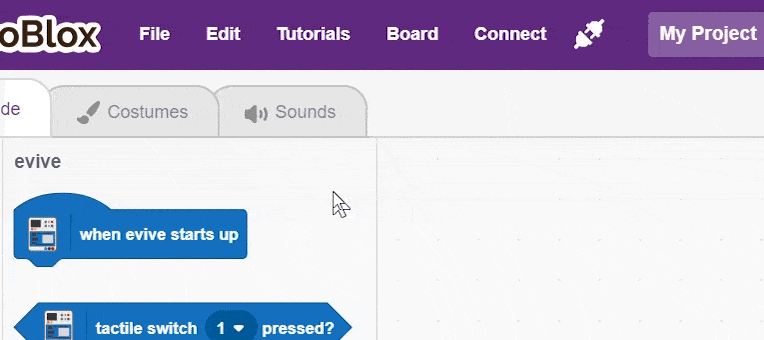
- Open PictoBlox.
- Select the board as evive:
- Connect the evive.
- Create the following script using when evive starts up block:
- Upload the code onto evive:
You can download the PictoBlox program from here: Temperature and Humidity Sensor
Output
The DHT 11 humidity and temperature sensor is shown below. When we blow on the humidity sensor the sensor detects the moisture that comes with the blow and changes the value on the evive TFT display.
Conclusion
In this lesson, we learned how to use the DHT 11 humidity and temperature sensor with evive and PictoBlox. We connected the sensor to evive, programmed it using PictoBlox and saw how it works in response to the temperature and humidity changes. We also saw how the value of temperature and humidity is displayed on the evive TFT display. With this knowledge, you can now explore the possibilities of using the DHT 11 sensor with other projects.


