Introduction
An actuator is a device that actuates something. In simple words, it produces motion. It helps other devices move and interact with their surrounding environment. The actuator takes in energy and uses it to help the device move. Servo motors and DC motors are types of electric actuators.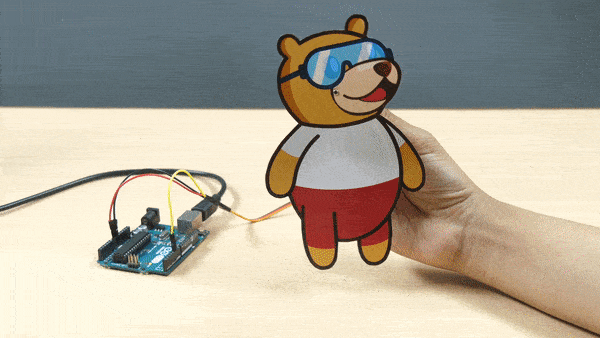
In this tutorial, we are going to see how to interface the servo motor to Arduino Uno and control it using an IR sensor using PictoBlox, our graphical programming software. A servo motor, or simply, a servo, is a rotary actuator that rotates or push parts of a machine to which it is connected, with precision. They rotate in a particular angle and then stop.
Let’s begin.
Interfacing the Servo and the IR Sensor
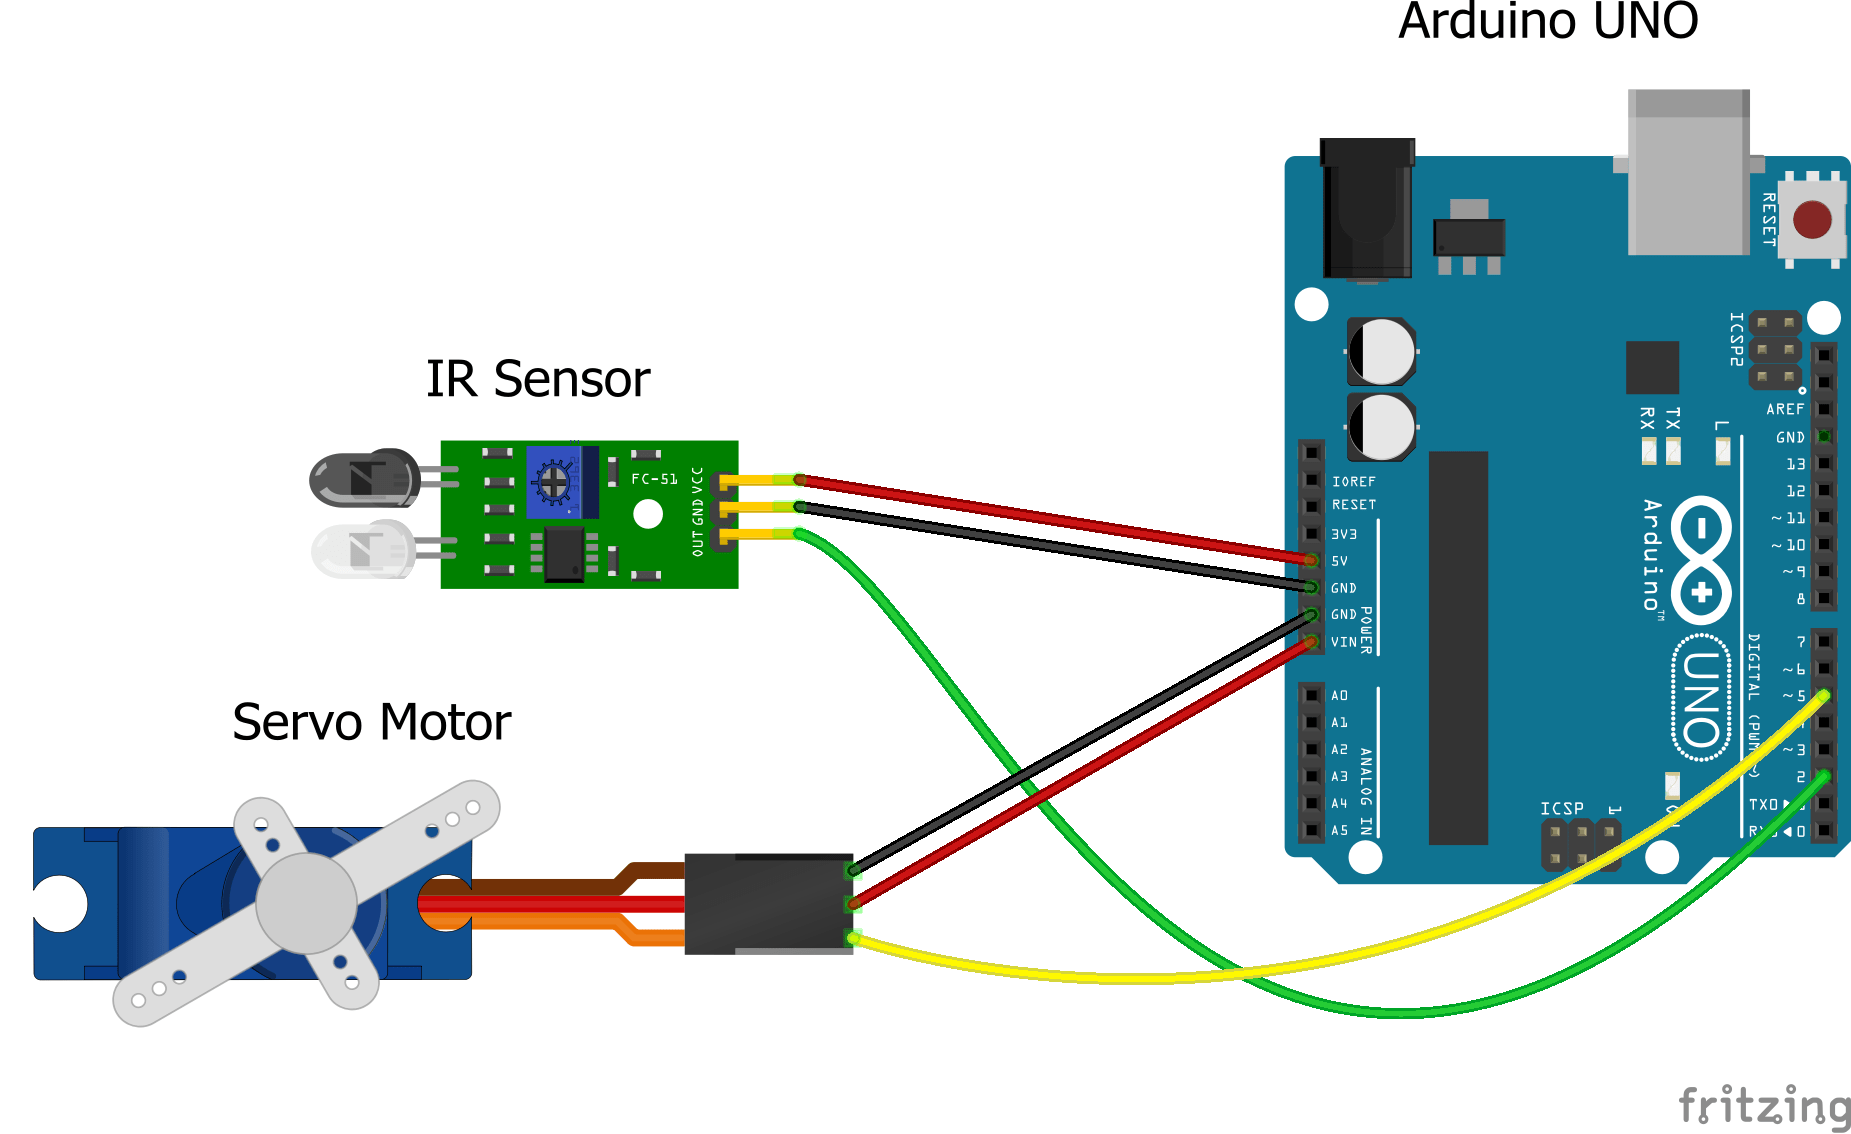
- First, connect the servo to Uno.
- Connect the servo’s brown wire to Uno’s ground pin using a black male-to-male jumper cable.
- Next, connect the red wire to Uno’s VIN pin using a red male-to-male jumper cable.
- Then, connect the orange wire to Uno’s PWM pin 5 using a yellow male-to-male jumper cable.
- Now, let’s connect the IR sensor to Uno.
- Connect the sensor’s VCC pin to Uno’s 5V pin using a red male-to-female jumper cable.
- Next, connect the sensor’s ground pin to Uno’s ground pin using a black male-to-female jumper cable.
- Then, connect the sensor’s out pin to Uno’s digital pin 2 using a green male-to-female jumper cable.
- Connecting Uno to the computer
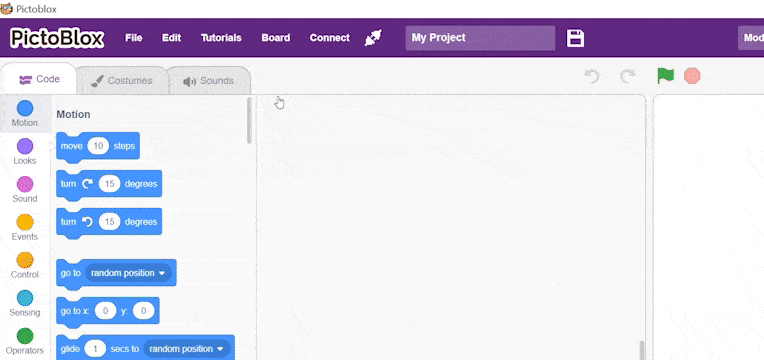
- First, open PictoBlox.
- Then, connect Uno to your computer via a USB cable.
- Next, click on the Board button in the toolbar and select Arduino Uno from the drop-down menu.
- Then, click on the Connect button and select the appropriate port.
You have successfully interfaced the servo and IR Sensor to Uno.
Activity: Control Servo using IR Sensor
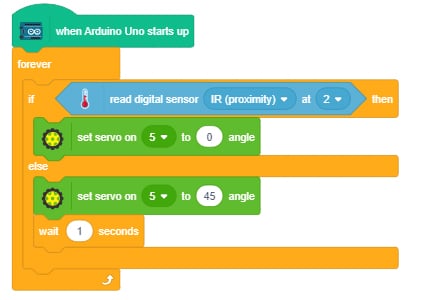
In this activity, we are going to make servo turn 45° if the IR sensor detects an object, otherwise, it should remain at 0°.
Let’s write the script for the same in PictoBlox:
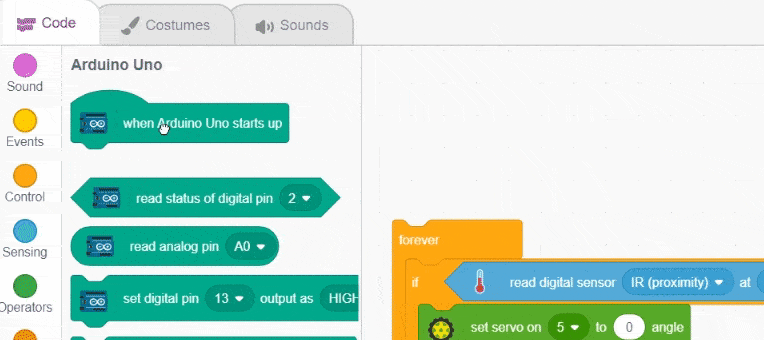
- We are going to use the if-else block. Go to the Control palette and drag and drop it in the scripting area.
- We’re going to use the read digital sensor block to check whether the IR sensor detects an object.

- Drag and drop it inside the hexagonal space of the if-else block and select IR from the drop-down menu.
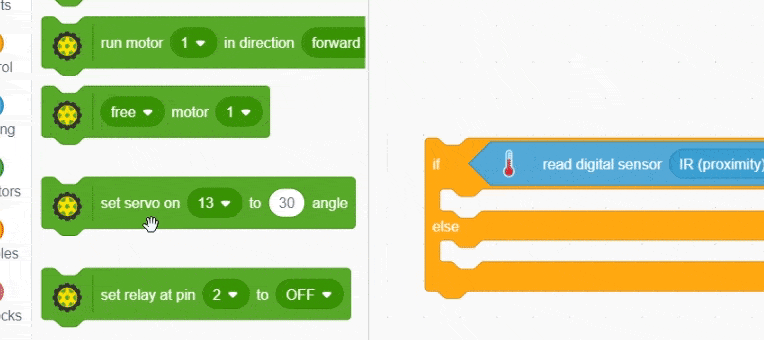
- To control the servo, we’re going to use the set servo block from the Actuators palette. There are blocks as well to control other actuators like the DC motors in this palette.
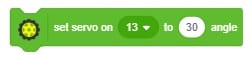
- Drag and drop the set servo block below the if arm of the if-else block. Change the pin to 5 and set the angle to 0 degrees.
- Duplicate this block to turn the servo. Drag and drop it below the else arm and set the angle to 45 degrees.
- Add a wait block below this block to make the servo stable.
- Now, to run the script forever, drag and drop the forever block from the Control palette.
- As you know by now, we need a hat block to run any script. So, drag and drop the hat block from the Arduino Uno palette.
- And our script is complete! Let’s upload it to Uno.
- Switch to Upload mode by toggling this button. Click on the Upload Code button to upload the code.

And you are done!
Try bringing the hand close to the IR sensor the servo rotates to 45° and when you take your hand away it turns back to 0°. 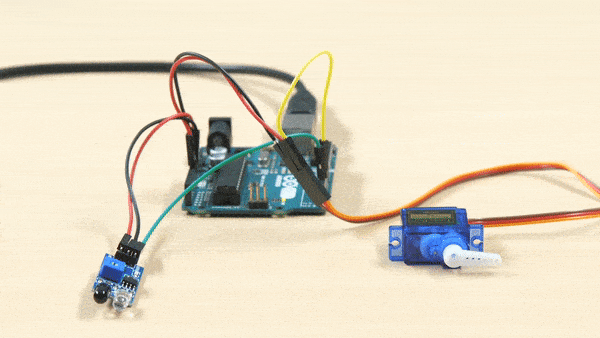
Project
We have made a miniature house whose door opens automatically as soon as the IR sensor detects an object. And closes as soon as the IR sensor stops detecting the object. We will use the servo to open and close the door. Try making the same for you.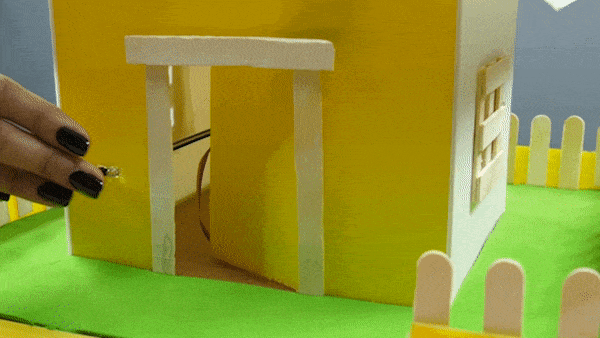
Also, you can try interfacing the DC motor to Uno.
Conclusion
In this tutorial, we saw how we can interface a servo to Uno and control it using an IR sensor with the help of PictoBlox.
Hope you enjoyed it! 🙂


