Introduction
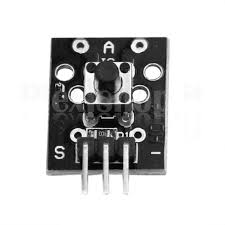
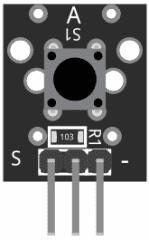
The key Switch module work as a switch that is on when the button is pressed and off when it’s not, so when the button is not pressed high signal is received at the digital pin and when the button is pressed the current passes through the switch and a low signal is received at the digital pin, advantage of using key switch module is, it has inbuilt pull up resistor which will pull the digital pin high when the switch is not pressed.
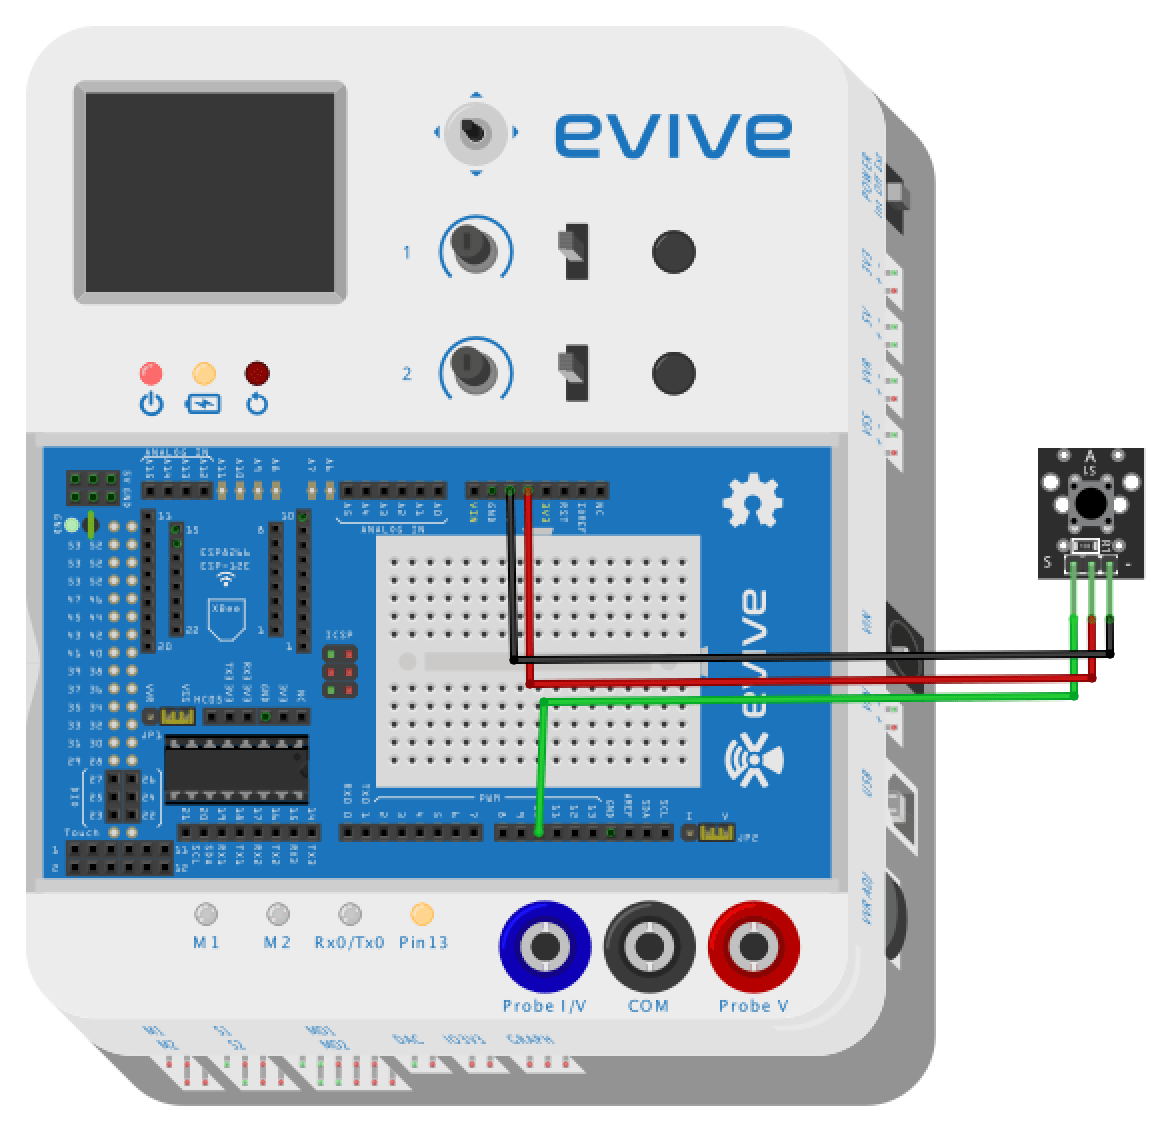
Circuit Diagram
- Connect the signal pin of the key switch module to pin number 10 of evive
- Connect the middle pin to VCC
- Connect pin having ‘-‘ sign on board to GND
Code
So when the switch of the key switch module is pressed, the digital pin will read a low signal and a high one when the switch is not pressed, also the state of the digital pin will be displayed on the TFT display.
/*
 *  evive
 *
 *  this code demonstrates interfac with key switch module KY-004
 *
 */

 #include<evive.h>

int ledpin = 13;  // led pin is connected to pin number 13
int buttonpin =10; // signal pin of key switch module is connected to pin 2 of evive

int count1 =0 ;    // counter initialized to remove debouncing of
int count2 =0;     // switch


void setup()
{
  // put your setup code here, to run once:
  tft_init(INITR_GREENTAB);         // this statment initialized tft display
  tft.setRotation(1);               // this statment rotate screen by 90 degree
  tft.fillScreen(ST7735_BLACK);     // this will fill screen with black color

  tft.drawRoundRect(20,30,120,68,10,ST7735_WHITE);    // this will draw white round rectangular
  tft.setTextColor(ST7735_WHITE);                     //this will set text color to white
  tft.setTextSize(2);                                 // this will set text size
  tft.setCursor(50,40);                               // setting cursor to the location 50,40
  tft.print("STATE");                                 // printing STATE on tft display

  pinMode(ledpin,OUTPUT);                            // declaring pin 13 as a output
  pinMode(buttonpin,INPUT);                          //declaring pin 2 as a input
}

void loop()
{
  // put your main code here, to run repeatedly:
  if (digitalRead(buttonpin)==LOW)  // this statment will check whether button is pressed or not
  {
          count1++;
          if(count1>13000)
          {
             digitalWrite(ledpin,HIGH);                       //this will glow led
          tft.fillRoundRect(40,59,80,25,5,ST7735_GREEN);   // this will show state of the switch by making round rectangle red in color
            count1 =0;
          }

   }
  else
  {
    count2++;
    if(count2>13000)
    {
       digitalWrite(ledpin,LOW);                           // this will turn of led
      tft.fillRoundRect(40,59,80,25,5,ST7735_BLUE);       // makes round rectangle green in color
      count2 =0;

    }

}
}
Conclusion
In this lesson, we learned how to connect the Key Switch Module KY-004 to evive and how to write the code to read the digital signal from the module and display the state on the TFT display. We also learned how to use the inbuilt pull-up resistor to pull the digital pin high when the switch is not pressed. With this knowledge, you can start experimenting with different types of switches and build cool projects.


