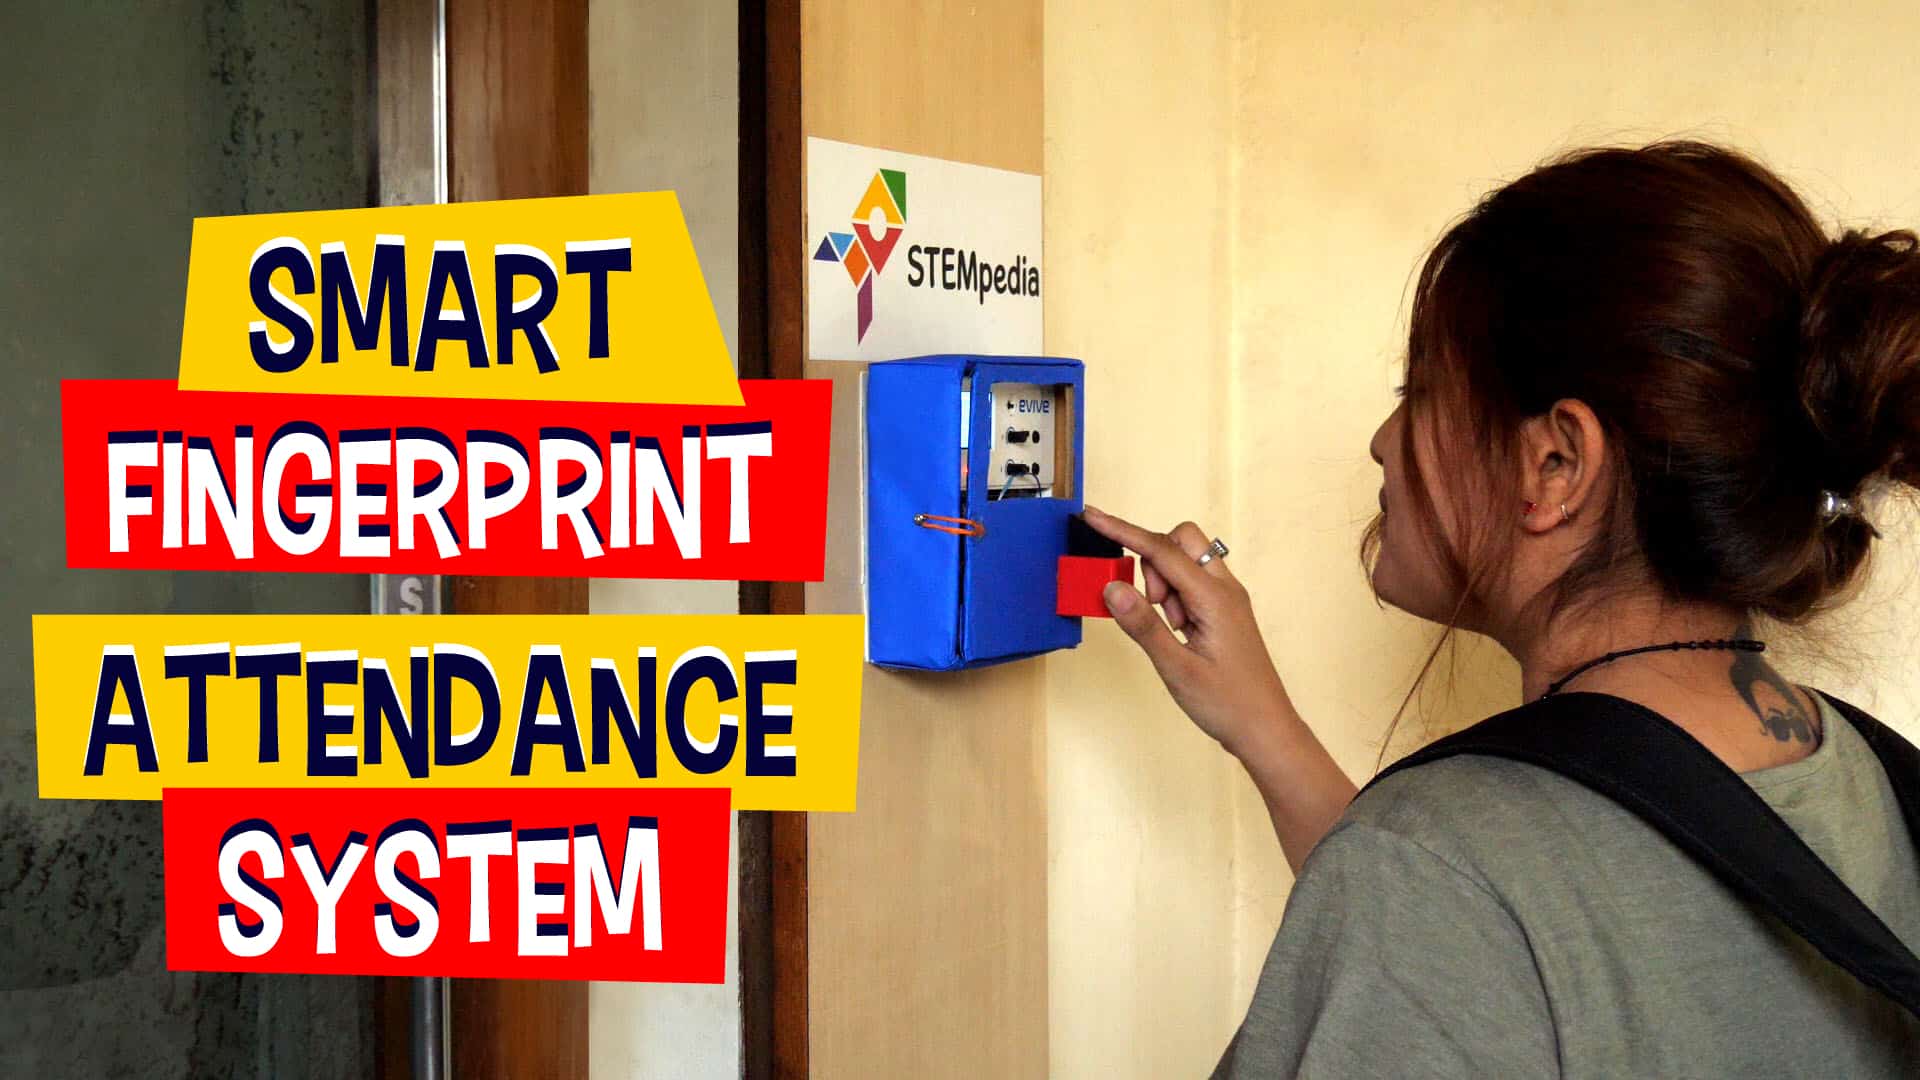

Introduction
Gone are the days of manually tracking attendance and clocking working hours. A lot of workspaces and schools now use fingerprint scanners to log data and keep track of it. In this project, we’ll be making a DIY fingerprint scanner of our own that will help us keep track of attendance with the help of ThingSpeak. All you need is a cardboard piece, some colored paper, a fingerprint sensor, evive, and loads of DIYing!
Ready for some tracking? Let’s begin!
Making
We will be using the box to hold evive and the fingerprint sensor.
Take the cardboard piece and mark the dimensions as shown:
Once you have made the marks, score the cardboard. Then, fold it along the marks and glue it accordingly.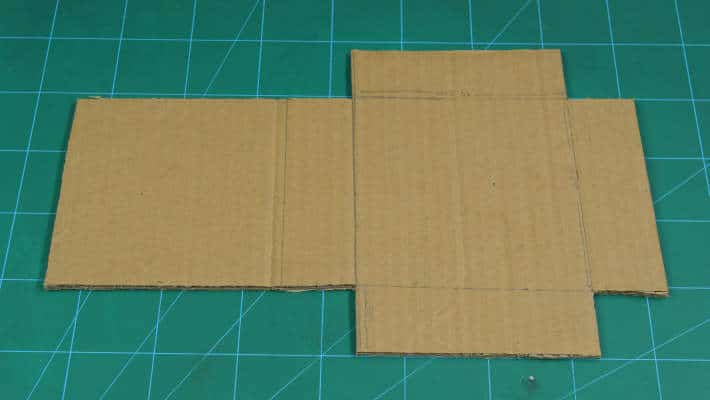
We need to make a window onto the front of the box so that we can access the potentiometers and the TFT screen through it.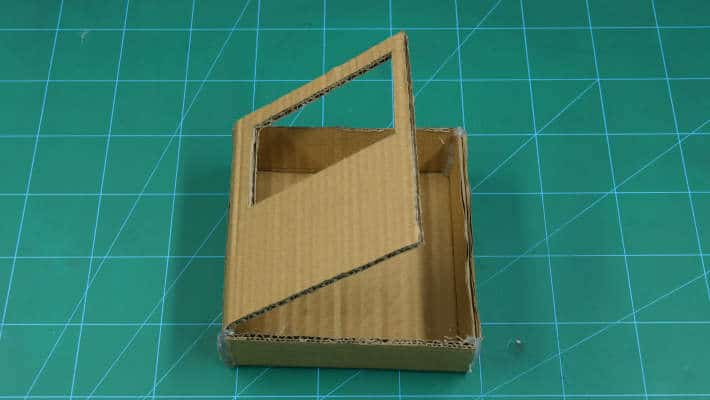
You can decorate the box in any way you like.
You can also put a lock to it if you want to.
For that, we are going to use a string and a bolt. Make a loop using a piece of string and glue it to the door of the box. You can now tie this loop around the bolt fixed to one of its sides.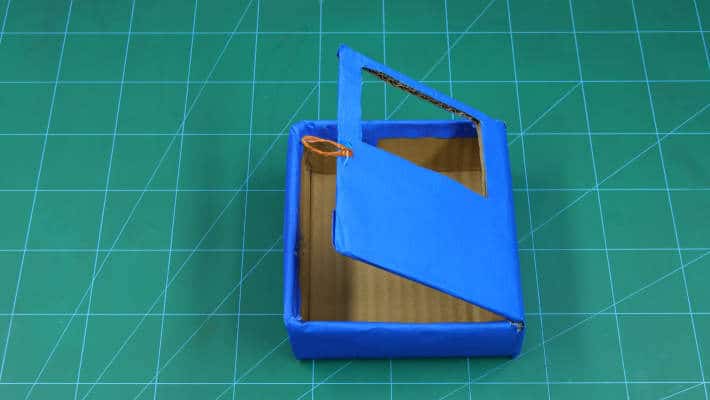
The box is ready. Now we need to place the fingerprint sensor holder.
We have 3D printed the holder.
Attach it to the door of the box.
The assembly is now complete.
Connection
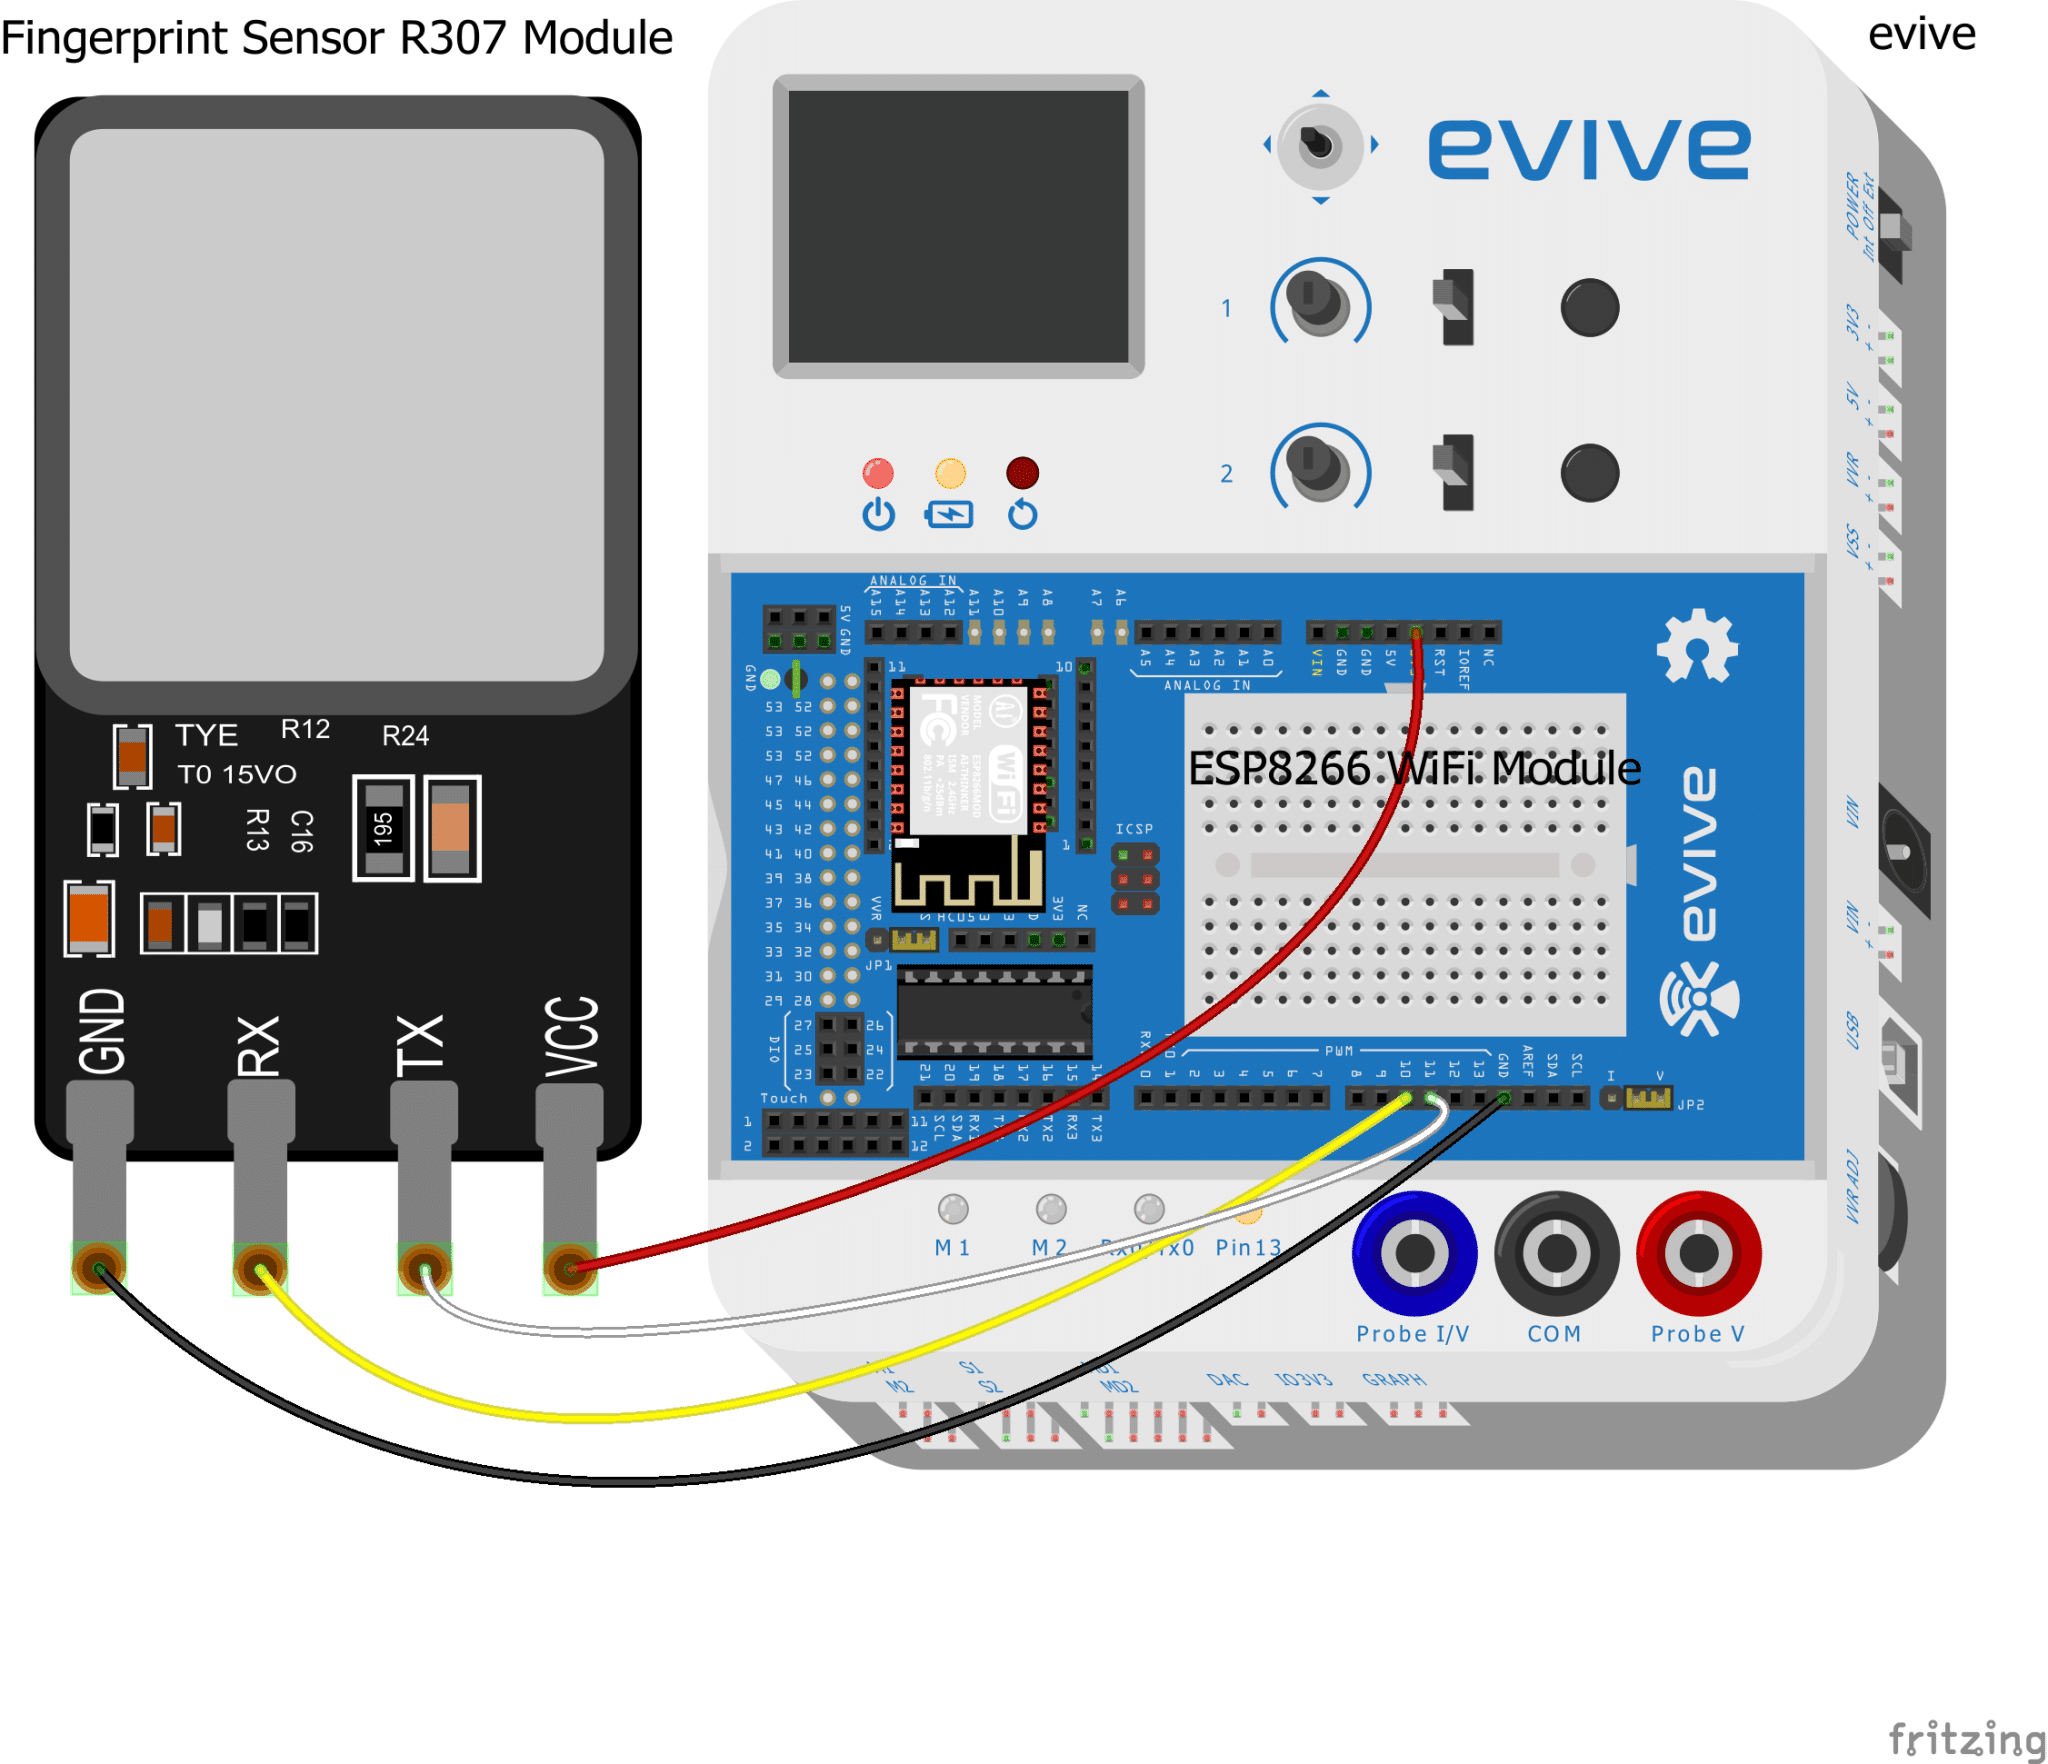
Make the connections as given below:
Fingerprint sensor Arduino
- VCC (Red wire) 3.3 V
- GND (Black wire) GND
- Rx ( Yellow wire) 10
- Tx ( White wire) 11
Working
The attendance system has 2 modes: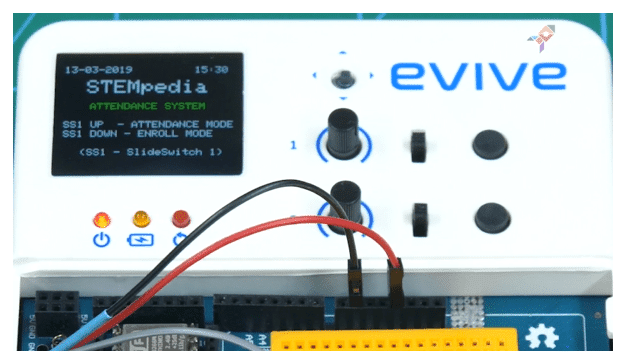
- Enrollment mode: While working with the system the first time, the user needs to enroll their fingerprint into the system. Follow the instructions given below for the same:
- Slide the slide-switch 1 downward to switch to enrollment mode.
- Slide the slide-switch 2 in the upward direction.
- Wait until a number appears on the TFT screen.
- Then use the potentiometer 1 to select the number of your choice. This number indicates the slot in which your fingerprint will be stored.
- Then, slide slide-switch 2 downward.
- A text will appear on the screen asking you to place your finger on the sensor. Place your finger and then remove it.

- You will be asked to place the finger again.
- Once both the fingerprints are matched, the data is entered into the database.
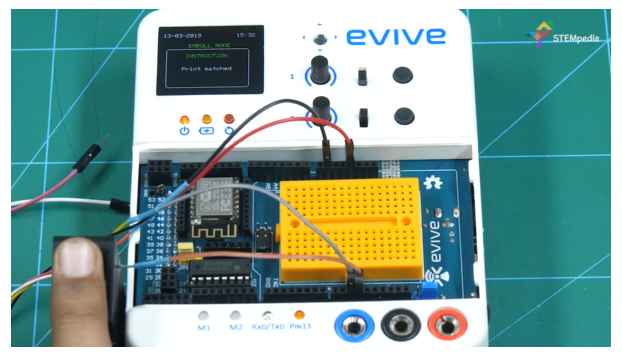
- If they are not matched, you need to follow the above steps again.
- Attendance mode: Once your fingerprint is enrolled, you can directly go to the attendance mode.
- Slide the slide-switch 1 Upward.
- Place your finger onto the sensor. If it matches the enrolled print, then the welcome text is printed onto the screen.
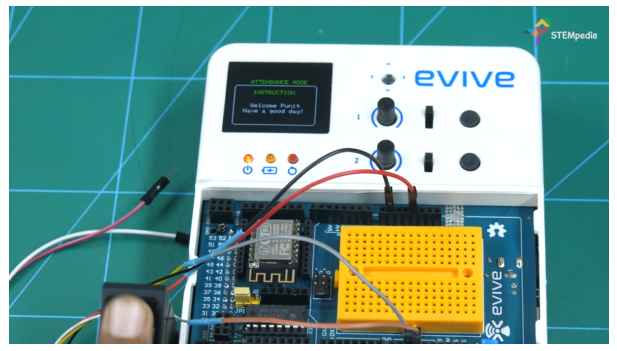
- If not, access is denied.
You can retrieve the data stored by downloading the CSV file from the Thingspeak channel.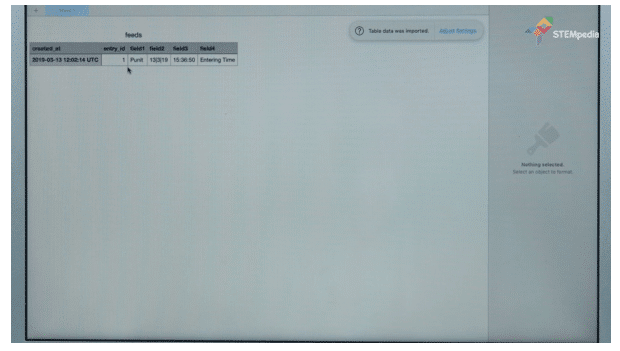
Code
We are going to save the data in Thingspeak, an open-source website, to store and retrieve data.
Create your account on Thingspeak. Then, create a channel named Attendance System.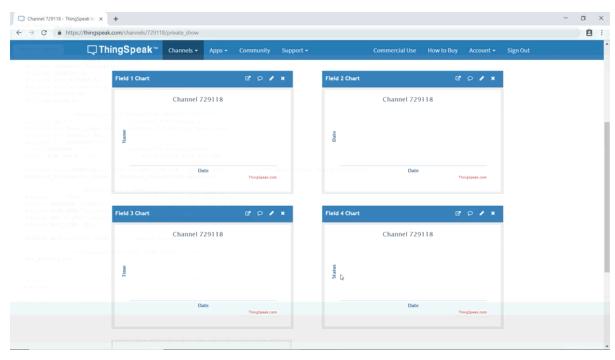
In doing so, you will get an API. You will need to enter it in the Arduino code.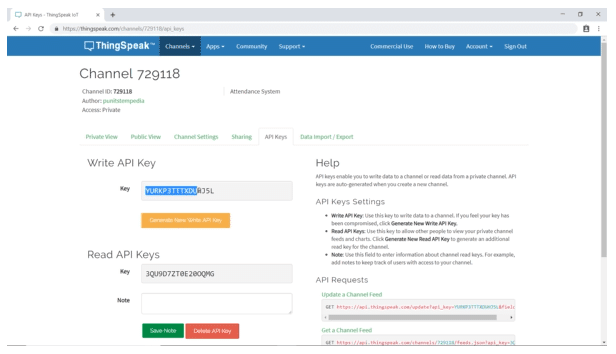
Upload the following Arduino Code to evive:
Conclusion
With this, your DIY fingerprint attendance system is ready for action!
Last few hours left Alert! Our Indiegogo campaign has been a marvelous journey so far and it’s in the last 24 hours now! If you haven’t had a look at it yet then hurry! Check it out HERE for some cool stuff for the DIYer in you!


