
Introduction
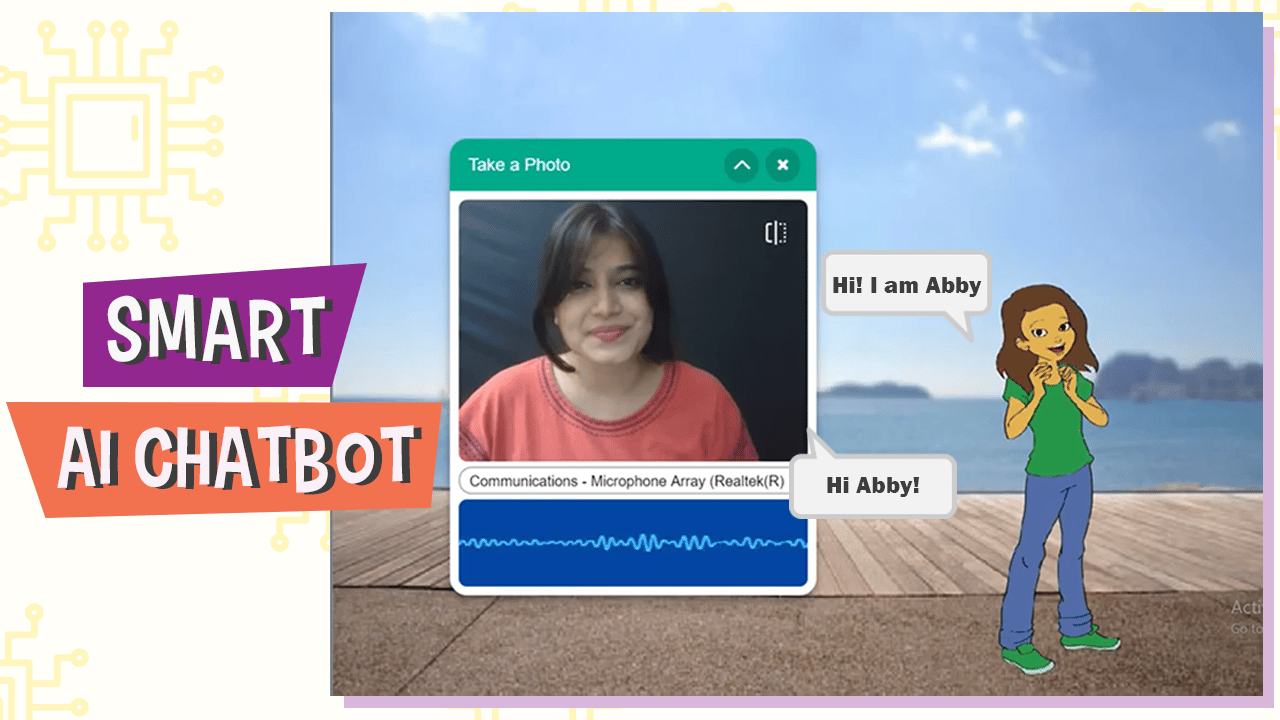
You must have used a chatbot at least once in your lifetime to ask a question on a website or maybe just to have fun! Today, we’re going to make one of our own.
We will first enter a few questions and their answers. Then, when the chatbot runs, it will recognize your speech and convert it into text using PictoBlox’s Speech Recognition Extension and then answer your questions accordingly.
Prerequisites to Make the Chatbot
You’ll need the following things:
- A laptop or a computer with a camera.
- The latest version of PictoBlox
- A good Internet connection.
Setting Up the Project
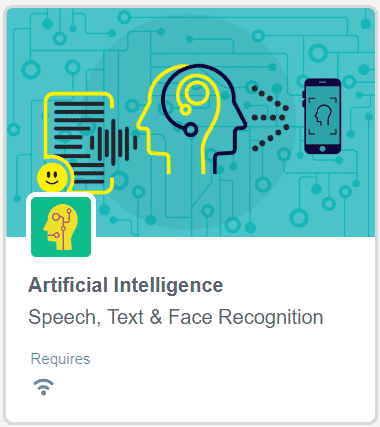
Let’s begin by adding the Artificial Intelligence and Text to Speech extension. Follow the steps below to add the extension:
- Open PictoBlox.
- Next, click on the Add Extension button. You need to keep two things in mind while working with this extension:
- You need to log in to your PictoBlox account to use it.
- That your computer is connected to the internet.
- Select the Artificial Intelligence Extension.
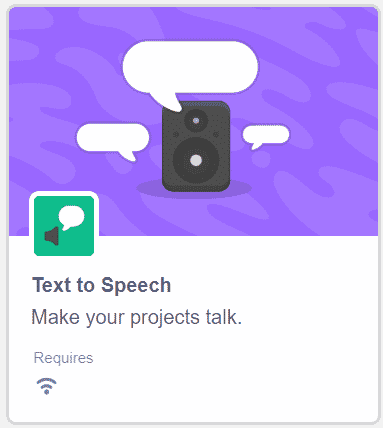
- Next, let’s add the Text-to-speech extension. This extension lets you convert the Audio into a text message. Click on the Add extension button again and scroll down till you find the text-to-speech extension.
Setting Up the Stage
Now, let’s set up the Stage by adding the Sprite and the Backdrop.
- Let’s begin by adding Abby, the sprite which will be the character of our chatbot to our project,
- Click on Choose a Sprite button.
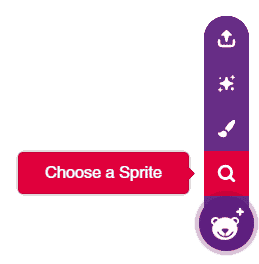
- Select Abby from the library.

- When Abby’s added, remove the Tobi’s sprite.
- Now, let’s add a good backdrop. Click on the Choose a Backdrop button and choose Boardwalk backdrop from the library.
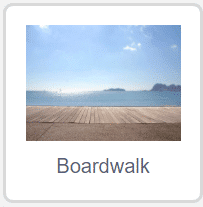
You can add any sprite or backdrop of your choice.
Writing the Script for AI Chatbot
Follow the steps below to write the script.
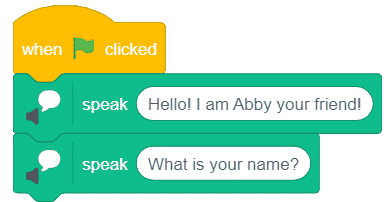
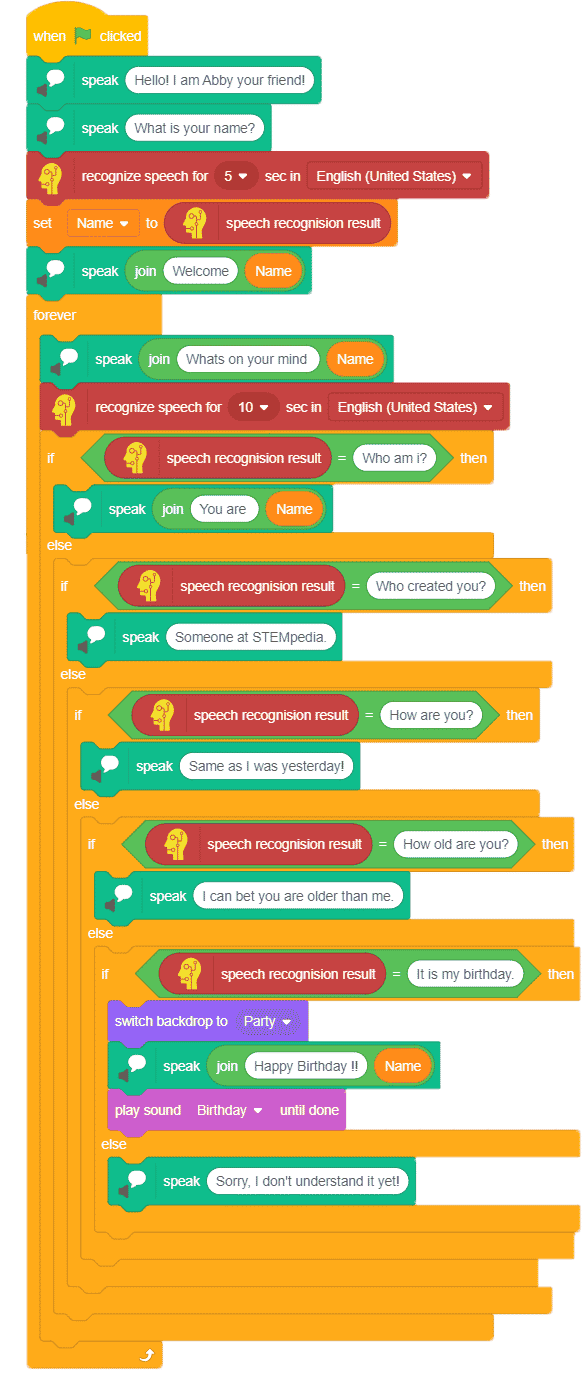
As we want to execute the program every time the green flag is clicked, thus place the when flag clicked hat block into the scripting area from the Events palette.
Introducing each other
Now to get the user familiar with our Chatbot, we will introduce Abby to the user and ask for the name of a user to add a personalized touch to it
- Thus, get a speak () block from Text to Speech palette. This block converts any text written in white space to audio form to be played on your PC/laptop speaker.
- Write “Hello, I am Abby your friend!” to introduce Abby to the user.

- Again add a speak () block and ask for the user’s name Write ”What is your name? ” into space given.
- This block will not store the user’s name for us. Thus, for storing users name we need to add more blocks. Get recognize speech for () secs in () block from the artificial intelligence extension blocks. This block records audio and sends it to the web to decode and convert the speech into the text form.

- Its result i.e the user’s name is stored in the speech recognition result block.
- Now to use the name in further communication we will store it in a variable. Go to the Variables tab, click on Make a New Variable and make a String type variable named “Name” to store the name of the user.
- Get a set () to () block from the Variables palette, select Name from the drop-down, and add speech recognition result inside it.

- Now to make our chatbot welcome users get a speak () block. Place a join () () block inside it from the Operators palette. Write “Welcome ” into the first space of the join block. And add the Name reporter block into the second space.

Chatting Up the Bot
- To continuously chat with our chatbot, we will add in a forever block from the Controls block palette below the speak block.
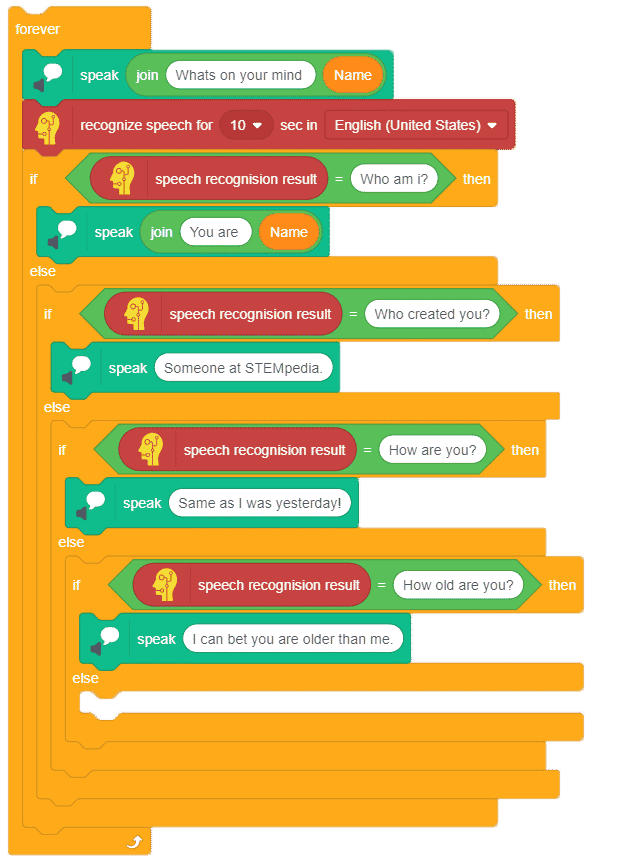
- Now we will first prompt the user to ask a question. To do so, get a speak () block and add a join () () block in it.
 Note: We will always add a join block, to make Abby say the user’s name.
 - Write “What’s on your mind ” into the first space of the join block. And add the Name reporter block into the second space.
- Now to again recognize the user’s questions, we will add the recognize speech for () secs in () block from the artificial intelligence palette to record whatever the user is speaking.

Adding the Questions and their Answers
Chatbot normally answers the predefined questions fed in it. Thus, now, we will be adding common questions which if matched chatbot can reply with the respective answer.
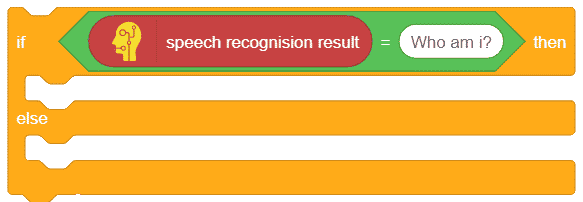
- Now get an if-else block from Controls block palette to check if recognized speech matches the question.
- Inside the if arm, we will add an () = () block to check result.
- Now into the first blank space of equal to block, place, the speech recognition result block, and type in the question ” Who am I? ” in second space.
- We will want our chatbot to reply as “You are and the name of the user”. Thus, get a speak () block from the text-to-speech palette into the if portion and add a join () () block inside it from the operator’s block palate.
- Write “You are ” into the first space of the join block. And add the Name reporter block into the second space.
- Similarly, I’ll be adding a few sample questions, you can add the questions and answers according to your choice.
- Duplicate the if arm and place it below the else arm.
- We will edit out the contents with appropriate questions and their answers.
- You can add in as many questions as you want.
Making Chatbot Do Something Extraordinary
Apart from playing around with simple questions and answers, you can even add some special features to your chatbots such as celebrate bday, crack jokes, make it play a song, and much more. We will be making one such custom event for Bday.
- Duplicate the if-else block as we did previously and change the question portion with the statement ” It’s my birthday”.
- Now when the speech matches, we will change the backdrop to the birthday theme. Thus, add in the Party backdrop from the add backdrop option.
- Place the switch backdrop to () block from Looks block palette and choose party from the drop-down.

- Now to wish the user get a speak () block and add a join () () block inside it inside the first space write “Happy Birthday ” and add the Name reporter block into the second space.
- Now, to play the birthday song, go to the Sounds tab from the top and click on choose a sound button. And the Birthday sound.
- Come back to the script.
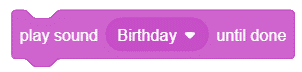
- From the sounds block palate, add play sound until done block below the speak block and choose birthday from the drop-down.
Adding the Default Case
Now, let’s add the default case, if the recognized result does not match any predefined questions then we will make Abby say “Sorry! I don’t understand it yet.”
Add a speak () block into the last else arm of the question and write “Sorry! I don’t understand it yet.”.
Making Abby Talk
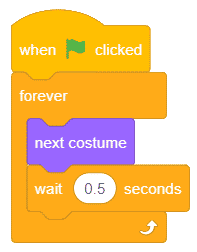
Now to make chatbot look more realistic we will be making one small script. This script will make the character move its face and hands to make Abby look like she is talking.
- First, get one more when the flag is clicked block and add the forever block below it.
- Now from the looks block palette get a next costume block.
- Now to make costume switch visible place a wait () block from Controls block palette and add the wait time of 0.5 seconds.
With this, your script is ready just click on the flag button to start chatting with a chatbot.
Conclusion
From this project, we learned about how to make our own custom chatbot. We used PictoBlox in order to make the basic program to create our chatbot. Furthermore, we used the Artificial Intelligence and Text to Speech extensions to convert the user’s speech into text messages. In addition, we also wrote a script for the chatbot which stores predefined questions and responds with the respective answer to them. We also added a custom event for the chatbot to celebrate the user’s birthday. So, with this, we learned about how to make a custom chatbot and how to set up the Speech Recognition extension of PictoBlox.


 _ CODEVAOUR 2021-22 _ OMOTEC 3-27 screenshot")


