Introduction
Arduino IDE is an open source software for writing code and uploading it to the Arduino board. It runs on different operating systems such as Windows, Mac OS X, and Linux. The environment is written in Java and is based on Processing and other open-source software.

Out of the three choices below, click on the option that matches up with your operating system, or you can simply skip to your operating system further in the tutorial.
How to install Arduino IDE
Windows
You can choose between the Installer (.exe) and the Zip packages. Arduino suggests that you use the Installer package as it directly installs everything you need to use the Arduino Software (IDE), including the drivers. With the Zip package you need to install the drivers manually. The Zip file is, however, useful if you want to create a portable installation.
- For Windows 10, 8, 7, Vista and XP when using Windows Installer package
Follow the steps below to install Arduino IDE on your laptop/desktop:
- Go to the Arduino download page (www.arduino.cc) and download the latest version of the Arduino software.
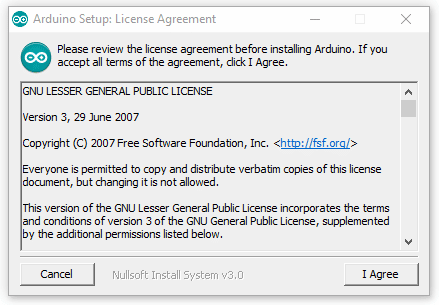
- When the download is finished, run arduino-1.8.5-windows.exe file and click on I Agree.
- Choose the components to install (It is recommended to install all components).

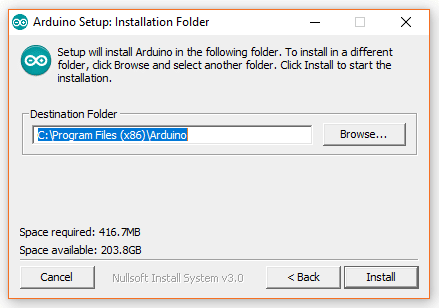
- Choose the Destination Folder (It is recommended to install in the default folder).
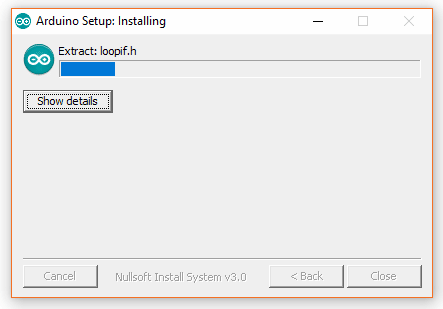
- The process will extract and install all the required files to execute properly the Arduino Software (IDE).
- Close the installation window when it’s complete.
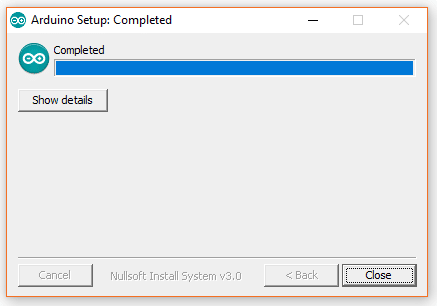
The installation process is now complete. Click here to proceed further.
- For Windows 10, 8, 7, Vista and XP when using Windows ZIP file (non-admin)
Follow the steps below to install Arduino IDE on your laptop/desktop:
- Go to the Arduino download page and download the Zip package of the latest version of Arduino IDE for Windows.
- When the download is finished, unzip it and open up the Arduino folder to confirm that yes, there are some files and sub-folders inside. DO NOT move any file around; the folder structure is VERY important.
- Power up your evive by connecting it to your computer with a USB cable. You should see the Pin 13 LED light up.
- Move the Arduino application into your Applications folder.
The installation process is complete. Click here to proceed further.
Mac
- Go to the Arduino download page and download the latest version of the Arduino software for Mac.
- When the download is finished, unzip it and open up the Arduino folder to confirm that yes, there are some files and sub-folders inside. DO NOT move any file around; the folder structure is VERY important.
- Power up your evive by connecting your evive to your computer with a USB cable. You should see the Pin 13 LED light up.
- Move the Arduino application into your Applications folder.
The installation process is complete. Click here to proceed further.
Linux
For installing Arduino IDE in any of the versions of Linux given below, click on the respective version and follow the steps.
evive Library Installation on Arduino IDE
- Download evive library for Arduino IDE from here.
- Plug one end of the USB cable provided into evive, and the other end into a USB jack of your computer.
- Open Arduino IDE and navigate to “Sketch>>Include Library >>Add .ZIP Library” in Menu Bar.

- On selecting “Add .ZIP Library” a dialog box as shown below appears.

- From your computer select the downloaded evive.zip file and then click on “Open”.

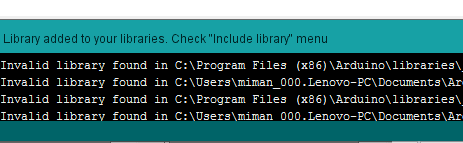
- On selecting “Open”, if zip file of evive library is added successfully then following message appears on Arduino IDE.
Upload Firmware to evive.
- After successful installation of evive library, the procedure for uploading code on evive with help of Arduino IDE is explained below.
- Here example code of evive Firmware will be uploaded on evive.
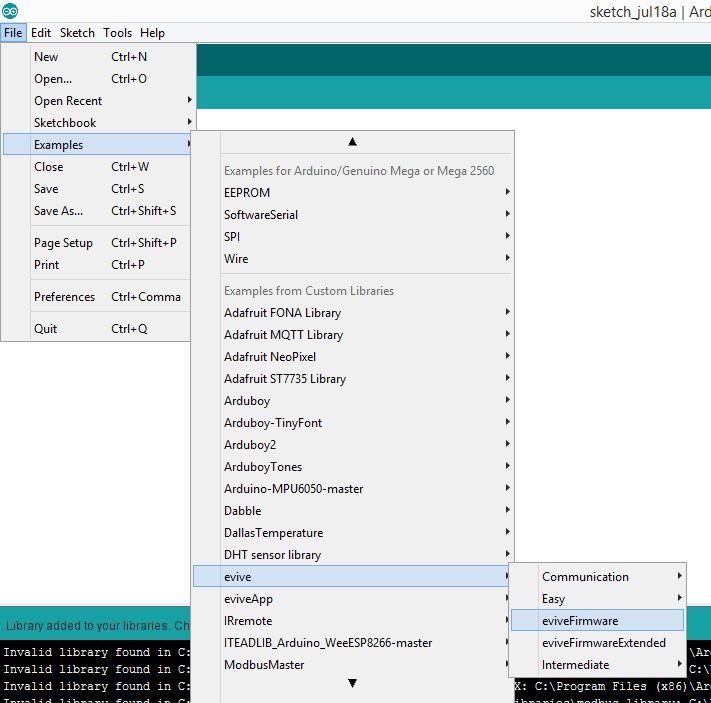
- Navigate to “File >> Examples>>evive>>eviveFirmware” in Menu Bar.
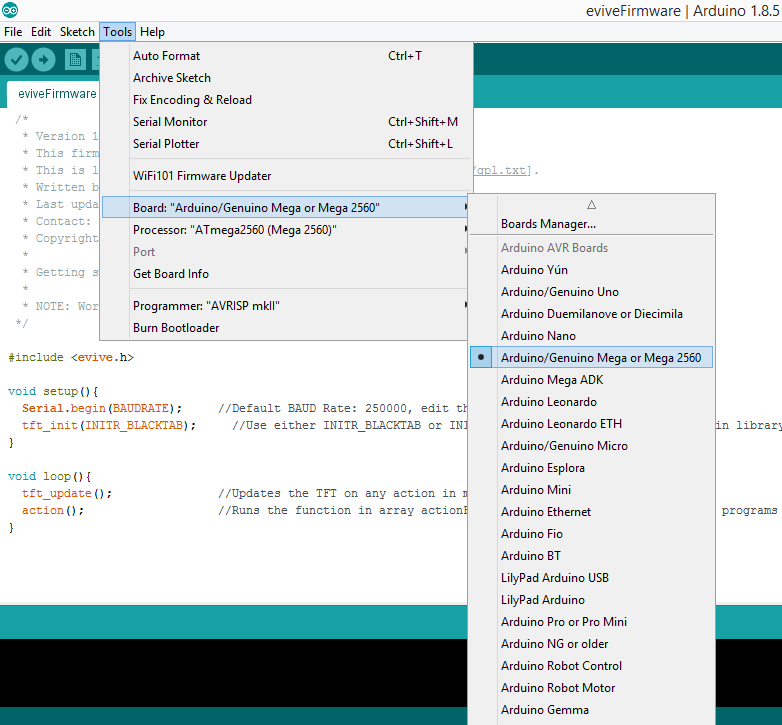
- After selecting the example of eviveFirmware goto “Tools>>Board” and select “Arduino/Genuino Mega or Mega2560″. This also sets Processor to Processor:”ATmega2560 (Mega 2560)”.

- Again navigate to Tools>>Port and select the serial port from the list of serial ports available. The serial port selected should be the one that has “Arduino Mega or Mega 2560” written in brackets.
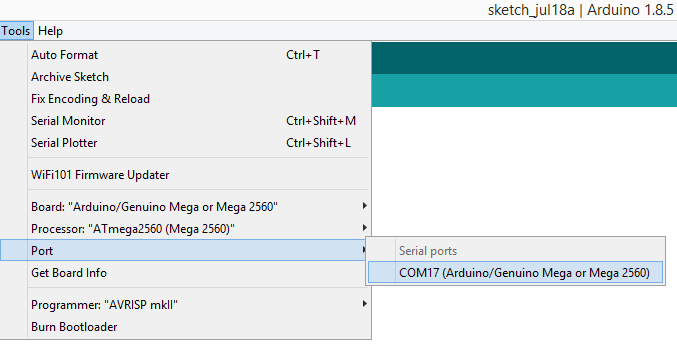


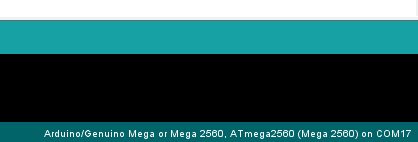
- Once the right Port is selected, the “Board” and “Port” name appears on the right hand lower corner of Arduino IDE screen.
- Now click on “Upload” Button to upload code to evive.
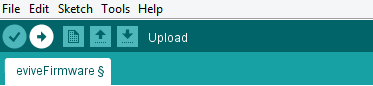
- As upload button is clicked following screens appear on Arduino IDE .
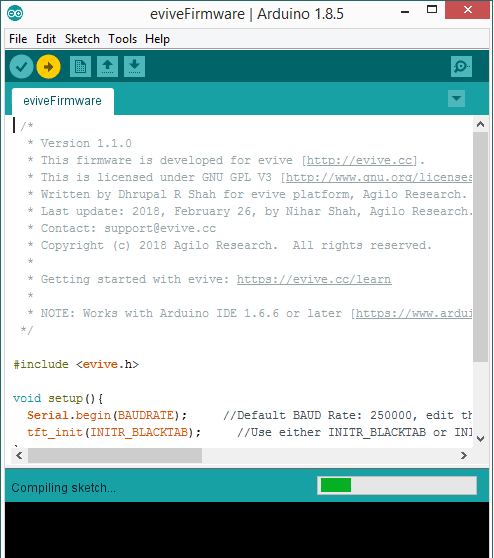
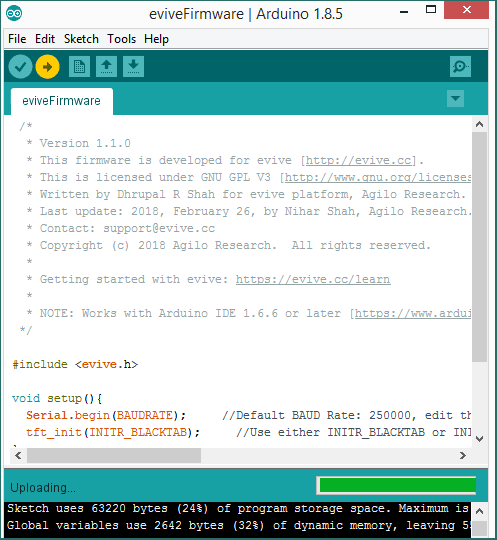
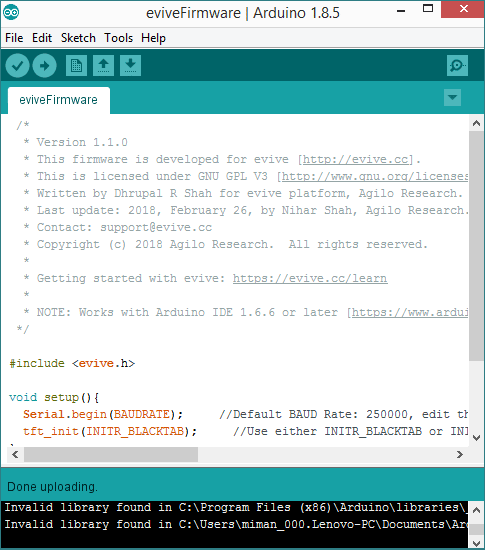
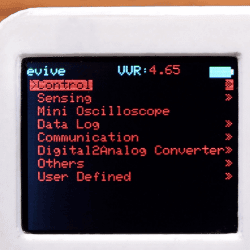
- After the firmware code is uploaded successfully evive menu appears on evive screen.
Basic Functionality
Components Required: evive
- Using the joystick (5-way Navigation key), you can scroll across the menu items by toggling the switch up or down, go to the appropriate sub-menu (or select the menu function) by toggling the switch right or revert back to the previous menu using the left key. Pressing the switch in the center returns you to the main menu.
- Toggle the switch down until you reach the “user-defined program” (gets highlighted) and then toggle the switch right.
- The screen now shows a semi-circular meter, and the orange LED marked Pin 13 starts blinking periodically.
- Slowly turn the knob marked 1 and observe the frequency of the LED’s blinking increase.


