Thank you so much for installing and working with PictoBlox. Here are some of the most common issues that you might face using PictoBlox.
Before moving forward, make sure that you have the latest version of PictoBlox installed on your device.
Updating to the latest version of PictoBlox
Follow the steps below to check and install the latest version of it.
- To check whether you have the latest version of PictoBlox or not, open PictoBlox.
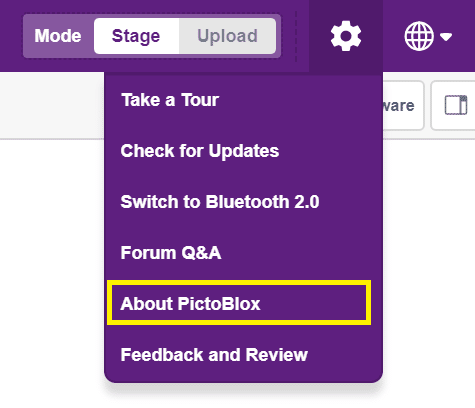
- Click on the gear-like button/ setting button. The following drop-down list will open up.

- If you are working online, click on Check for Updates.
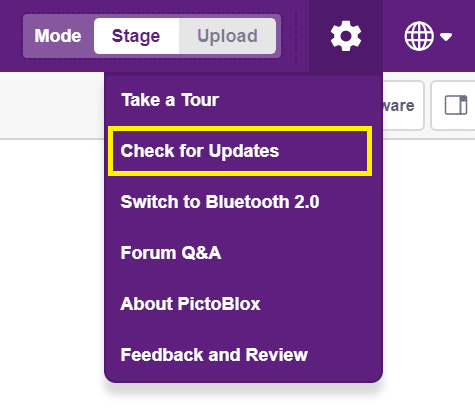
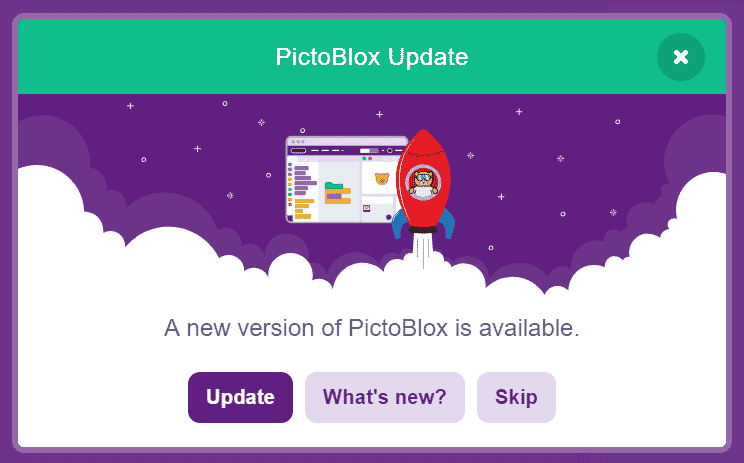
- A dialog will appear with the status, whether your PictoBlox is up-to-date or it requires the update along with the button, directing you to the page from where you can download it.
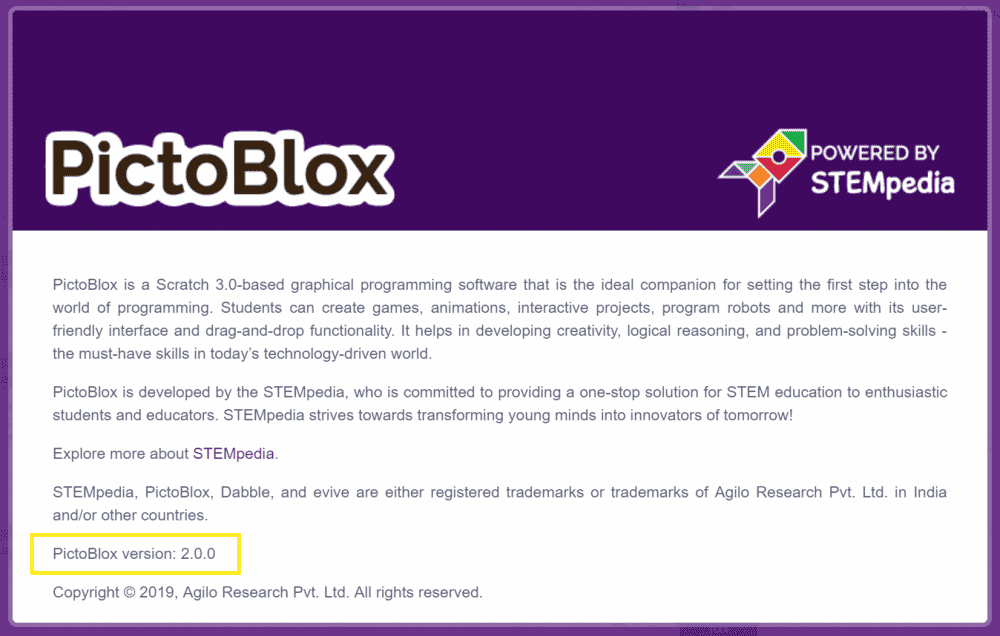
- If you are working offline with PictoBlox, click on About PictoBlox.
- You will find the version number of the PictoBlox, written below.
- If you are working online, click on Check for Updates.
- Now that you have checked the version of your PictoBlox, you need to update it, if you aren’t working on the recent one. Follow the steps given here to install it.
Once you have updated PictoBlox to the latest version, retry the activity you were working on. If the problem still persists, refer to the few troubleshooting points mentioned below.
How to update to the latest PictoBlox on macOS?
If you have already installed PictoBlox into your macOS and now you want to update it, simply press the ‘Replace’ button to replace the current version with the latest version.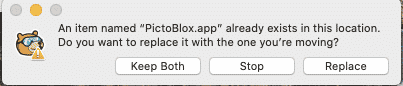
Issues in Board Connection
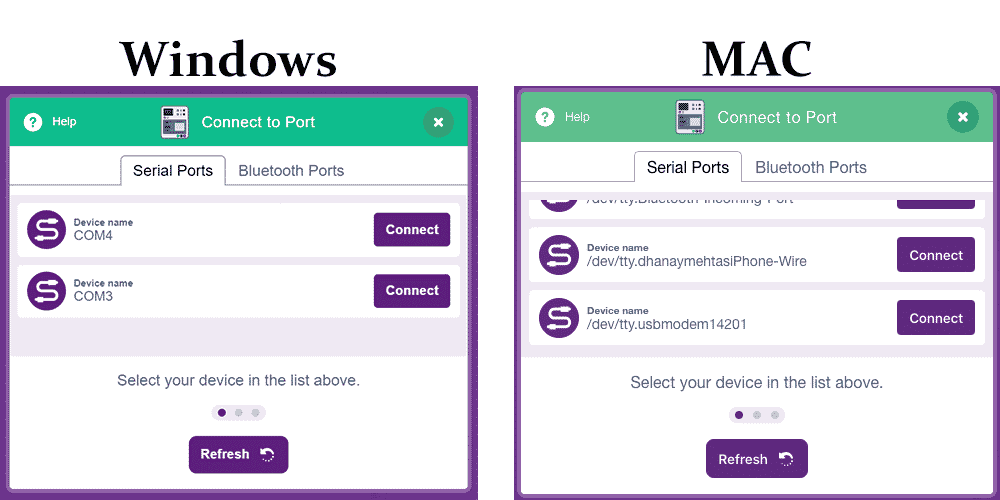
The list contains multiple COM ports, which one shall I connect to?
In many cases, you may find a number of COM ports listed. In such a case,
- Remove the device to which you have connected.
- Check out the list of COM ports.
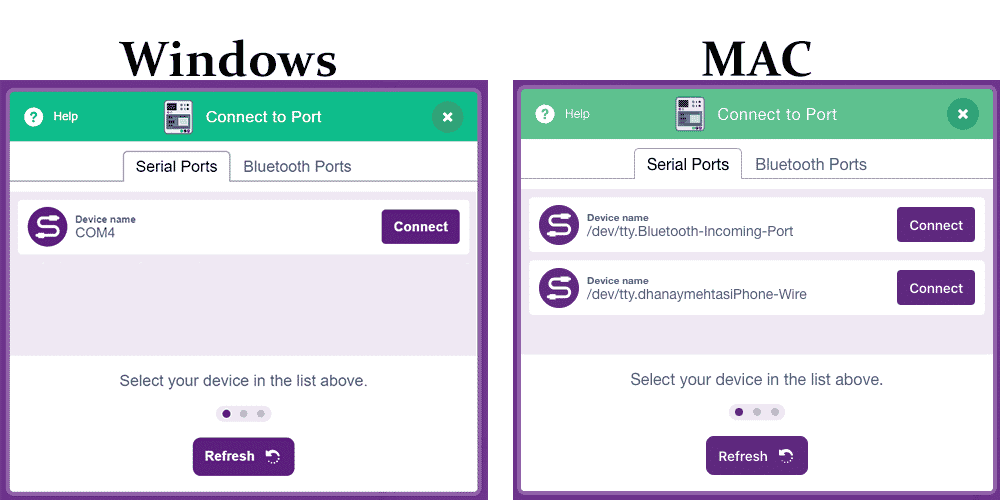
- Reconnect the device.
- Refresh the list, the new port added to the list will be yours.
The code failed to upload what shall I do next?
If you find the error that the code failed to upload, you need to check the following two things:
- Make sure that you have selected the appropriate board.
- Make sure that you have selected the proper COM port.
How do I connect my board via Bluetooth?
Check out the steps from 1 to 4 here.
I am unable to use the HM10 Bluetooth module with PictoBlox
If you are not able to use HM10 with PictoBlox, you need to update PictoBlox to the latest version.
- How to check whether the PictoBlox installed is the latest or not or how to update it, refer to STEP 1.
- If you have the latest version of PictoBlox installed, then you need to follow the steps here to use HM-10 with PictoBlox.
The code failed to upload and now I’m unable to connect to my board.
Check if you have connected the board properly. Unplug the board and plug it in properly. If you are sure that the board is plugged in correctly and the selected board is also the same as yours, update PictoBlox by visiting STEP 1.
Issues in using Blocks and Extensions
Not able to work with blocks in Stage Mode?
For working on PictoBlox in stage mode, you have to upload the firmware to your board from PictoBlox. Check out the steps from 1 to 8 here to upload the firmware to evive. The procedure for uploading firmware on other boards also remains the same as in evive.
I am unable to use negative values in the map function.
You need to update PictoBlox to the latest version. How to check whether the PictoBlox installed is the latest or not or how to update it, refer to STEP 1.
The codes written are not being translated properly.
You need to have the latest version of PictoBlox, visit STEP 1.
How do I upload the robotic arm and humanoid robot’s firmware?
To upload the firmware in the robotic arm, visit the link here.
And to upload firmware in the Humanoid robot, visit here.
How do I make a string-type variable?
First things first, you need to have the latest version of PictoBlox. Click here to update PictoBlox to the latest version. Once done, follow the steps below to create a string-type variable.
- Go to the Variables palette.
- Click on Make a new variable.
- Select String in the data type option.
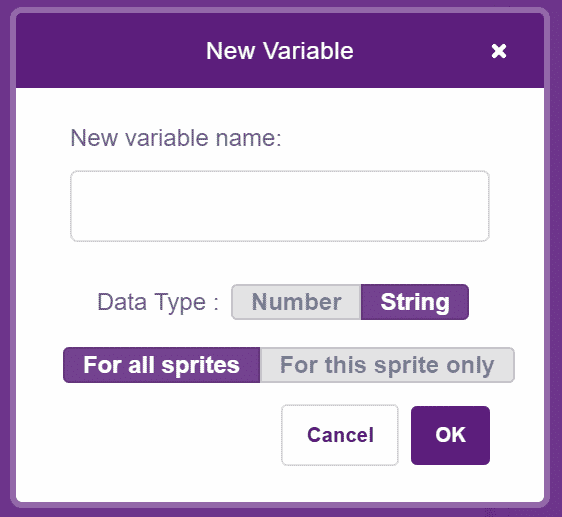
With this, you have created a variable that will store a string as the data.
If you have queries except the above listed or have doubts about any of the above steps, feel free to reach out by writing to support@thestempedia.com.
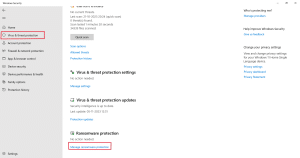
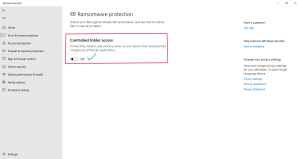
Ransomware protection
If you can’t save your project or the files are not showing in PictoBlox, make sure that the controlled folder access is off. This is for Windows 11 users only.
Windows setting – virus & threat protection – manage Ransomware protection