Download PictoBlox
It’s easy! Install the all-new PictoBlox with block coding, Python, ML environment, and 3D-XR Studio.
Please select your device!
Windows Installer (.exe)
STEP 1: Download the PictoBlox Installer (.exe) for Windows 7 and above (Release Notes).
- Download the PictoBlox 9.0.1 Version for Windows 64-Bit and 9.0.0 for Windows 32-Bit
- Download the PictoBlox 8.1.0 Version for Windows(Old Version)
STEP 2: Run the .exe file.
Some of the device gives the following popup. You don’t have to worry this software is harmless. Click on More info and then click on Run anyway.
Note: Please uninstall your last version from your desktop before installing the above latest version for a seamless experience. This process would not affect your old projects saved on your desktop.
STEP 3: Rest of the Installation is straight forward, you can follow the popup and check on the option appropriate for your need.
Your software is now installed!
Still facing issues? Contact us directly
macOS Installer
STEP 1: Download the PictoBlox Installer Version 9.0.1 (.dmg) (Release Notes).
- Download the PictoBlox Installer Version 8.1.0 (.dmg) (Old Version)
STEP 2: Run the .dmg file.
Note: Please uninstall your last version from your desktop before installing the above latest version for a seamless experience. This process would not affect your old projects saved on your desktop.
Still facing issues? Contact us directly
Linux Installer
STEP 1: Download the PictoBlox Installer Version 9.0.0 (.deb) for Ubuntu (Linux) (Release Notes).
Old PictoBlox Version
STEP 1: Download the PictoBlox Installer Version 8.0.1 (.deb) for Ubuntu-Linux (Old Version).
We will Update the Linux 8.0.0 PictoBlox Beta version soon.
STEP 2: Run the .deb file by clicking it or with the following command:
Note: Please uninstall your last version from your desktop before installing the above latest version for a seamless experience. This process would not affect your old projects saved on your desktop.
sudo dpkg -i PATH_TO_PICTOBLOX
STEP 3: Add User to the ‘dialout’ group (if not able to connect to the Serial port) with the following command:
sudo adduser ${USER} dialoutYour software is now installed!
Still facing issues? Contact us directly
Linux Mint Installer
STEP 1: Download the PictoBlox Installer Version 6.2.0 (.deb) for Ubuntu (Linux Mint) (Release Notes).
Chromebook Installer
PictoBlox runs in the Linux environment on Chromebook. To start the Linux environment on Chromebook and to install PictoBlox follow these steps:
STEP 1: Download the PictoBlox Installer (.deb) for Chromebook (Release Notes).
- Download the PictoBlox Installer (.deb) for Chromebook.
STEP 2: Turn On Linux Environment on Chromebook.
- Linux is off by default. You can turn it on at any time from Settings.
- On your Chromebook, at the bottom right, select the time.
- Select Settings -> Advanced -> Developers.
- Next to “Linux Development Environment,” select Turn On.
- Follow the on-screen instructions. Setup can take 10 minutes or more.
- A terminal window opens. You have a Debian 10 (Buster) environment. You can run Linux commands, install more tools using the APT package manager, and customize your shell.
- Run this command in your terminal : sudo apt update. This will ensure you’re always installing the latest versions of tools in its repository.
STEP 3: Start PictoBlox on Chromebook.
- Upon doing the above steps successfully, Linux environment will be installed in your system and Linux files folder will be created in your My files with your allocated space. You can now install PictoBlox using any of the following methods.
- Installation using terminal:
- Copy the downloaded (.deb) file from Downloads folder to Linux files folder.
- Open the Linux terminal from applications and run the command: sudo dpkg -i Package Name(eg: sudo dpkg -i PictoBlox_6.0.1_amd64_chromebook.deb)
- Manual Installation:
- You can just double-click on the deb file, which will ask you to install this package using Linux.Please click on Install with Linux option and your installation will start.
- If the installation fails due to some reason, please open the Linux terminal and type this command : sudo apt – -fix-broken install and continue the installation.
STEP 4: Access the serial port on Chromebook
- To access the serial port follow these steps:
- First, connect quarky (or any supported board) through the serial port.
- You will get a notification to connect that device to Linux. Select that option. Alternatively, you can also go to settings, search Linux USB preferences, and enable the serial connection.
- Please restart the PictoBlox.
- You will be able to use boards through the serial connection.
STEP 5: Access Bluetooth & Webcam in Chromebook (Beta)
- To access Bluetooth and Webcam in Chromebook, you will have to use Chromebook Link.
- To connect boards over Bluetooth, select the board in PictoBlox and go to the Bluetooth tab, you will be redirected to Chromebook Link or alternatively, you can also go to Chromebook Link and then click Connect to search for available devices. Once you find your board, connect it and go back to PictoBlox software. Now, you will be able to use your board over Bluetooth.
- To use Camera in PictoBlox software, first go to Chromebook Link and click on ‘Enable Camera’ option.You will be able to see the video feed on the Chromebook Link page. You can now go back to PictoBlox software and use camera.
STEP 6: Access Machine Learning Environment and for Better Performance
- Open chrome://flags
- Enable Crostini GPU Support & Crostini Hardware-accelerated video decode (optional)
- Restart your system
Still facing issues? Contact us directly
PictoBlox Block Coding App for 8+ years
Make cool AI and ML projects on the PictoBlox using your Smartphone. Click the button to get the app from Google Play Store.
If you are using Android 7 or below, please download the application from here:
Junior Blocks App for 4-7 years
Make projects on the Junior Blocks using your Smartphone. Click the button to get the app from Google Play Store.
PictoBlox Block Coding App for 8+ years
Make cool AI and ML projects using your iPhone. Click the button to get the app from App Store.
Junior Blocks App for 4-7 years
Make projects on the Junior Blocks using your Smartphone. Click the button to get the app from App Store.
Download PictoBlox Installer
Install PictoBlox on your Windows or Mac computer. This installer is also suitable for school IT administrators to perform bulk installations across multiple systems in classrooms and labs.
Windows Installer (.msi)
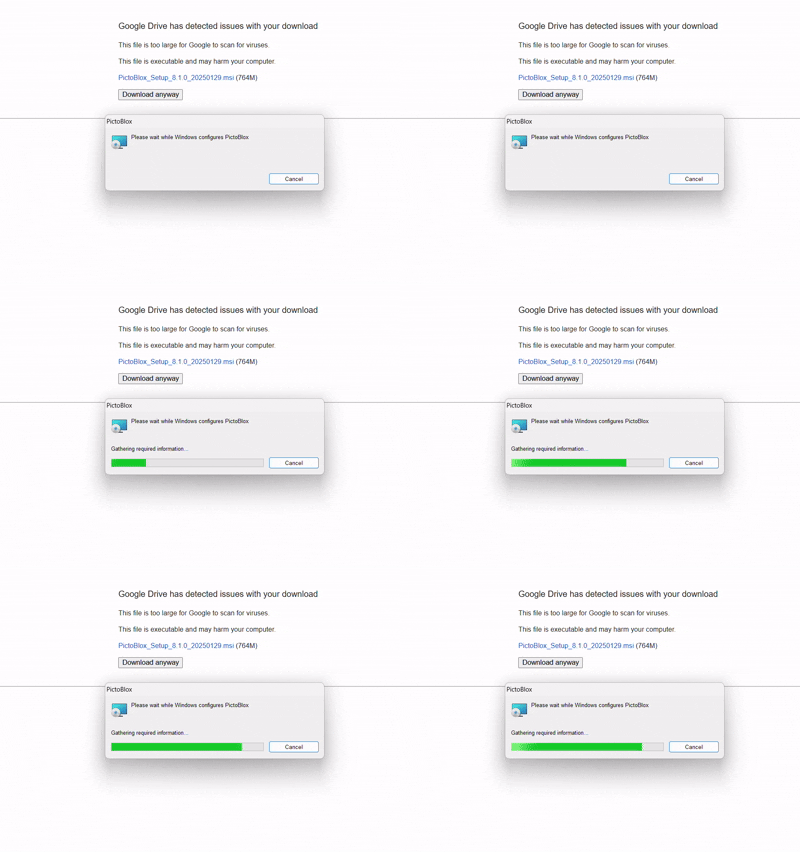
STEP 1: Download the PictoBlox Installer (.msi) for Windows 7 and above.
- Download the PictoBlox 8.1.0 (Beta) Version for Windows
STEP 2: Run the .msi file.
Some of the devices give the following popup. You don’t have to worry, this software is harmless. Click on More info and then click on Run anyway.
STEP 3: Rest of the Installation is straight forward, you can follow the popup and check on the option appropriate for your need.
The server is currently active and running!
Still facing issues? Contact us directly
macOS Installer
STEP 1: Download the PictoBlox Server Installer Package
STEP 2: Unzip and run the .pkg file.
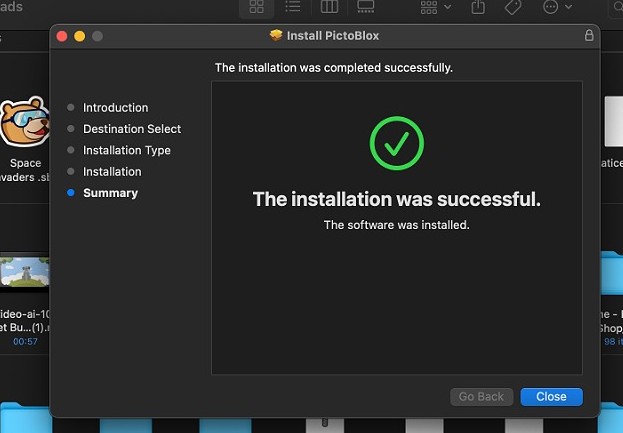
STEP 3: Rest of the installation process is straight forward, silent Installation of the server will begin automatically. Once the server is installed you will get a pop-up as shown below :
STEP 3.1 If you are using command line to install, then use the following command :
The server is currently active and running!
