STEP 2: Run the .exe file.
Some of the device gives the following popup. You don’t have to worry this software is harmless. Click on More info and then click on Run anyway.
Note: Please uninstall your last version from your desktop before installing the above latest version for a seamless experience. This process would not affect your old projects saved on your desktop.
STEP 3: Rest of the Installation is straight forward, you can follow the popup and check on the option appropriate for your need.
Your software is now installed!
STEP 2: Run the .msi file.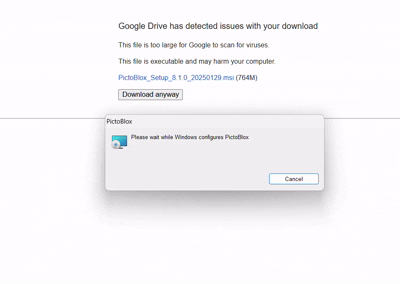
Some of the devices give the following popup. You don’t have to worry, this software is harmless. Click on More info and then click on Run anyway.
STEP 3: Rest of the Installation is straight forward, you can follow the popup and check on the option appropriate for your need.
The server is currently active and running!
STEP 3: Rest of the installation process is straight forward, silent Installation of the server will begin automatically. Once the server is installed you will get a pop-up as shown below :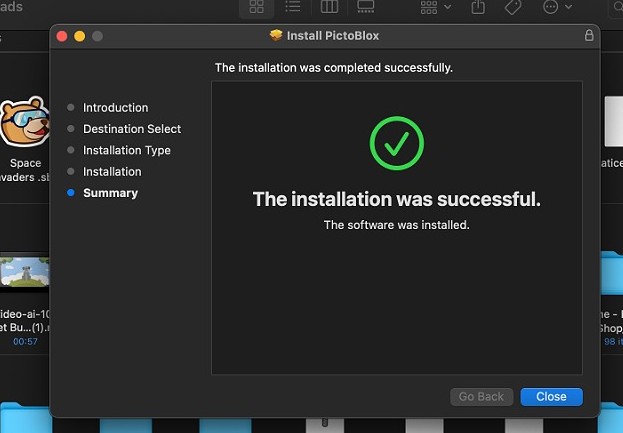
STEP 3.1 If you are using command line to install, then use the following command :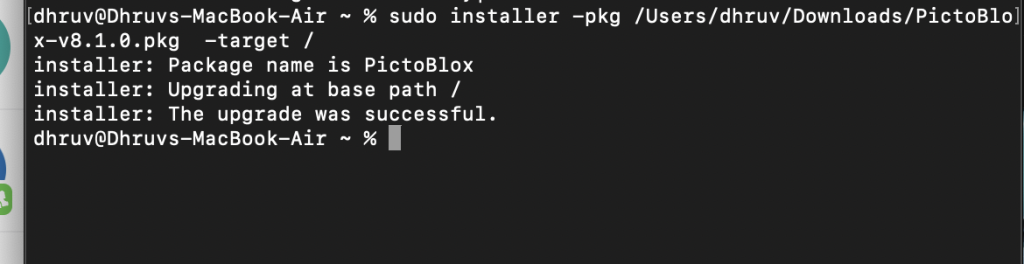
The server is currently active and running!